DIY Pallet Board Christmas Tree Idea
DIY Pallet Board Christmas Tree Idea
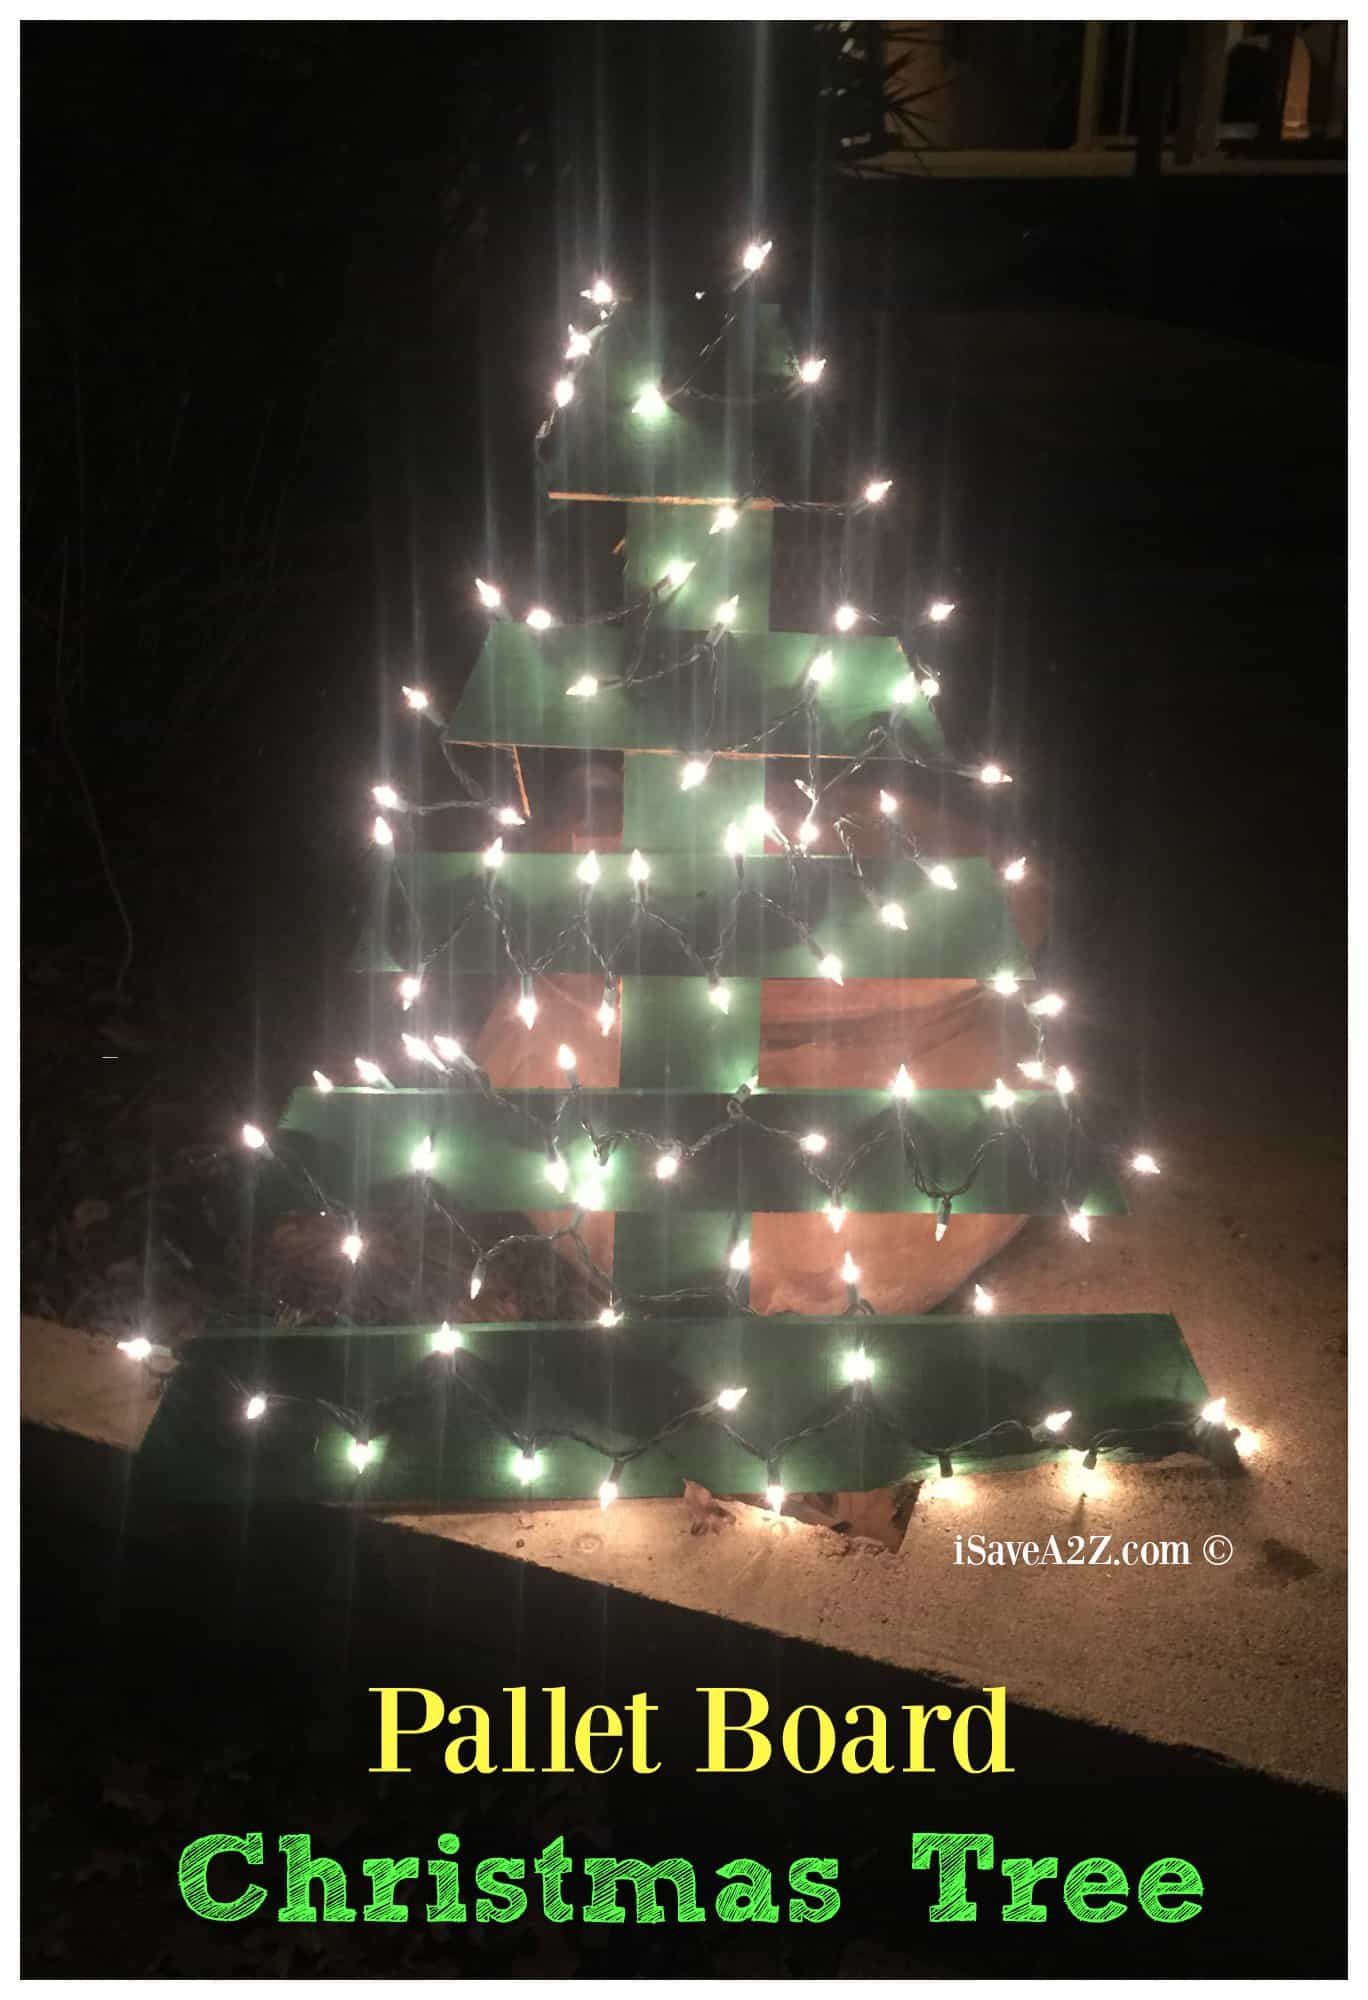
Gosh I love this Pallet Board Christmas Tree idea so much! This pallet Christmas tree is super simple to make once you find a pallet board you can use. The hardest part is finding the board!
I highly suggest asking your local hardware store to see if they have extra pallet boards you can possibly have. Most companies have a contract to recycle them but they usually trash the broken ones.
Be sure to ask before you take them though because it would be considered theft if you do. You can also do a search on craigslist for free pallets too! There always seem to be some around.
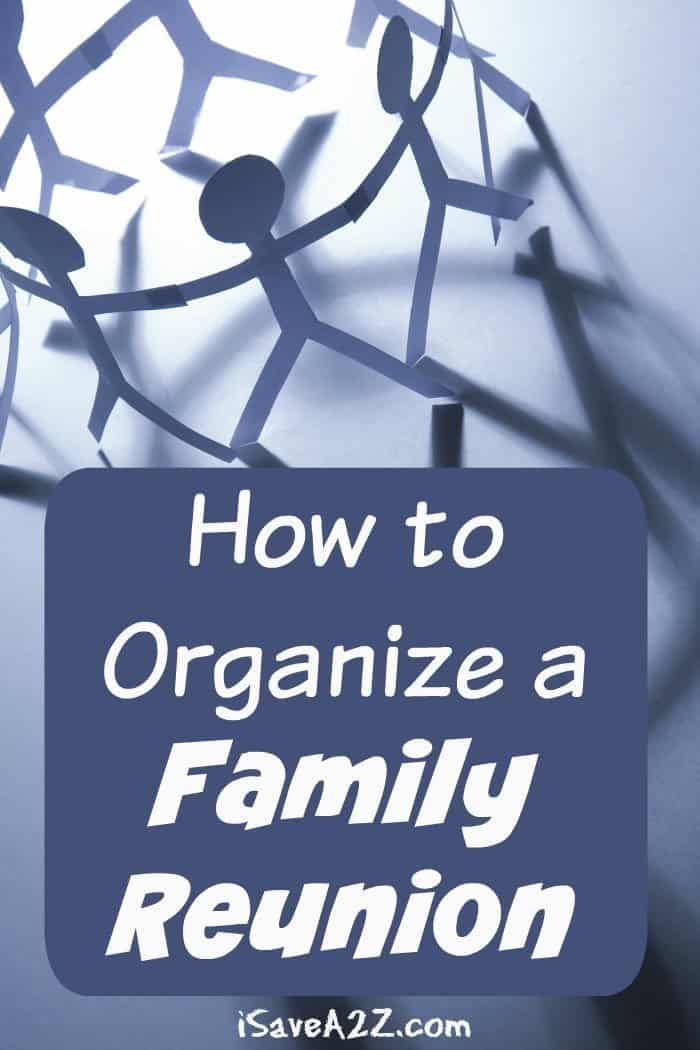
If you love this idea you should check out our DIY Holiday Decor Christmas Tree made out of sticks tutorial here! It came out so cute!
Both of these projects are great front porch diy Christmas trees to share holiday cheer with friends, family and neighbors! Add a few large ornaments, tinsel and other holiday decor to make this holiday season cheerful and bright.
Supplies Need to make this DIY Pallet Wood Christmas Tree:
- old pallet board or scrap wood
- ruler
- pencil
- jigsaw
- safety googles
- green paint or wood stain
- paint brush
- small 100 count Christmas lights
- wood glue, optional
Directions to make this DIY Rustic Pallet Christmas Tree:
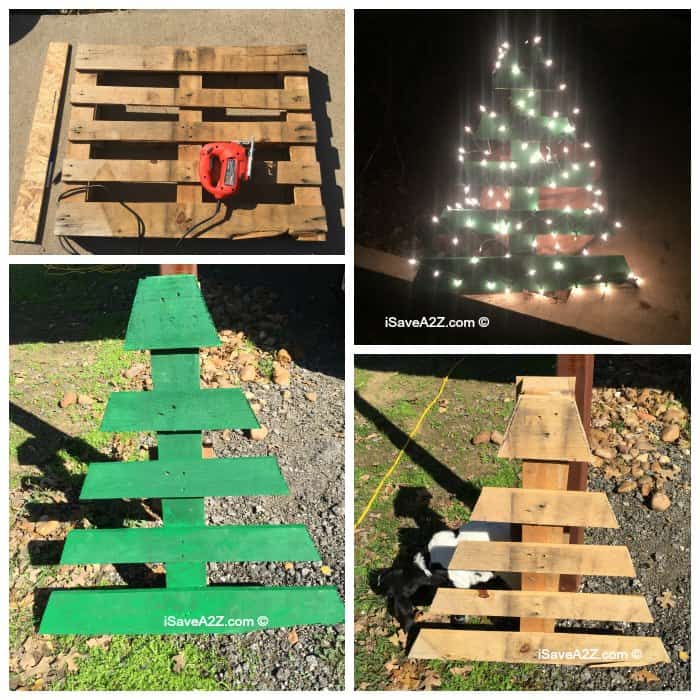
First, start by checking to see which side of your pallet stands up straight when it’s on it’s side standing up. Each pallet board may not be made the same and you might favor one side more than the other. You can tell when you stand it up before cutting it.
Start by using a ruler to draw out your tree. I didn’t want to cut into the big 4×4 in the middle of the pallet board so I made sure to start from the top of the edge of that board to draw my line. I drew a line on each side just by eye-balling where it should go evenly on each side. I didn’t have a ruler long enough so I used a spare piece of wood I had from a leftover project I had on hand. Worked perfectly.
I put on my safety googles and began to cut along the lines using my jig saw. Make sure you are using a sharp blade because it makes a world of difference in how easy it is to cut. Cut along both lines.
Next, I flipped the board over and repeated the above steps. There aren’t as many boards on the back of the pallet as there are on the front.
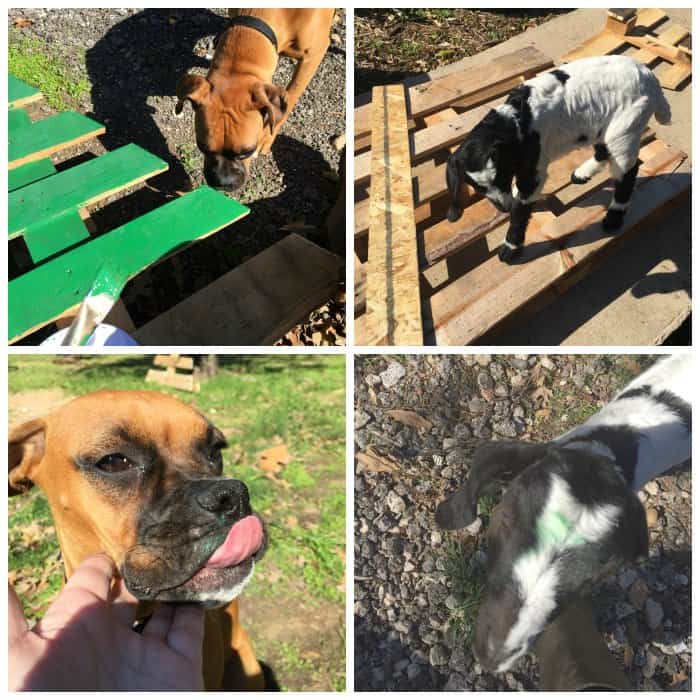
Now paint it any color you want. I used some outdoor green acrylic paint to paint mine. This part was difficult for me because I have a very curious dog and lots of goats that insisted on finding out what I was doing. It was funny and frustrating at the same time.
By the time it was over the dog had paint on his nose and the one of the goats had paint on her head. Oh my dear furbabies how I love them so. If you enjoy photos and videos of cute cats, dogs and baby goats be sure to follow iSaveA2AZ on Instagram here. We always feature our fun adventures there.
It didn’t take long for the paint to dry. Maybe only about 20 minutes because it was a sunny day. That night I was able to drape lights across each pallet board and light it up! The 100 count small set of Christmas lights worked out perfectly. The size and length was perfect! I only paid about $2 at Walmart for those lights too!
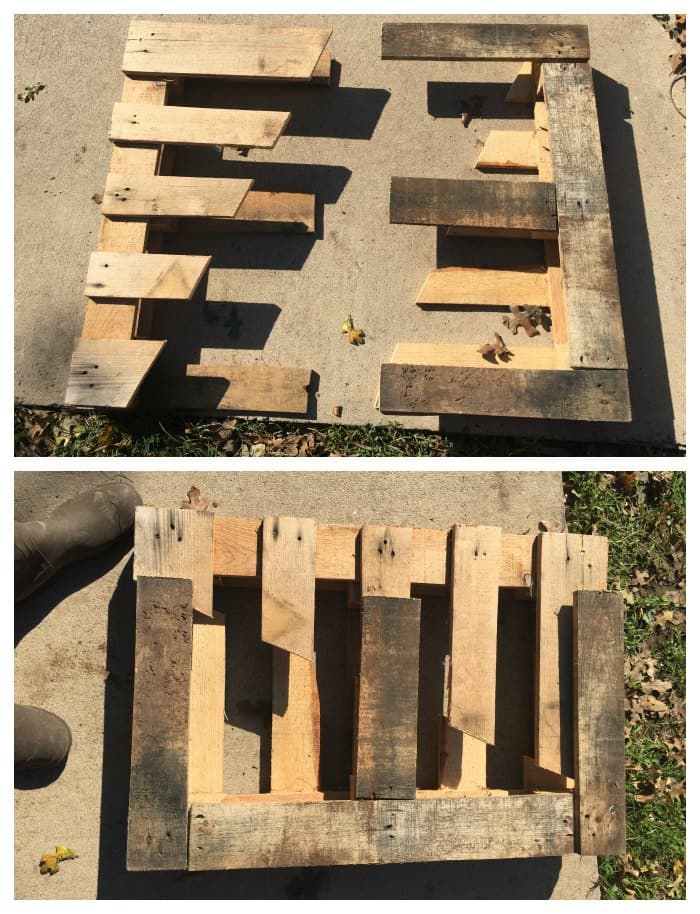
Now I bet you are wondering what I did with the remainder of the pallet board I cut off right? I didn’t just throw that away! I live in the country and we like to make use out of anything and everything we have on hand.
I was able to put this board back together to make a smaller pallet board to hold hay off of the ground. It can’t be used for anything heavy but it works perfectly to keep my hay dry for the animals we have. I love that the rest of it didn’t go to waste. Here’s a photo:
There are so many good pallet board projects out there! What have you made out of a pallet board lately?