Homemade Sushi Rolls with Everything Bagel Seasoning
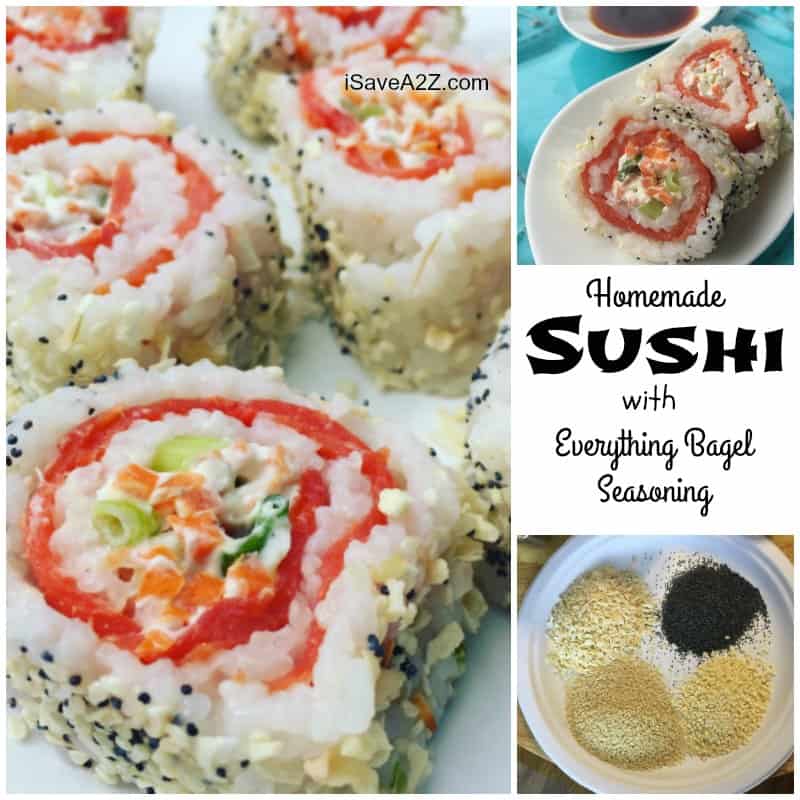
Homemade Sushi Rolls with Everything Bagel Seasoning
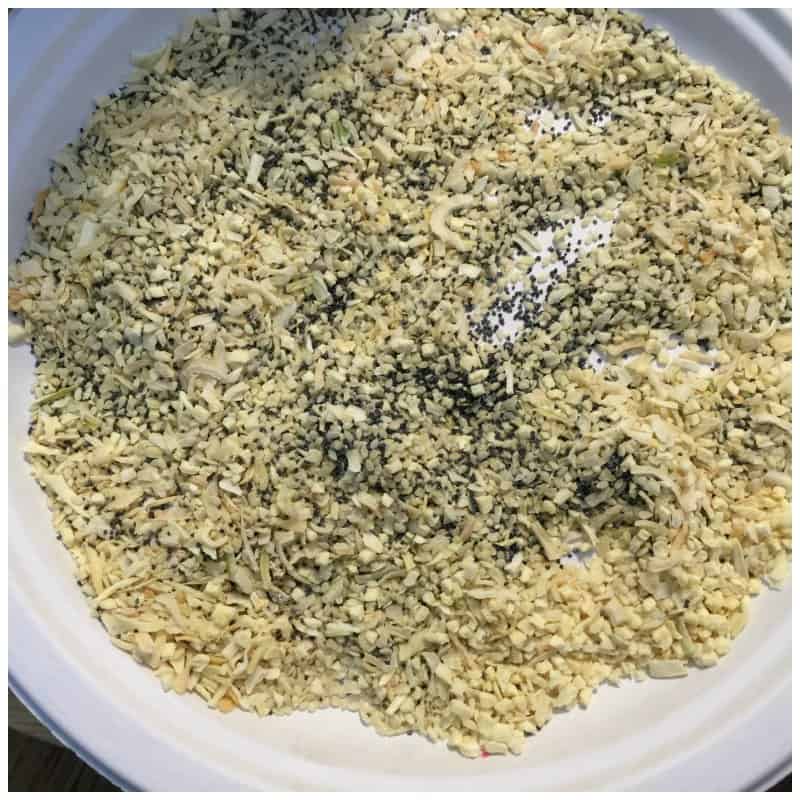
I just tried making Homemade Sushi Rolls with Everything Bagel Seasoning and it came out amazing! Now that I have the recipe for Everything Bagel seasoning I’ve been putting it on lots of things I eat! If you have not tried this blend of seasoning, you are missing out. It has a combination of sea salt, sesame seeds, poppy seeds, dried minced onion and dried roasted garlic! I sprinkle it on butter, shake it over my eggs, potato salad, tuna, or even my mashed potatoes! I also add it to plain hummus and of course, cream cheese! You have got to try it!
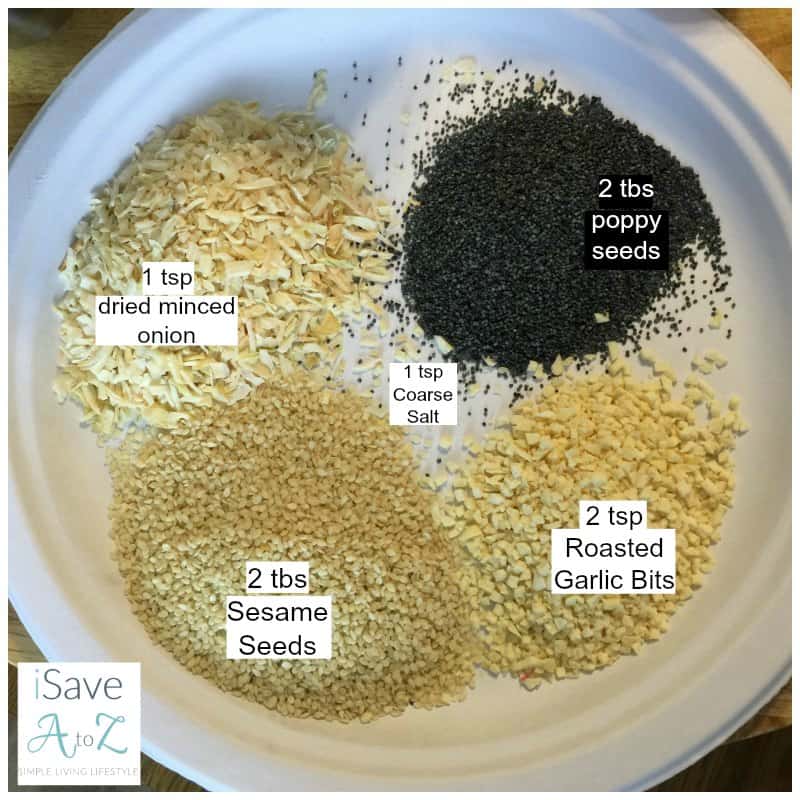
Everything Bagel Seasoning Recipe
- 2 tbs sesame seeds
- 2 tbs poppy seeds
- 1 tbs dried minced onion
- 2 tsp dried minced garlic
- 1 tsp coarse salt
And… if you don’t want to make it, they now sell a blend of Everything Bagel Seasoning on Amazon here. I have not seen it in my local stores yet.
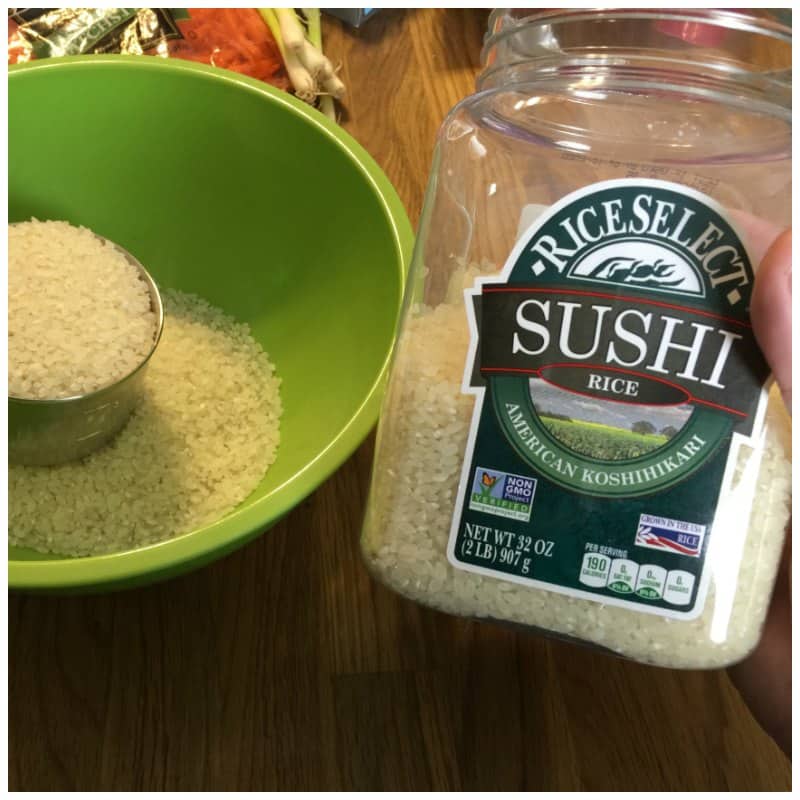
I am pretty excited about the seasoning but I am just as excited about the rice in the recipe. I hate cooking rice. Hate it. I purchased a brand new Instant Pot Electric Pressure Cooker (6 quart DUO model) and I just perfected sushi recipe in it in ONLY 7 MINUTES!!! Only 7 minutes to perfect sushi rice!
We’ve made rice in the pressure cooker before. Do you remember our Pressure Cooker Mexican Rice recipe? It’s also really good!
Here’s how to make sushi rice in an electric pressure cooker:
First, you need to know that for every cup of sushi rice you use in a recipe, you need another 1 1/2 cups of water. I added 2 cups of sushi rice so I used 3 cups of water for my recipe. This makes 3 large sushi rolls.
Pressure Cooker Sushi Rice Ingredients:
- 1 cup sushi rice
- 1 1/2 cups water
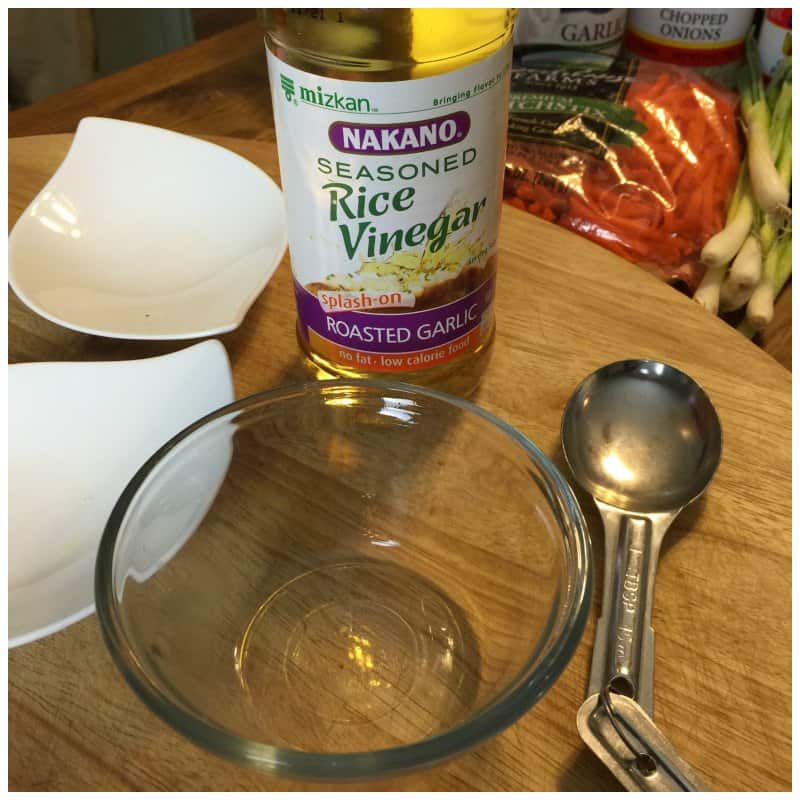
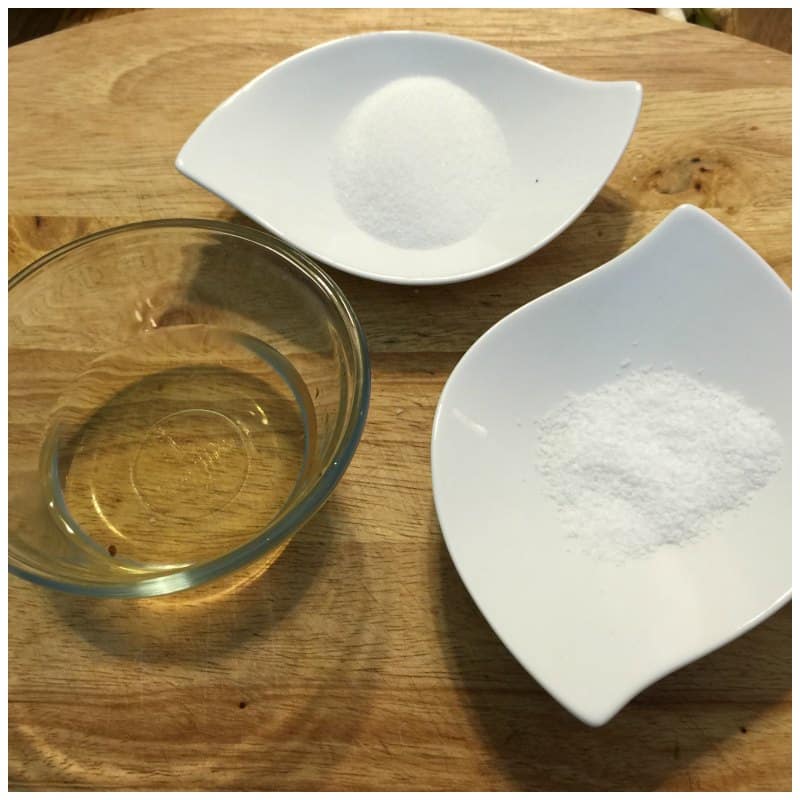
- 3 tablespoons rice wine vinegar
- 1 tbs sugar
- 1/2 teaspoon salt
Pressure Cooker Sushi Rice Instructions:
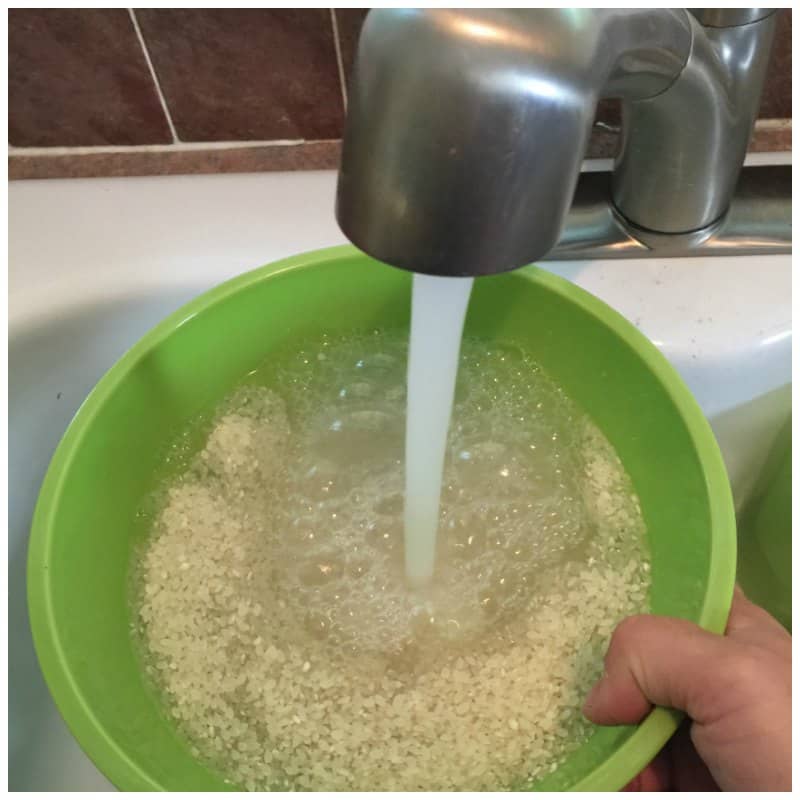
Rinse the sushi rice completely before cooking it. The water should be clear when completed.
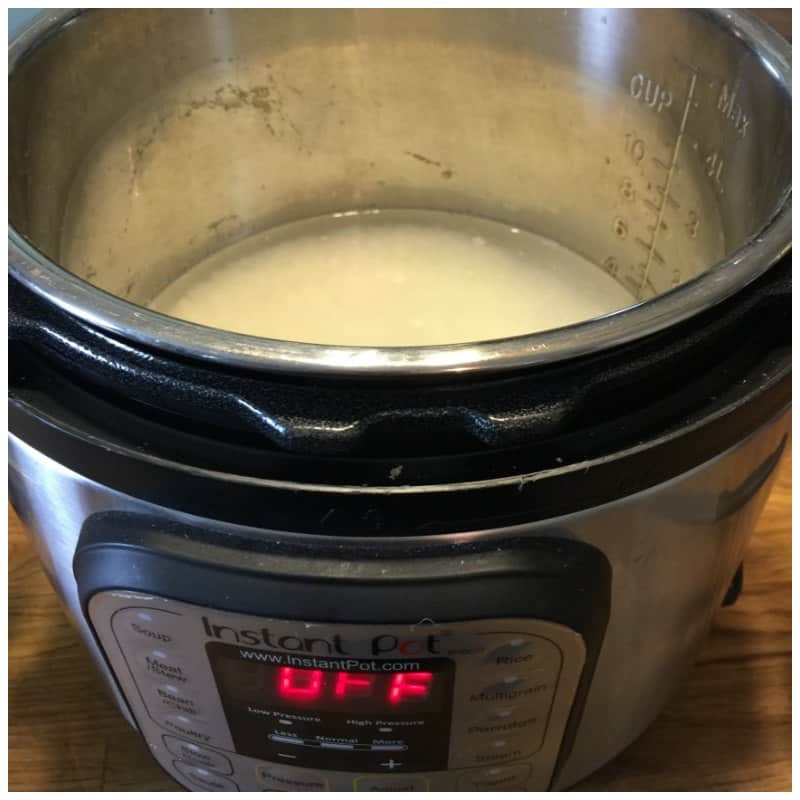
Add the rinsed rice to the pressure cooker and then add your water.
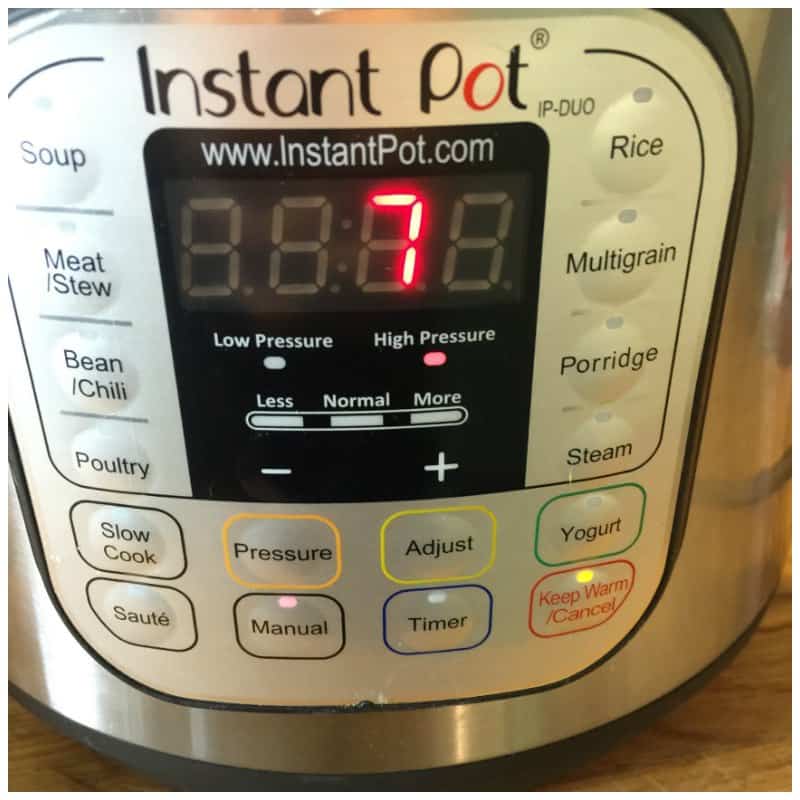
Close and lock the pressure cooker lid and press the manual button and add 7 minutes to the timer. It will cook this rice at 7 minutes on high pressure. It’s important to know that it does take some time for the machine to gain pressure. It may sit there for a few minutes until the pressure builds and then it will start the countdown once it’s at the right temperature.
Once the machine beeps it will automatically go to a natural release method. Let the timer run for 5 minutes then turn the steam release valve to release the remaining pressure. BE CAREFUL not to place your hand on top of the machine or else you could burn yourself when the pressure releases. Your hand should be out of the way when you hit the valve to release the pressure. This part was scary at first but once you get the hang of it, releasing the pressure safely comes naturally.
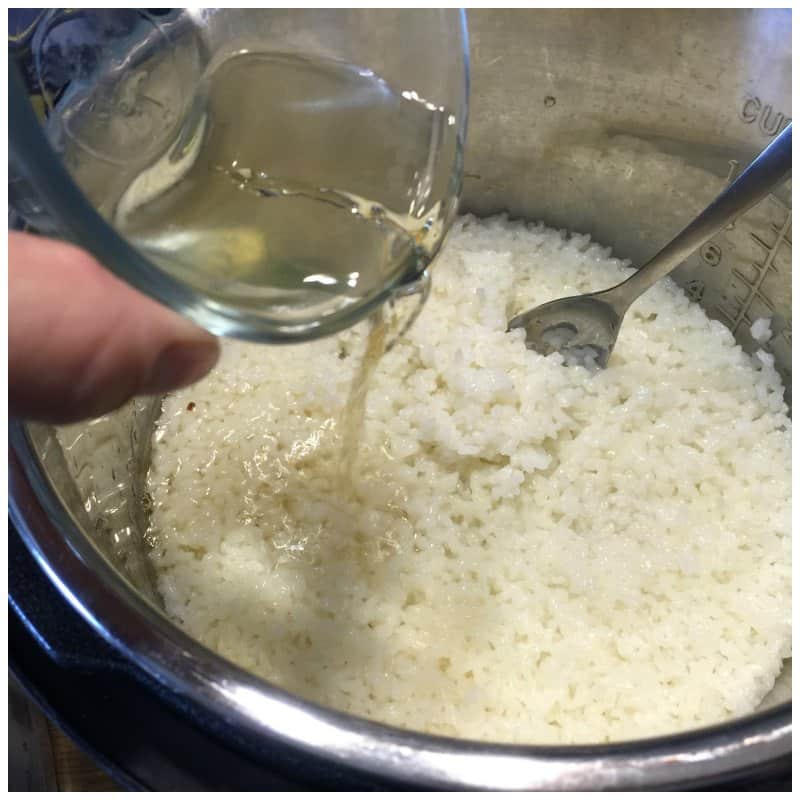
Now stir in the rice wine vinegar, sugar and salt but don’t over stir it or else it can become mushy.
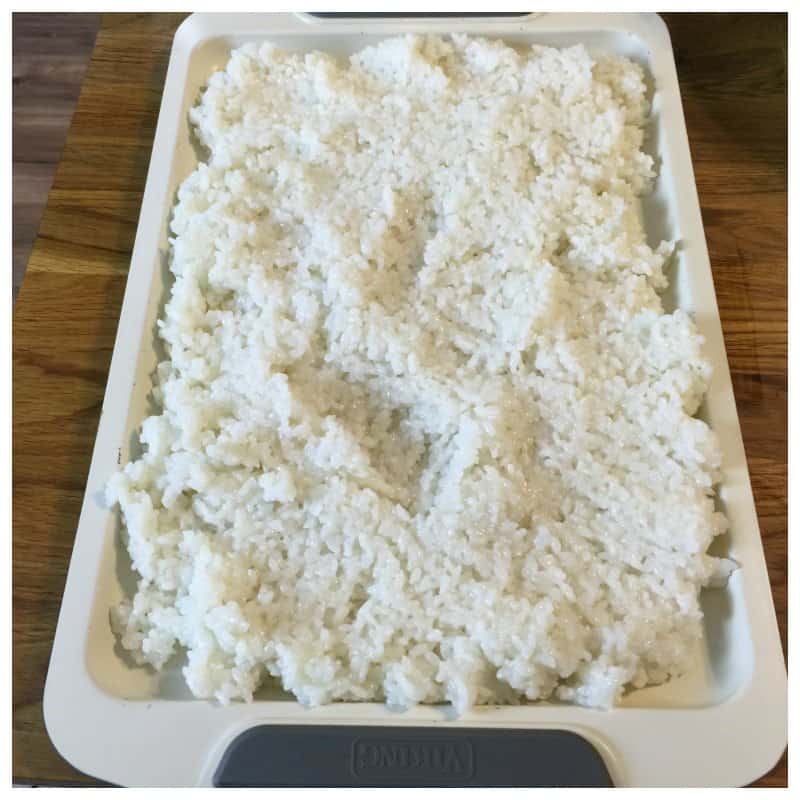
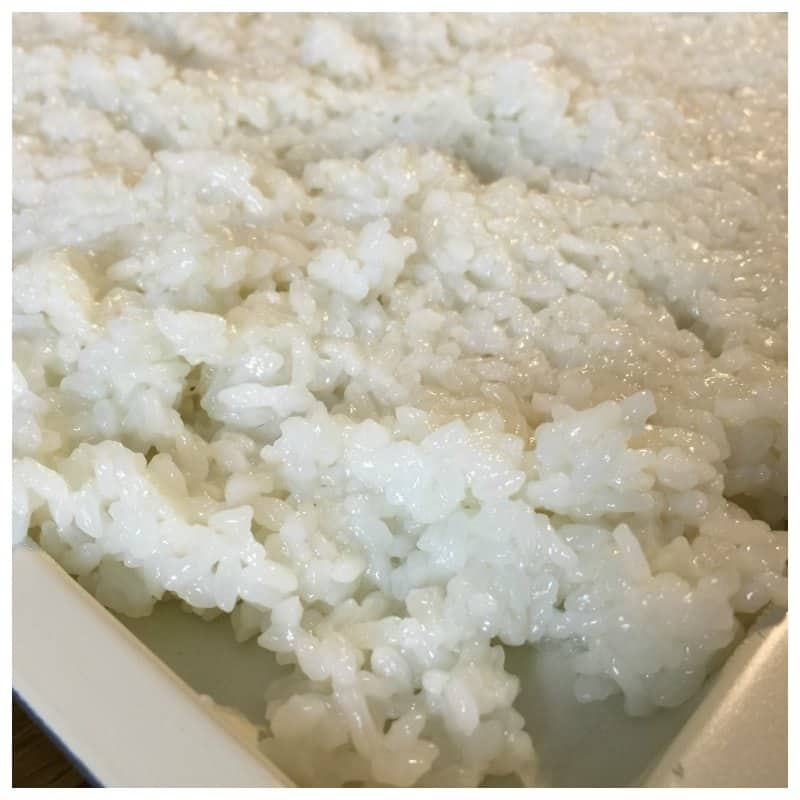
Spread the rice out on a flat surface pan to allow it to cool. I let it cool about 10 minutes or so before I started making my sushi rolls.
Note: If you don’t have a pressure cooker just follow the instructions to make it stove top on the sushi rice package.
Here’s a printable version:

Pressure Cooker Sushi Rice
Ingredients
Instructions
- Rinse the sushi rice completely before cooking it. The water should be clear when completed.
- Add the rinsed rice to the pressure cooker and then add your water.
- Close and lock the pressure cooker lid and press the manual button and add 7 minutes to the timer. It will cook this rice at 7 minutes on high pressure. It's important to know that it does take some time for the machine to gain pressure. It may sit there for a few minutes until the pressure builds and then it will start the countdown once it's at the right temperature.
- Once the machine beeps it will automatically go to a natural release method. Let the timer run for 5 minutes then turn the steam release valve to release the remaining pressure. BE CAREFUL not to place your hand on top of the machine or else you could burn yourself when the pressure releases. Your hand should be out of the way when you hit the valve to release the pressure. This part was scary at first but once you get the hang of it, releasing the pressure safely comes naturally.
- Now stir in the rice wine vinegar, sugar and salt but don't over stir it or else it can become mushy.
- Spread the rice out on a flat surface pan to allow it to cool. I let it cool about 10 minutes or so before I started making my sushi rolls.
Nutrition facts are provided as a courtesy.
Homemade Sushi Rolls with Everything Bagel Seasoning
Ingredients:
- 10 oz Smoked Salmon thinly sliced
- 4 ounces of cream cheese
- black pepper to taste
- 2 carrots finely chopped
- 2 scallions finely copped
- cooked sushi rice
Directions:
I’ve made my Everything Bagel seasoning and my rice has cooled down so now it’s time to make sushi rolls!
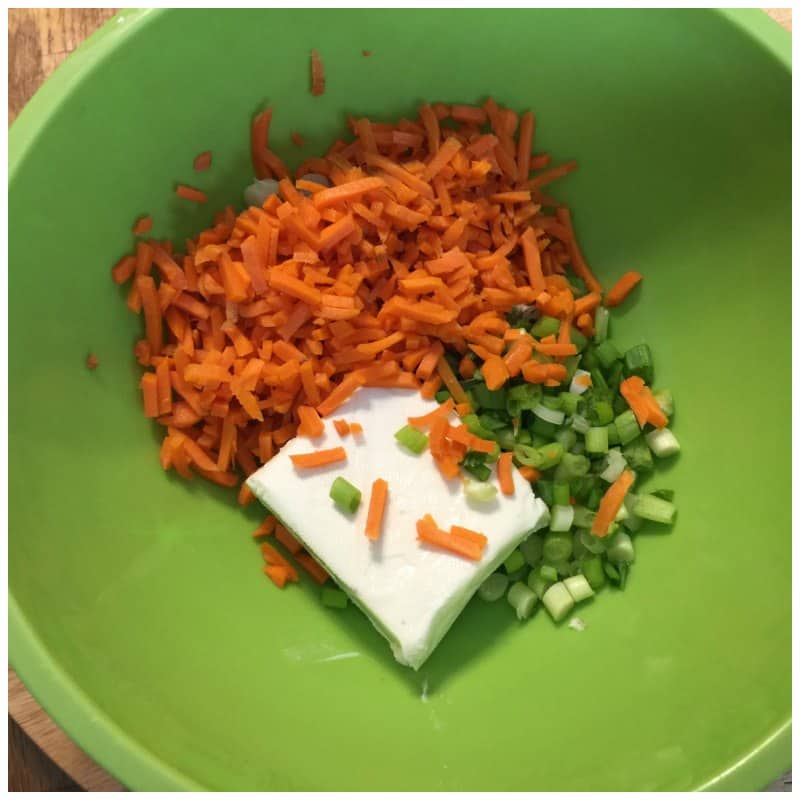
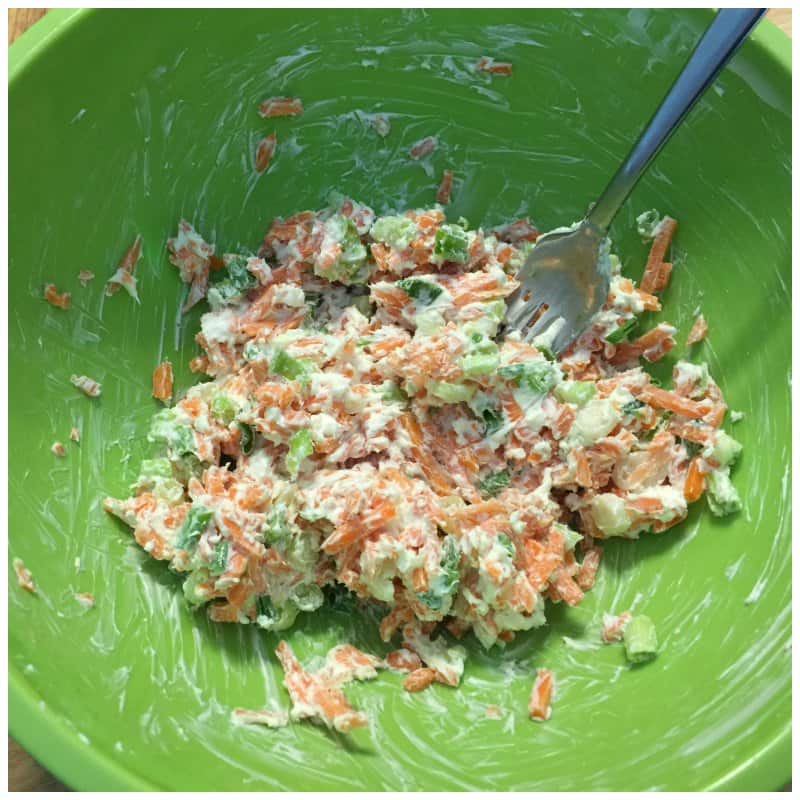
I start by making the filling. Add the carrots, scallions, cream cheese and pepper and mix it completely. This will be the center filling for your sushi rolls.
I divided the rice into 3 sections to even out my sushi rolls. The sections came to about 1 1/3 cups of cooked sushi rice per roll. (To make 3 large sushi rolls I used two cups of rice.)
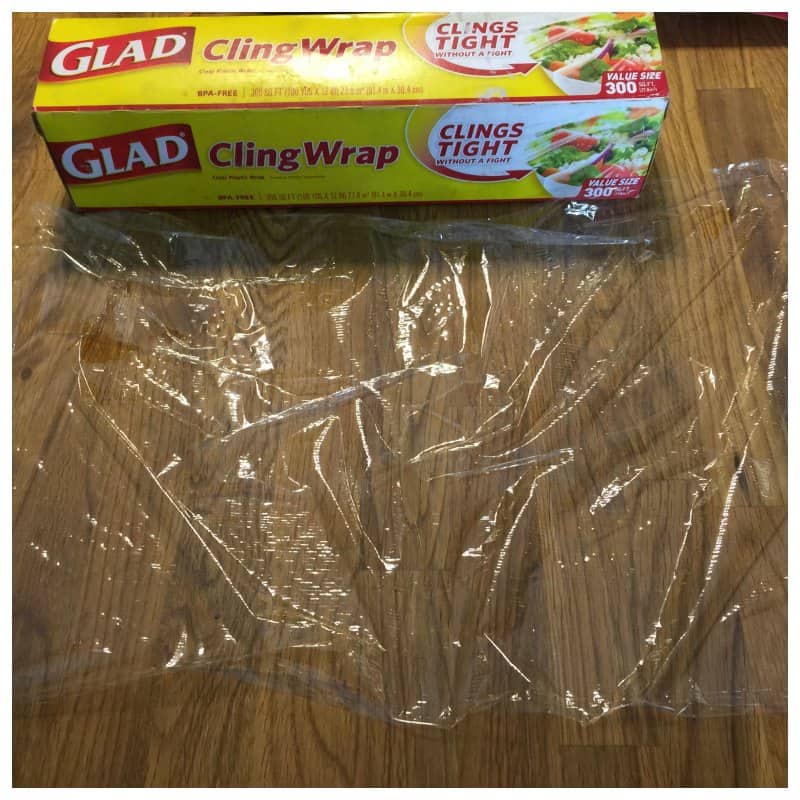
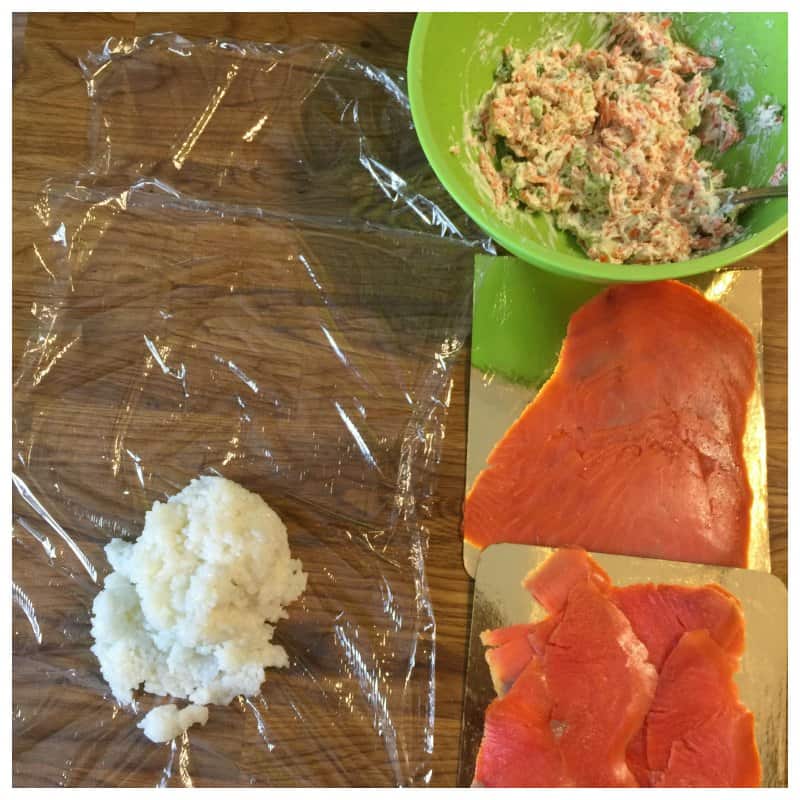
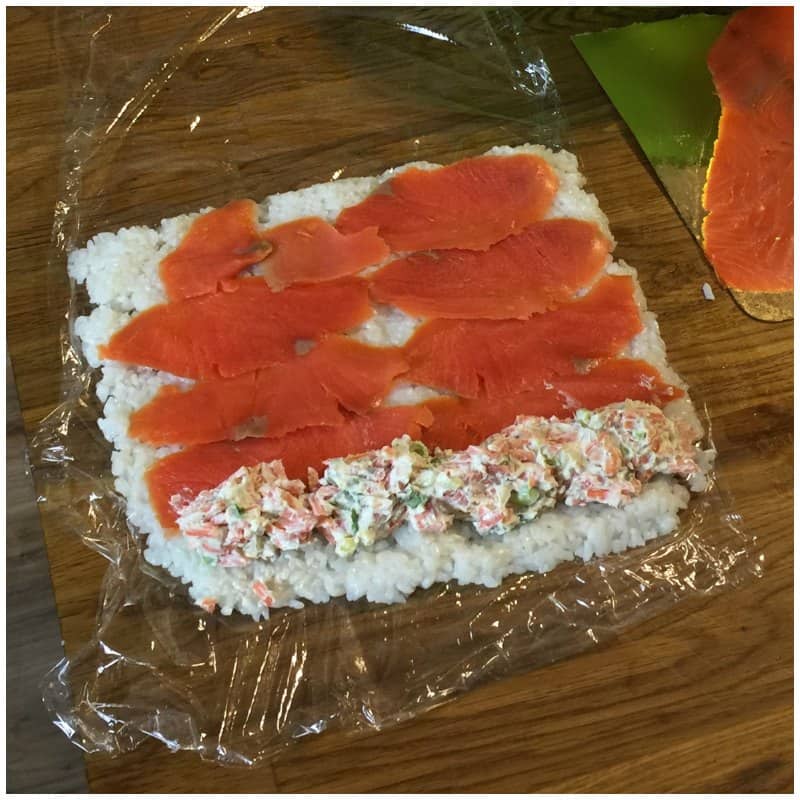
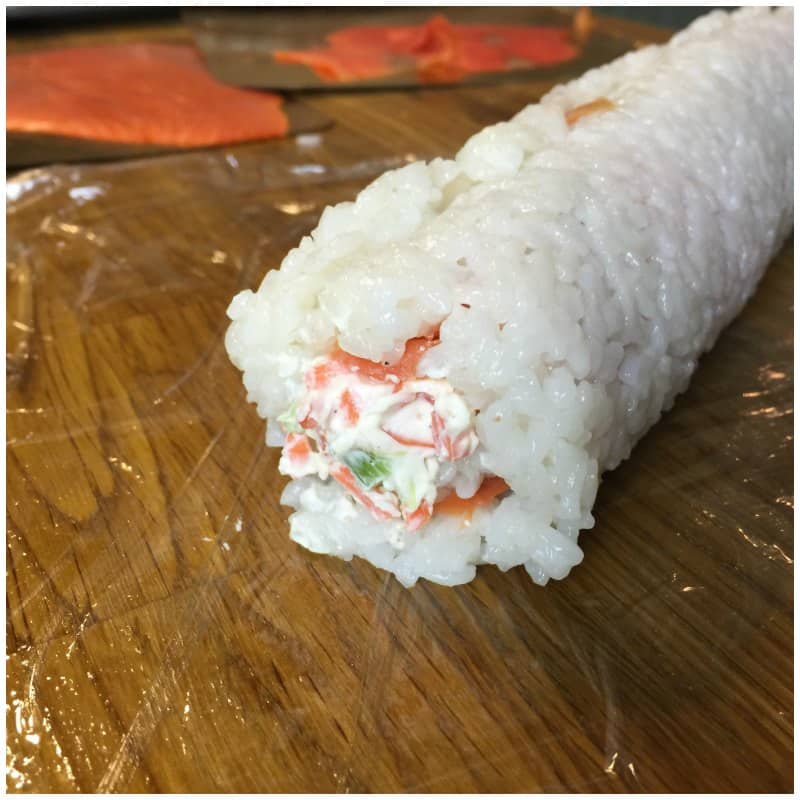
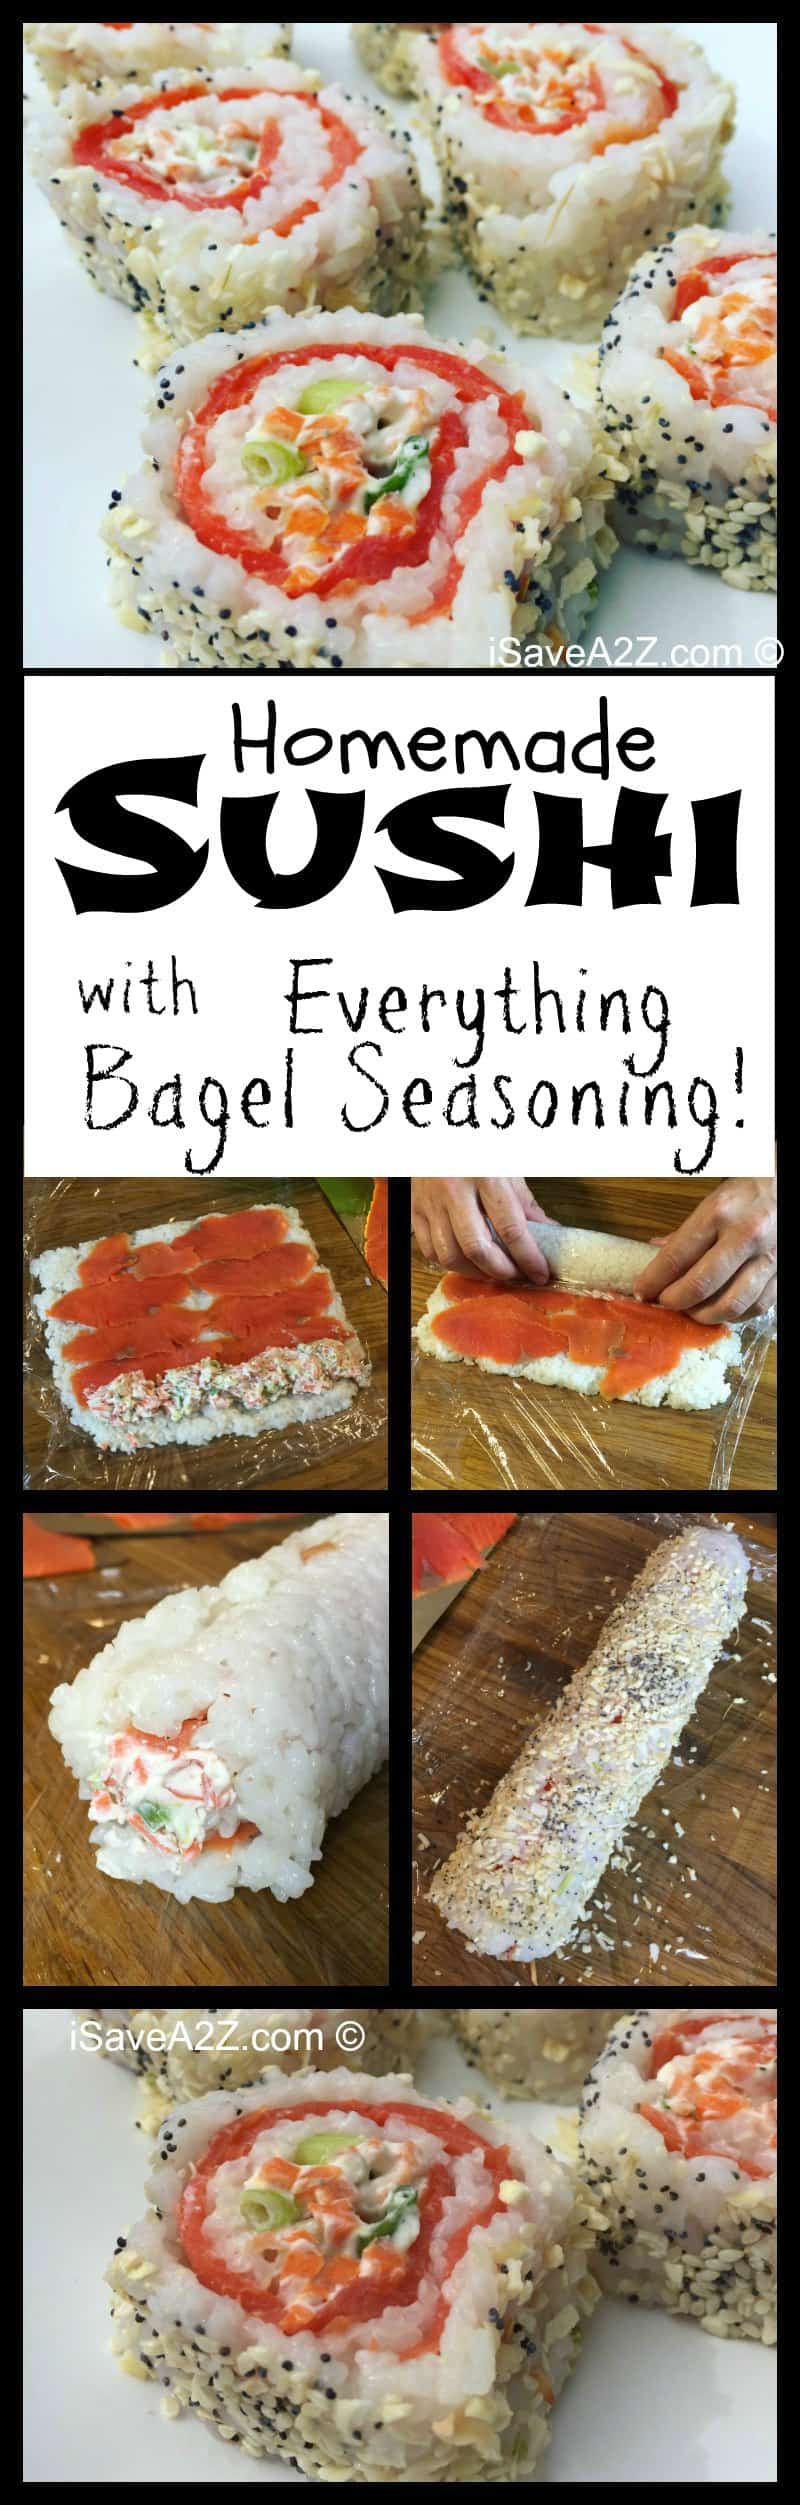
I laid out a long piece of plastic wrap and spread a light amount of cooking oil on the surface. This helps the rice not to stick. I spread the cooked sushi rice into a 7 inch square on one end of the plastic wrap while leaving about an inch on the edge where I started.
After I have a thin layer of rice I started to lay thin layers of smoked salmon starting about 1 inch from the edge of the rice.
Now I add small spoonfuls of the center mixture to the edge of the rice closest to me.
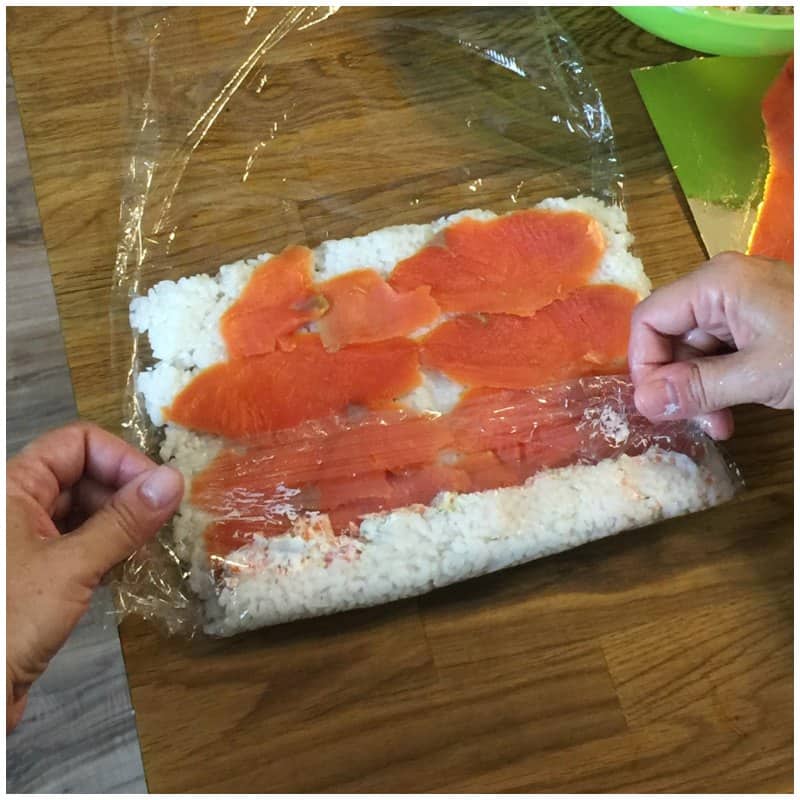
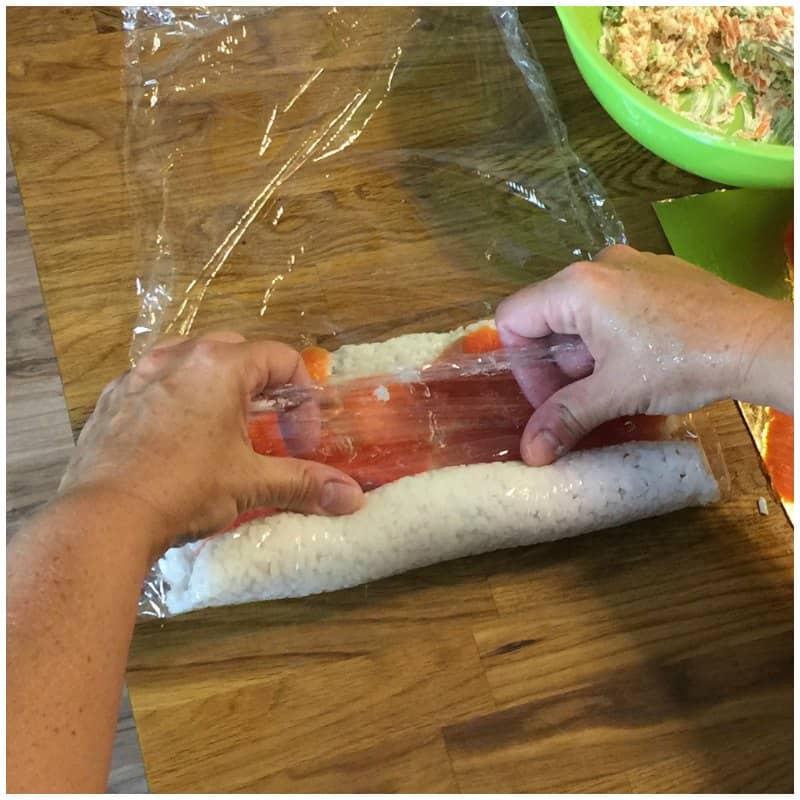
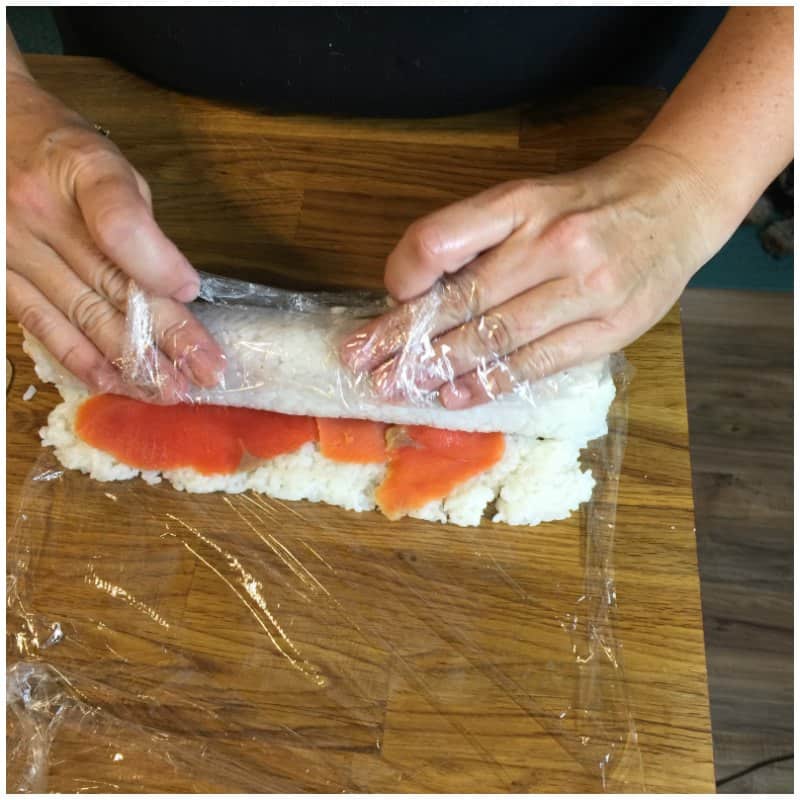
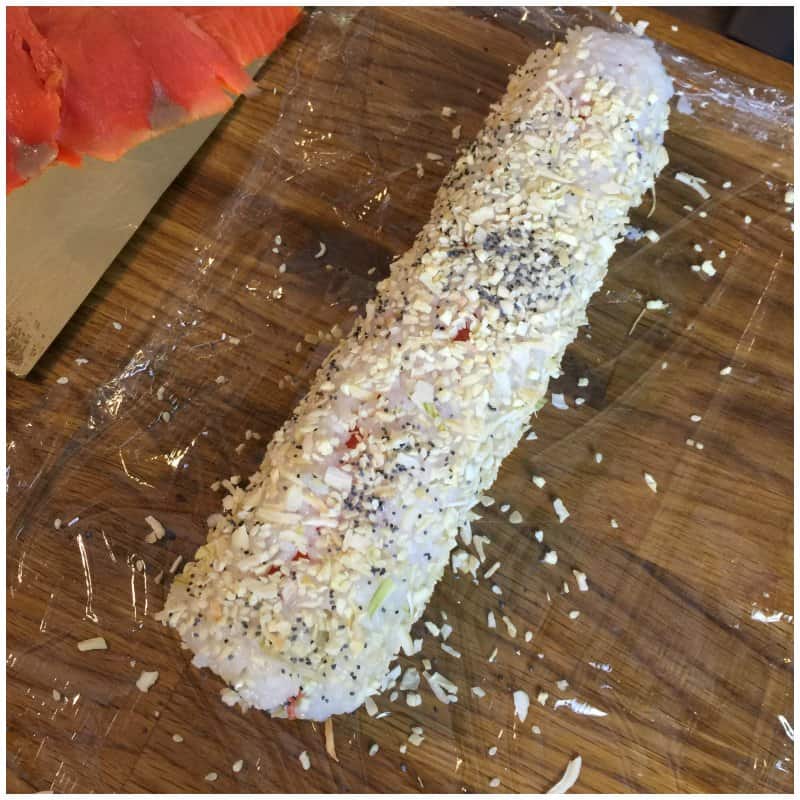
Start to roll the sushi roll up by grabbing the end of the plastic wrap and pressing forward evening the roll out as you go.
Once the roll is completely rolled up, add a sprinkle of the Everything Bagel seasoning to the outside of the roll covering the whole roll.
Set the first roll aside and complete the next two rolls for a total of 3 large sushi rolls. Refrigerate until you are ready to serve them up!
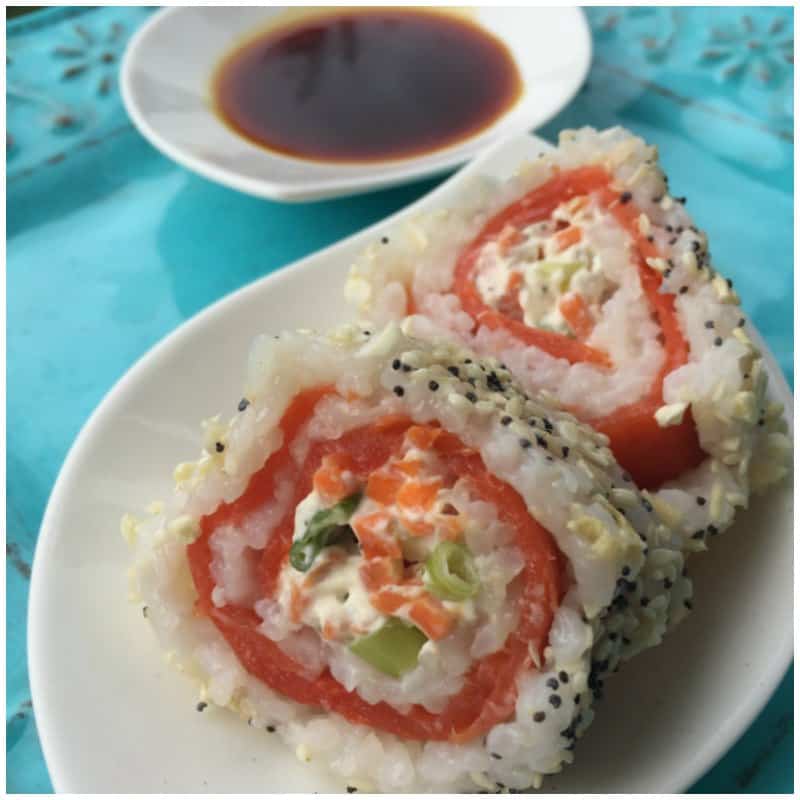
To cut the sushi rolls use a wet sharp knife.
I served these sushi rolls with a little bit of soy sauce.


Feel free to Pin It on Pinterest for later:
Enjoy!