
How To Make a Rain Chain
How to Make a Rain Chain
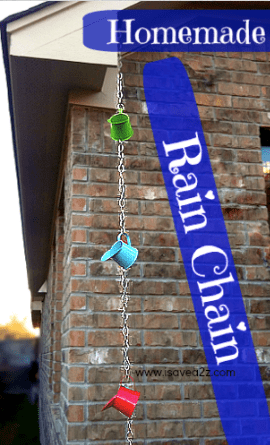
I’ve devised a plan on how to make a rain chain from products I found at the dollar store and my local hardware store with the total cost of about $12! Most of the Rain Chains I’ve priced on Amazon go for about $80 to $100!
Rain Chains are an alternative to a downspout and they are widely used in Japan. The Rain Chains are mainly a very creative and decorative way to transport water from the gutter to a drain or storage container.
After completing my daughters raised garden bed (made from cinder blocks) I felt the need to add a decorative touch next to it with a rain chain. Decoration was not my only inspiration though. I planted this garden of hers near a corner of my house where the roof has a down pour that would land almost right in the middle of the garden bed. Poor planning on my part lead to a very decorative idea next to her garden.
Since we wanted this rain chain to fit with our garden decor we found some tiny little metal garden watering cans at the dollar store that fit in nicely. Next we went to the local hardware store to get some decorative chain.
Here’s how we made our beautiful rain chain:

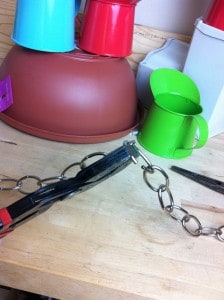
We purchased those cute little metal watering cans and the storage basin for the bottom from the dollar store. We purchased the corner gutter, decorative chain and hook from our local hardware store. We needed pliers, a drill with a small drill bit to complete this project.
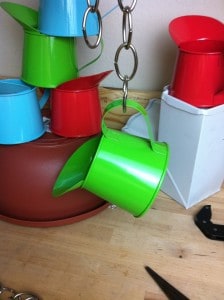
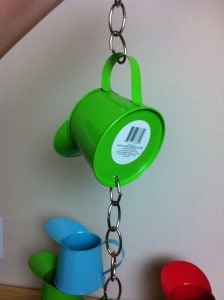
I started by marking off where I wanted my first can to be spaced out on the chain and I used the pliers to open the chain and insert the handle of the can.
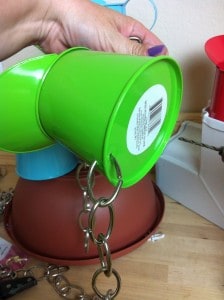
Next I had to figure out a way to connect the bottom of the can to the chain. I drilled two holes at the bottom and the side of the can.

I inserted the chain into the drilled out holes.
Then I continued by counting out the amount of links to the next can and did the above process all over again until I reached my desired length. Before I started I measure exactly where I wanted my rain chain to hand all the way to the bottom of the ground. Once I reached the bottom of the chain I drilled a hole in the basin, attached a hook and connected the chain. Finally we filled the basin with rocks to make sure it stays in place. (It got too dark for me to take a photo of the completed project but I will update it soon)

We grabbed plenty of inspiration with these beautiful rain chains:


We also found some absolutely gorgeous Copper Hammered Rain Chains on Amazon that were worth looking at. I plan to purchase one of the nicer ones for my front yard.
We found this Stanwood Rain Chain Large Cup/Bell Copper Rain Chain, 8-Feet![]() selling for a little over $80! I think this one is my absolute favorite!!
selling for a little over $80! I think this one is my absolute favorite!!
Happy Springtime my Friends~


Love it!