DIY Pumpkin Topiary
DIY Pumpkin Topiary
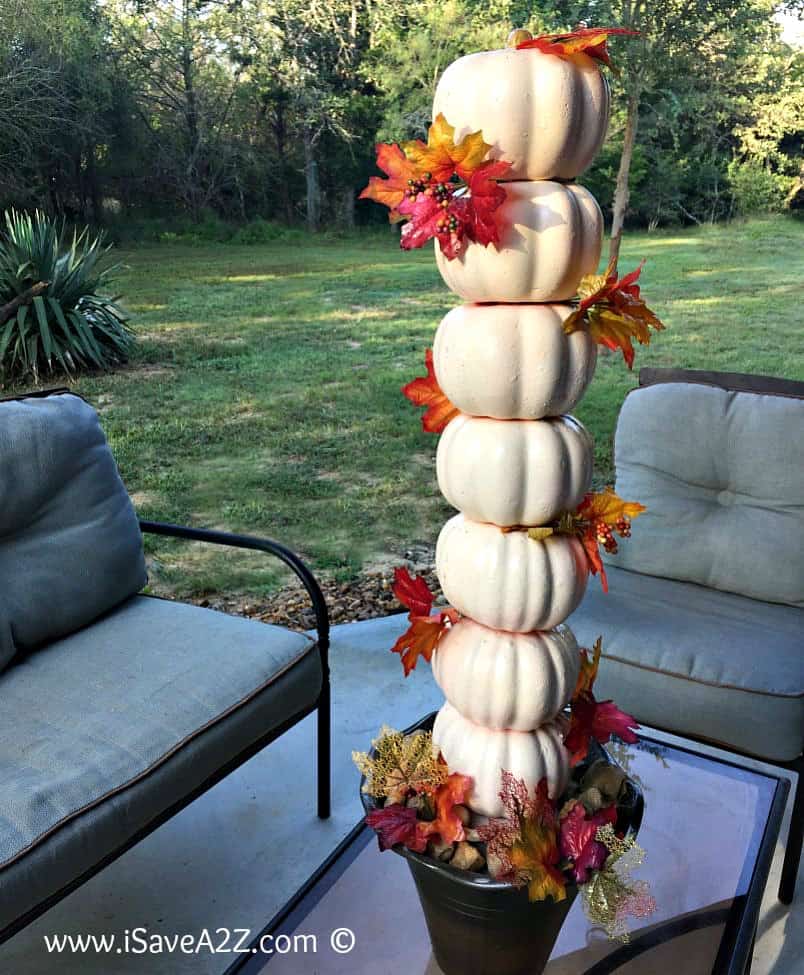
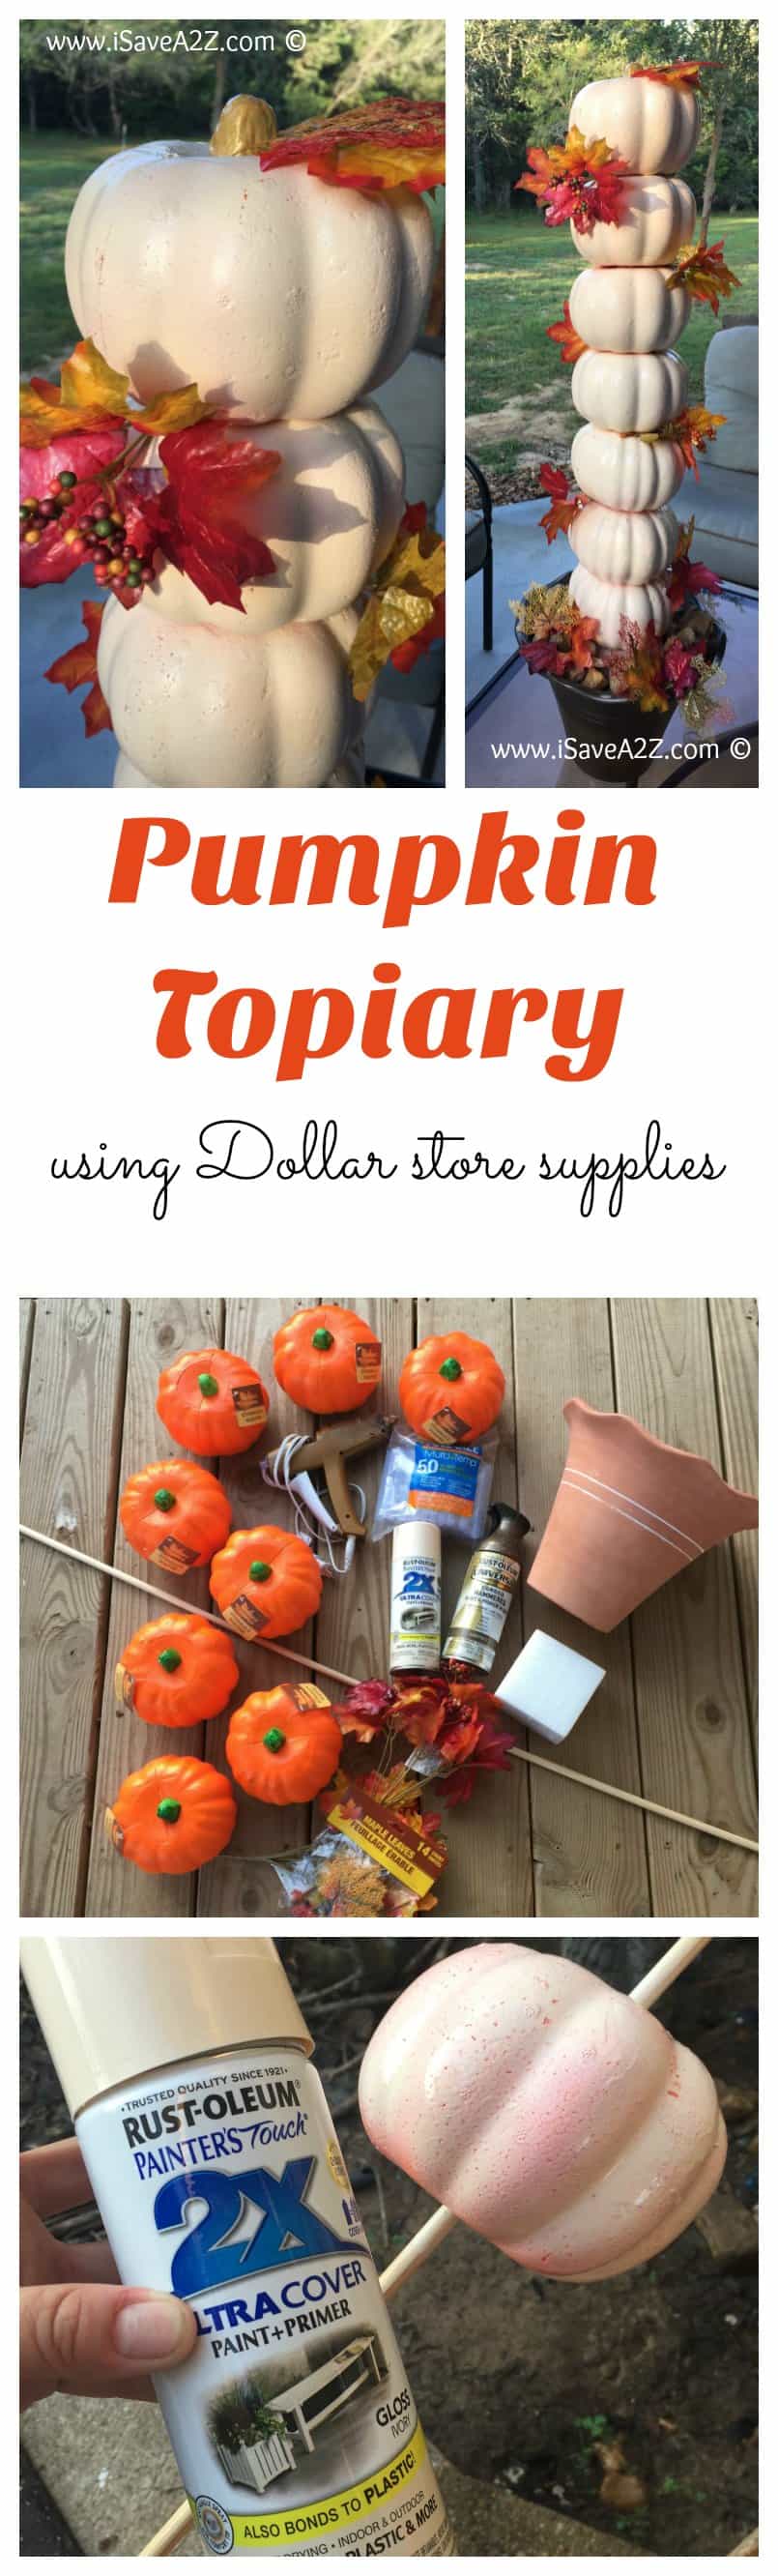
Would you believe me if I told you I made this DIY Pumpkin Topiary from purchases I made at the dollar store? I did! Our local Dollar Tree, which is amazing by the way, had a huge assortment of Halloween and fall season decorations. I was at Walmart the other day and saw the same size styrofoam pumpkins for almost $5 each! I can’t believe I scored these darling little pumpkins for only $1 each!
These pumpkins are hollow but sturdy. I already have way too many orange decorations so I decided I wanted to paint these a more neutral color. I was going for a more upscale look yet keeping my spending in control.
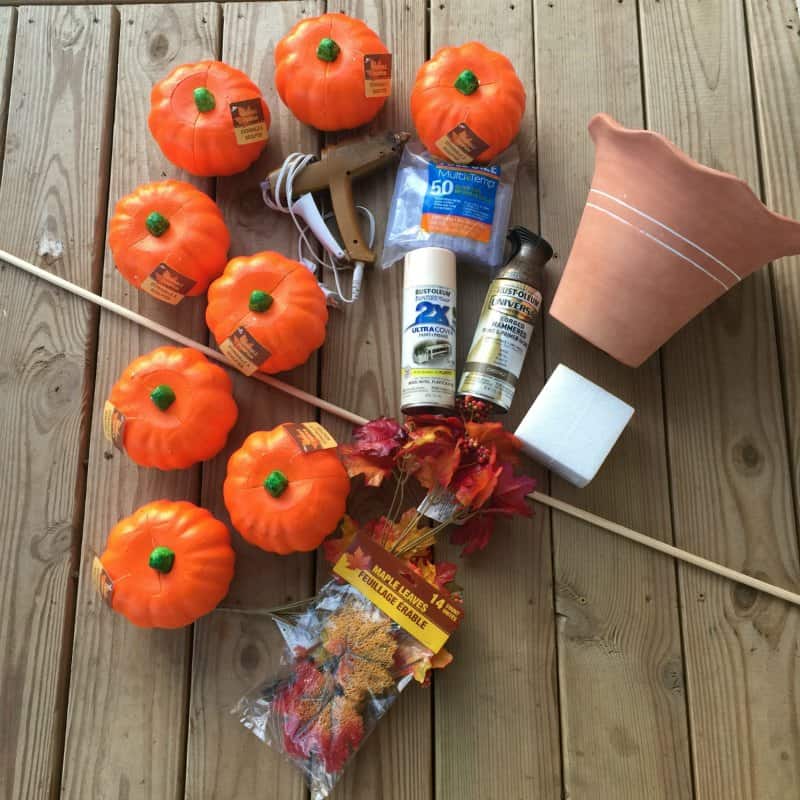
Supplies Needed for this DIY Pumpkin Topiary
3/8 in. x 48 in. Round Birch Dowel
Glue Gun
Glue Sticks
Spray paint
Planter Pot or bucket
Autumn leaves
Styrofoam square insert
8 Styrofoam pumpkins
DIY Pumpkin Topiary Instructions
- Pop off the top of each of the pumpkins. You will need to save one of them for later for the very top of the topiary.
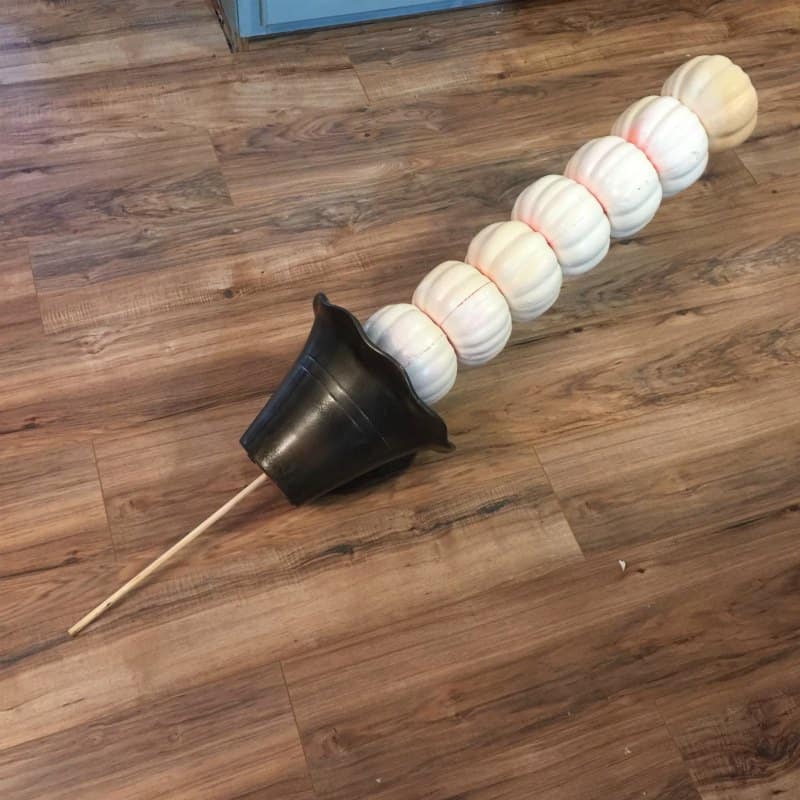
- I placed each pumpkin on the wooden dowel one at a time by just by pushing it to make it slide on the stick. These dollar store pumpkins are hollow inside so they are super easy to work with. They slid on the dowel nice and snug too. If you accidentally make a hole to big or it gets loose just add a bit of hot glue and it will stay in place.
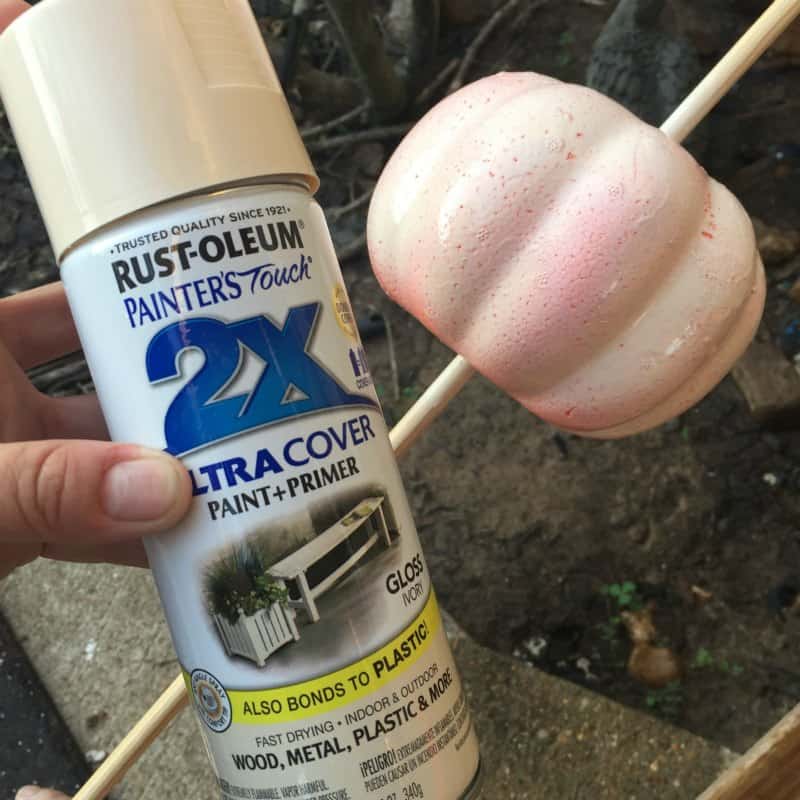
- I ended up spraying each pumpkin with Rustoleum 2X Ultra over paint and primer in an off white color. I sprayed it when I applied the pumpkin to the dowel and they after I had all the pumpkins on the stick I did a second coat. I really, really like the coverage of this paint. It was easy to apply and it only needed a light second coat only because of the texture of the pumpkins. I’m pretty sure I didn’t even use and 1/8 of the can of paint for this project.
- I let the pumpkins dry for about 30 minutes by standing the dowel up in a larger planters pot so it didn’t touch anything to mess up the paint. I didn’t take long at all.
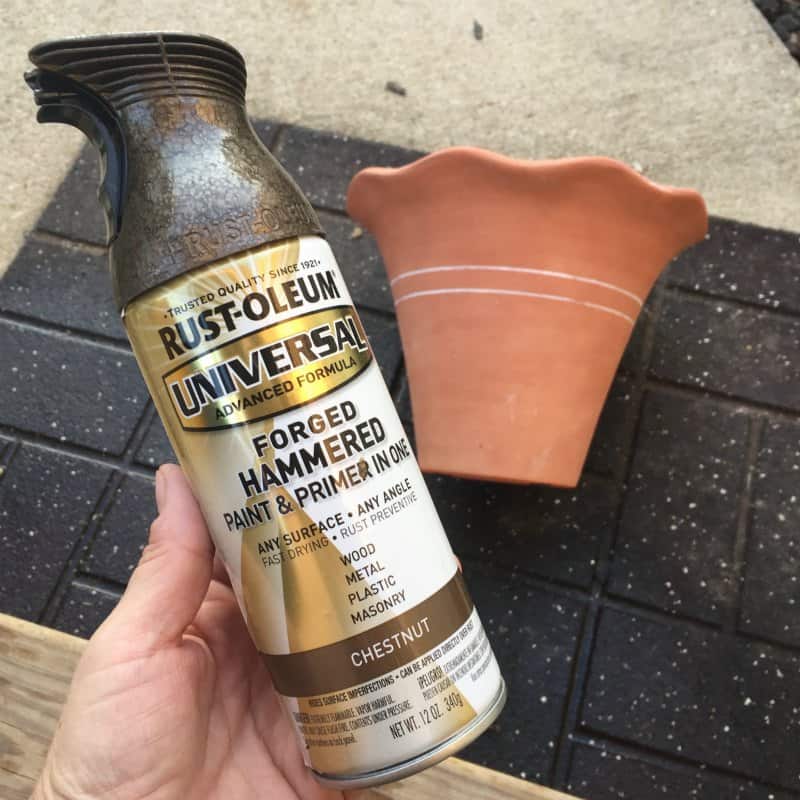
- I ended up painting my planters pot. I bought this fun Rustoleum Forged Hammered paint in Chestnut and it’s gorgeous! It took my cheap pot and made it look amazing! This took a bit longer to dry. I would let it sit for at least an hour.
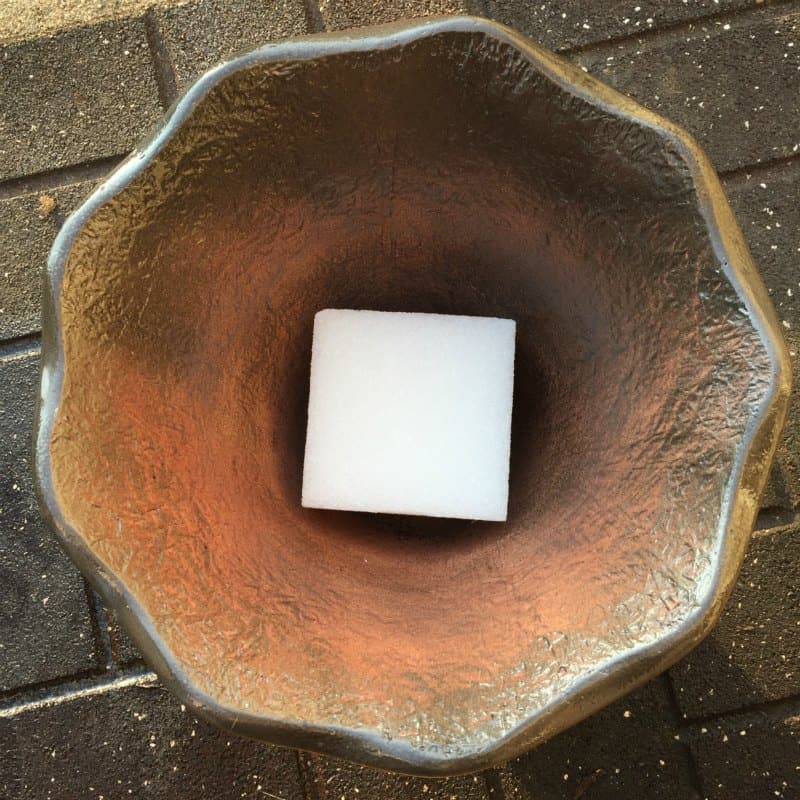
- I pushed the styrofoam square in the very bottom of my planters pot. I didn’t have to glue it or anything because I pushed it in there nice causing the sides to be forced against the round part of the planter where it was hard to come loose. I’m very glad I used the square styrofoam insert instead of the round ball type. It sits nicely and gives this project a good flat base to work from.
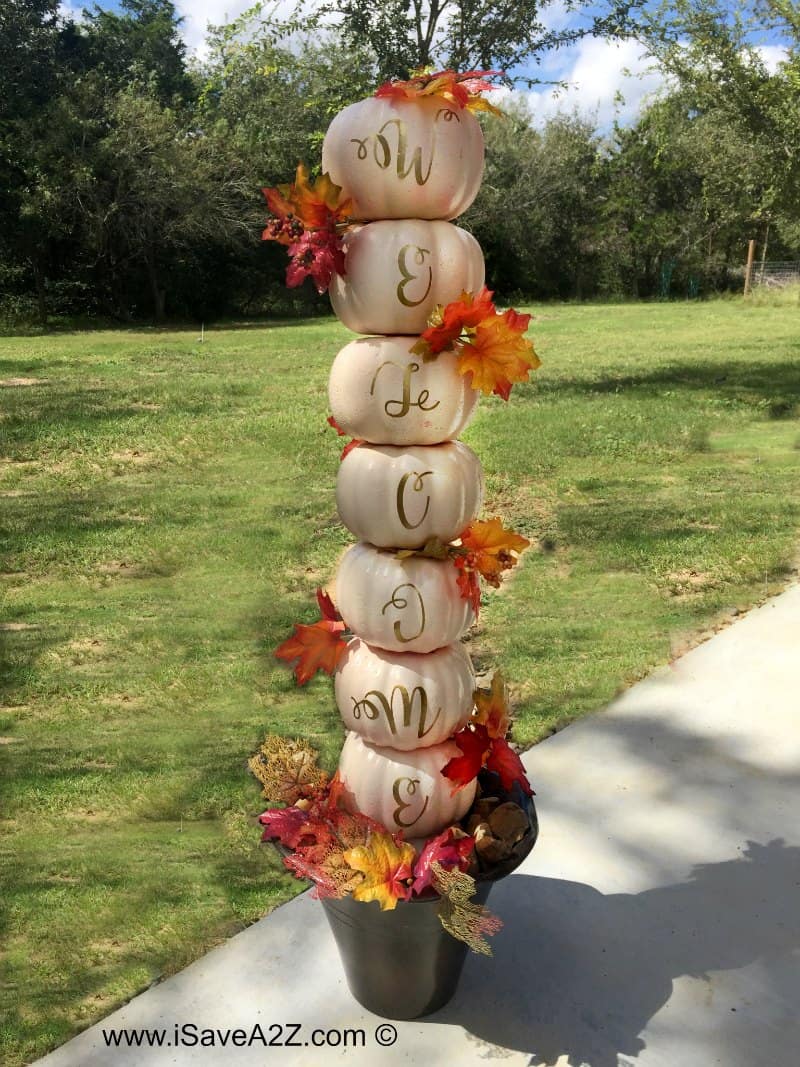
- I bought eight pumpkins with the intentions of using my Silhouette Cameo Vinyl machine and cutting some letters to spell out “Welcome” to go down the pumpkins and use this project at the entry way to our home. Seven pumpkins would be used for this idea and an extra pumpkin is placed in the bottom of the pot for height. I might still add those a bit later. I’m still trying to decide. If you don’t have a vinyl cutting machine and want to do this idea, there are plenty of 3 inch peel and stick letters found here on Amazon that would be perfect for this project! I did not see any peel and stick labels at the dollar store.
- I pushed the stick into the styrofoam base, I realized I purchased a dowel that was way too long. I could have purchased the 36 inch dowel instead of the 48 but I didn’t know that at the time. I would hate to be short and it’s easy to cut off the excess. I ended up pushing the stick all the way through the bottom of the pot to determine the height I wanted and cut it off at the bottom. I sealed the hole using my glue gun.
- I placed some heavy rocks in the bottom of the pot so it has a heavy base. I don’t want the wind to blow it over. I thought about using a little bit of extra cement I had left over from another project but I decided against that because I might want to use this planters pot at a later time for a new project idea.
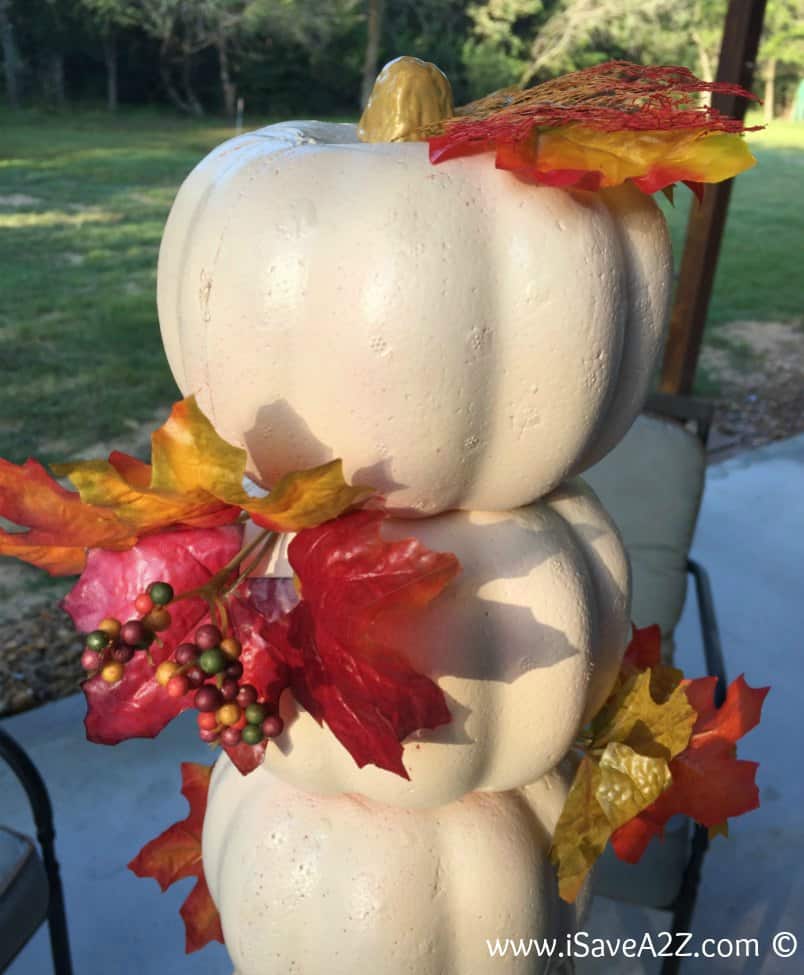
- I finished the project by gluing in place some of the autumn leaves in different colors up and down the topiary and in the base. I also had to touch up a few painted areas on the pumpkin because I accidentally touched the pumpkin with my hot glue gun taking the paint right off.
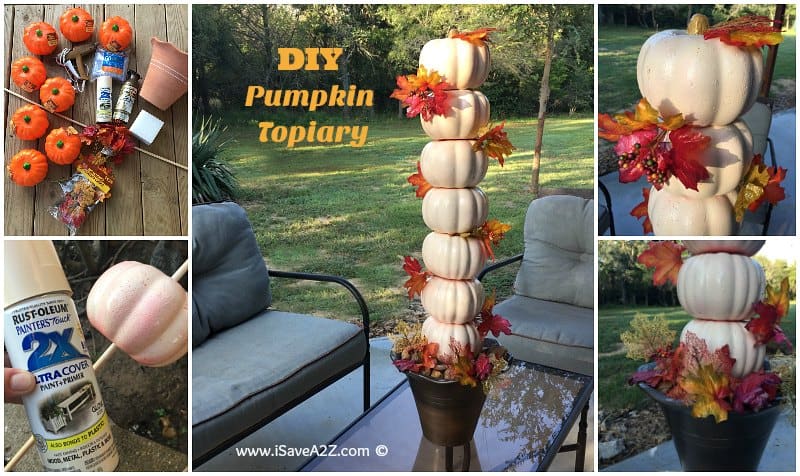
Here are a photos I took as I made this DIY Pumpkin Topiary.

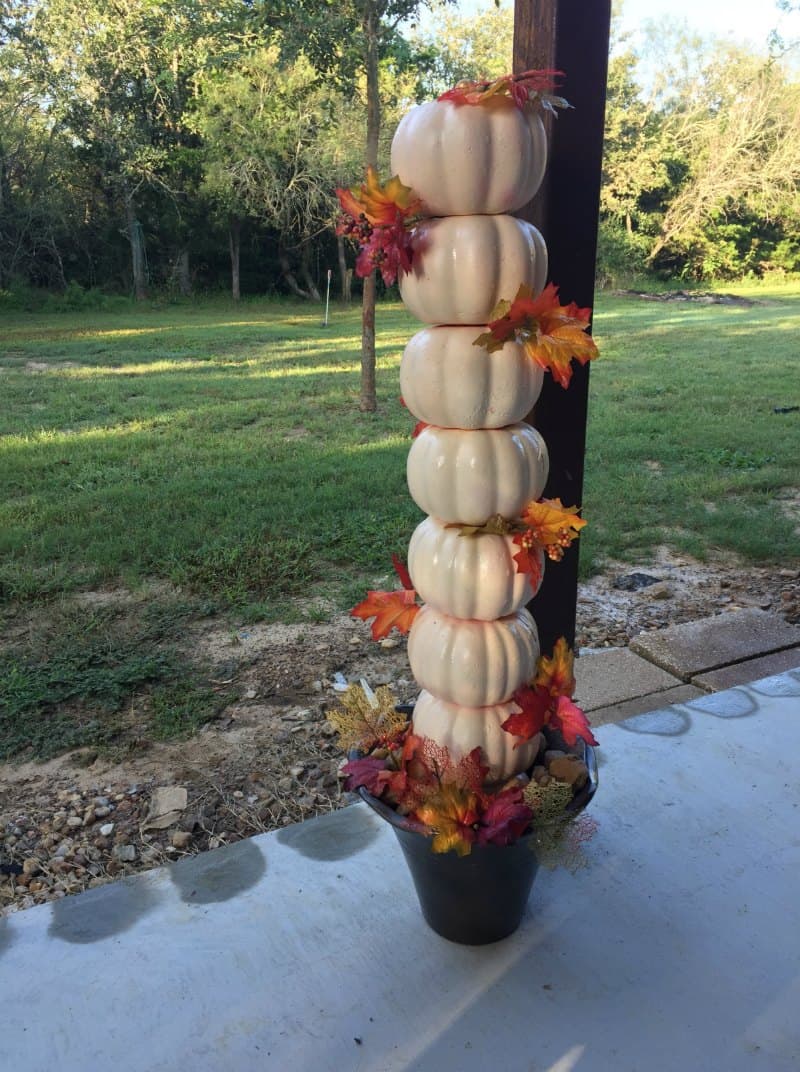
I am delighted with how this dollar store craft idea came out! It looks amazing at my entry way and it would also look amazing on my back patio too. I think I need to make another one! Maybe this time I will paint them different fall colors such as a rust, light green and off white color. Wouldn’t that be adorable?
What do you think? You like it?
UPDATE: I decided to add some gold vinyl letters that spell out Welcome!
Feel free to pin it for later using this photo: