
DIY Washtub Tree Skirt
DIY Washtub Tree Skirt
I am very excited to share my latest craft! This is our DIY Washtub Tree Skirt! Let me start by saying I do not like tree skirts….actually I just don’t like MY tree skirt! I like other people’s tree skirts, but don’t want to spend the money on a new one. And since I change my mind so quickly, I would probably want a new one every year. The one I do have is very plain (aka UGLY) and last Christmas was our first Christmas with our dog, and it just seemed to attract dog hair like crazy! How many time a day do I need to Swiffer?? Anyway, we put our tree up the day after Thanksgiving, because that is our tradition. BUT…I refused to put that tree skirt on! I was doing some Pinterest surfing and came across this basic idea. And lucky for me, I already most of the supplies I needed.
I don’t know where it came from or why I have it, but I have had this old galvanized tub out back for as long as I can remember. I cleaned it up a bit and started crafting! This is what you’ll need to make your own DIY Washtub Tree Skirt! P.S. I know it’s not actually a “skirt” but I wasn’t sure what to call it, so a skirt it is!
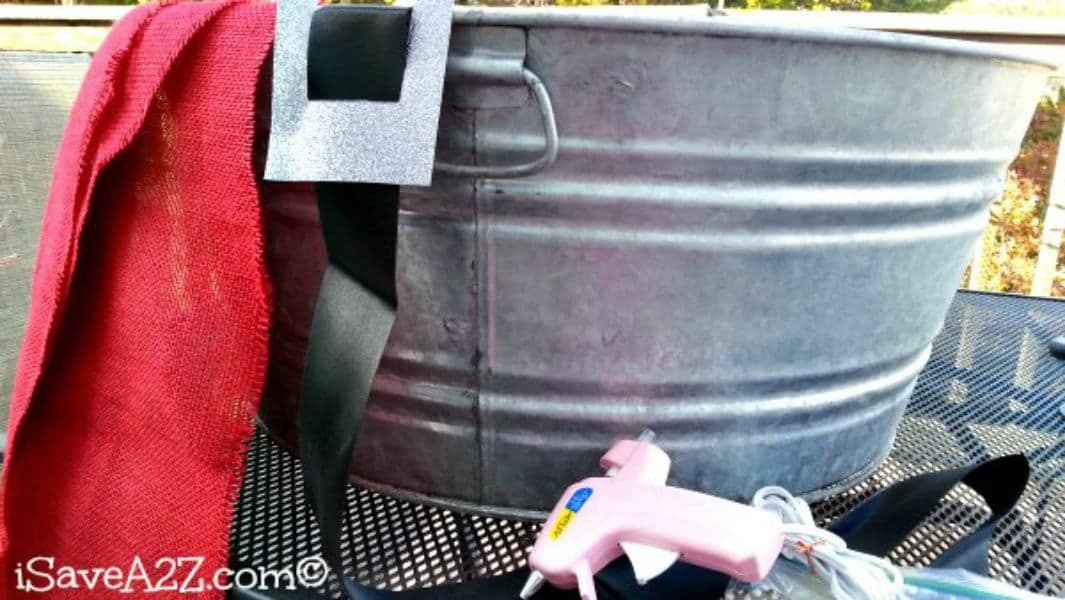
Supplies:
- 1 galvanized tub: make sure it is large enough for the tree stand to fit in the bottom.
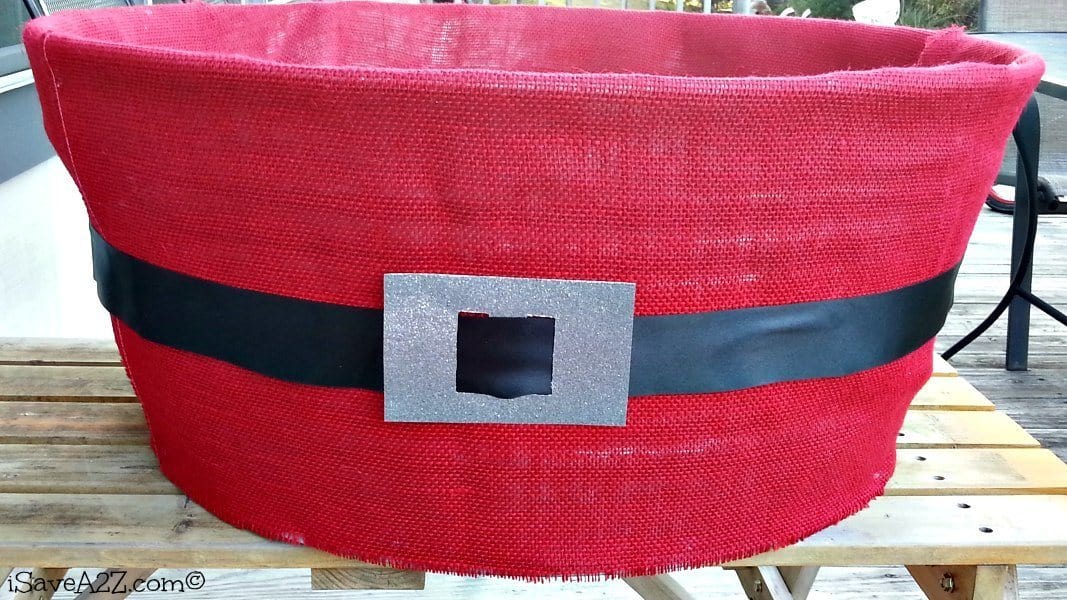
- If you want to decorate the tub, you’ll need the decorations. I had some red burlap and this Santa belt made from ribbon and glitter stock paper that I made last year. It came from my Santa Belt Table Runner that we did last year and aren’t using this year. Also, make sure the fabric is wide enough to fold over the top of the washtub.
- glue gun
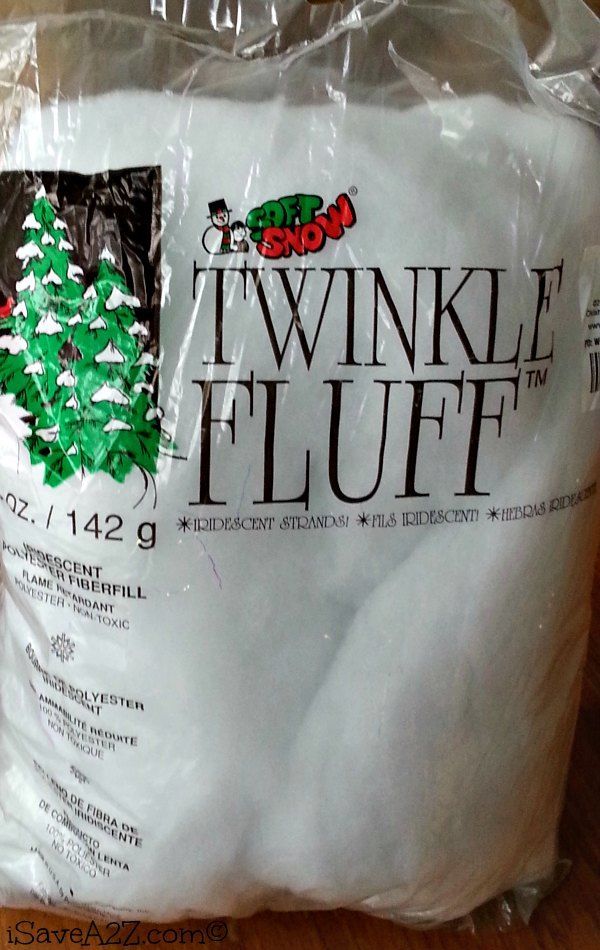
- fake snow: We bought a bag of Twinkle Fluff at our local craft store. You want it in a sheet, so you can tear it apart and fluff it up yourself.
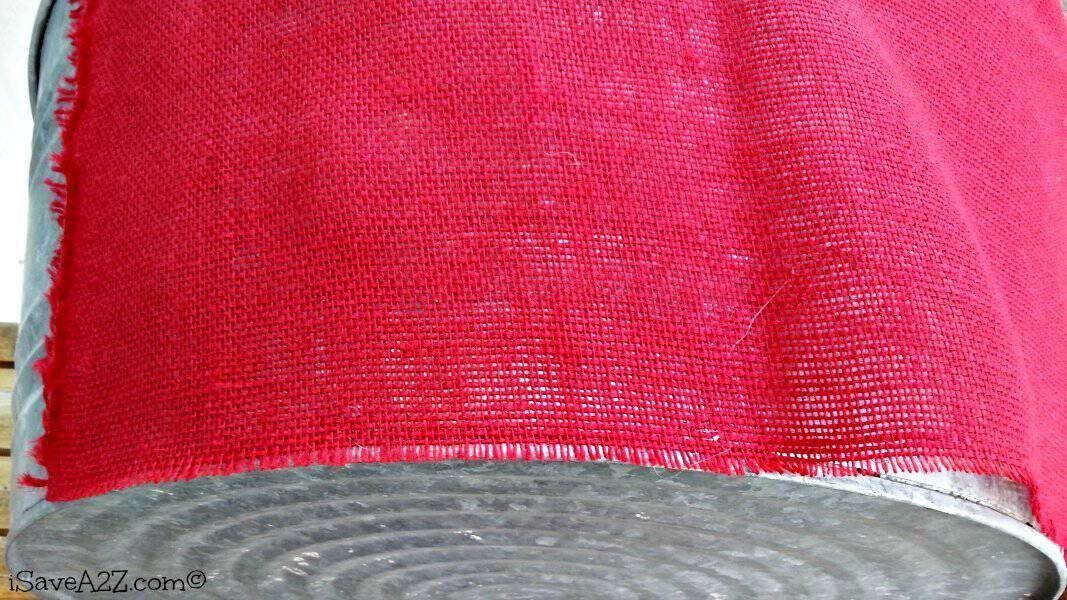
Step 1: Get your glue gun hot, line up the bottom of the fabric with the bottom of the washtub and start gluing it down. I had two separate pieces of burlap, but I just overlapped them a bit and kept on going.
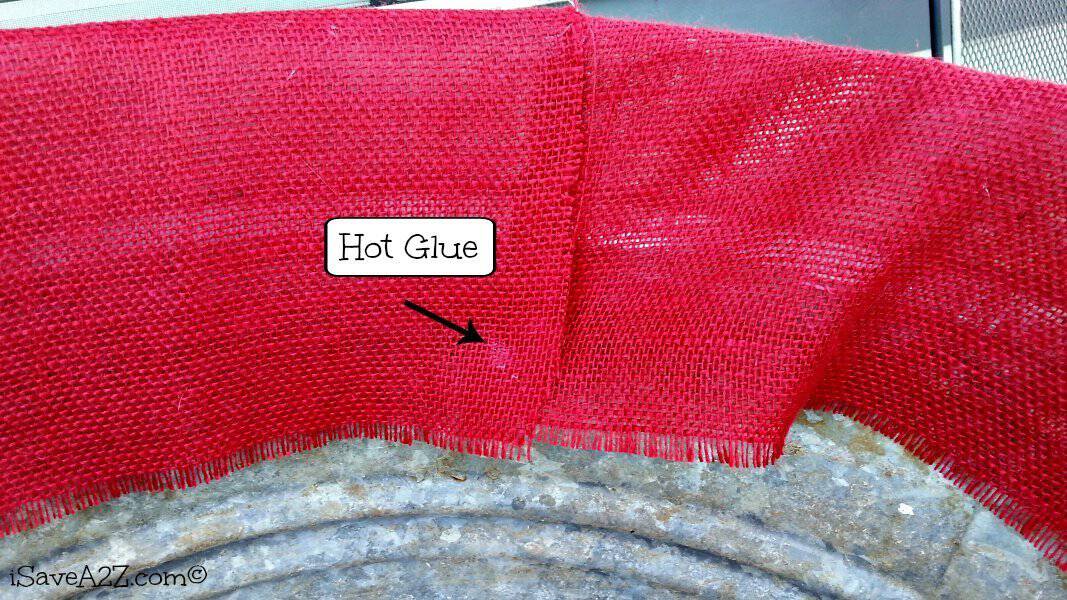
Step 2: Fold the excess fabric over the top of the washtub to the inside. You can let it just hang in there (you’re not really going to see that part anyway) or you can glue it down in a few spots on the inside to secure it.
Step 3: Add any other decorations to the outside of the washtub if you want. This is where our Santa belt came in. Again, I just used hot glue to secure it.
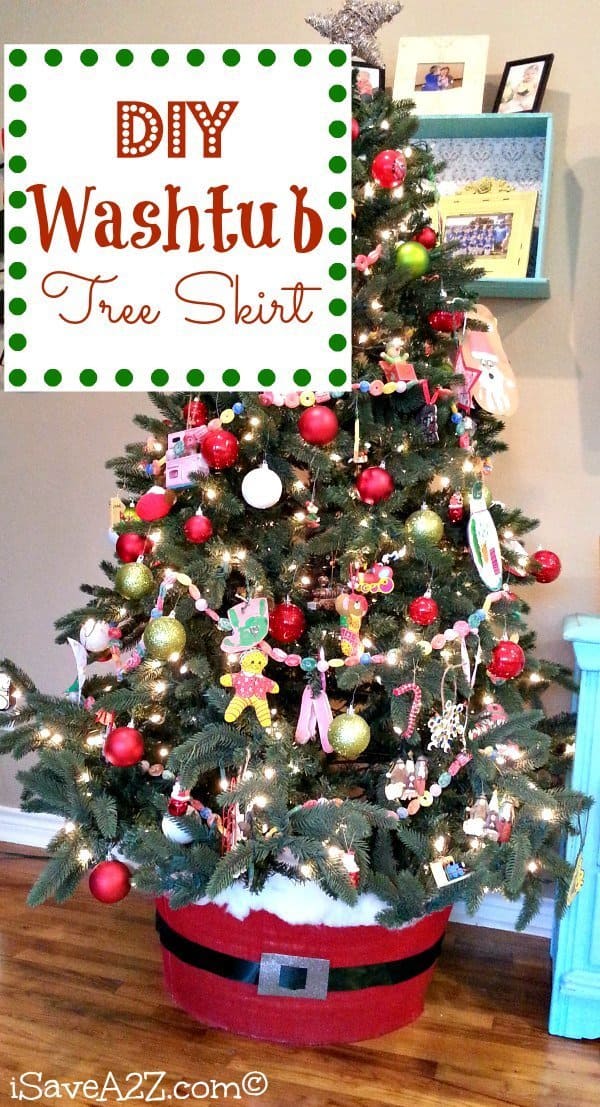
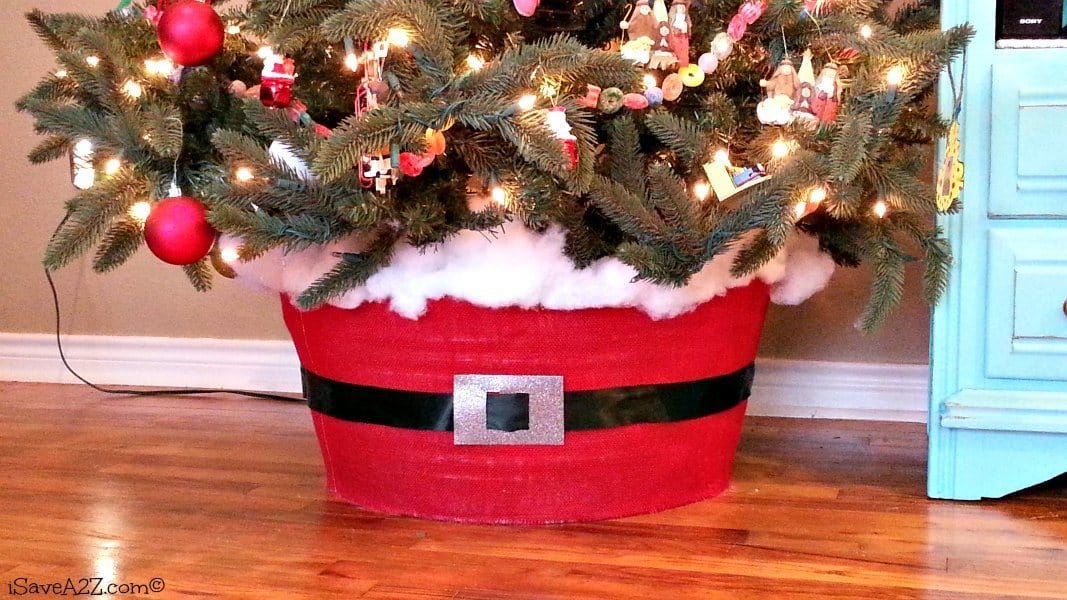
Voila!! That is all it takes to make a DIY Washtub Tree Skirt! We already had our tree up, so my husband had to lift it up (decorations and all) while I put the washtub underneath. We don’t have a HUGE tree so it was fine, but I will be sure to do this first next year! Once our tree was in place, I also added some fake snow just to fill in any gap between the bottom limbs of my tree and the washtub. It looked fine without it, but it is just an added touch. This was the only thing I had to buy for this project and this is what we bought.
And this is our completed DIY Washtub Tree Skirt….or whatever it is called.
Enjoy!


Love your Santa tub tree skirt (n it would look cute with some of your Santa belt ornaments on the tree). I’d use the tub to store odd-shaped ornaments n decorations between Christmases (I’d drop the whole thing in a big clear recycle/garbage bag before I put it away).
Oh my this is so cute! I have a patchwork tree skirt that I love. But I also have a old galvanized wash tub like yours so I may just have to make one up and put a tree in it outside!
Thank you for sharing such a cute idea!