This idea started when I went to a local baking class here in Austin for Modeling Chocolate. It was a super fun class and I realized I had done this before but never realized that was the name for it. I turned peanut butter into a modeling type edible clay just like modeling chocolate. The class was fun and they taught us how to make modeling chocolate out of anything chocolate by adding corn syrup. We ended up making a cake wrapped in this modeling chocolate. It texture reminded me of fondant but the taste was way better. We all made a rose for the top of our cake. While in class I was thinking about tootsie rolls and starbursts. Actually, I was thinking that most candies have some sort of corn syrup in there but I immediately had an idea for starburst candies. I wanted to create an edible rose out of that type of candy. The modeling chocolate we made in class turned as hard as a starburst when it was cooled and that’s what gave me the idea. When you start kneading the candy in your hand, it softens up and becomes soft enough for you to model into anything you want.
I decided to make this a mother-daughter project. It’s a fun and creative project for a 10 year old. She was totally up for the challenge when I told her about my idea too. I mean, what kid wouldn’t want to play around with candy they would eventually get to eat, right?
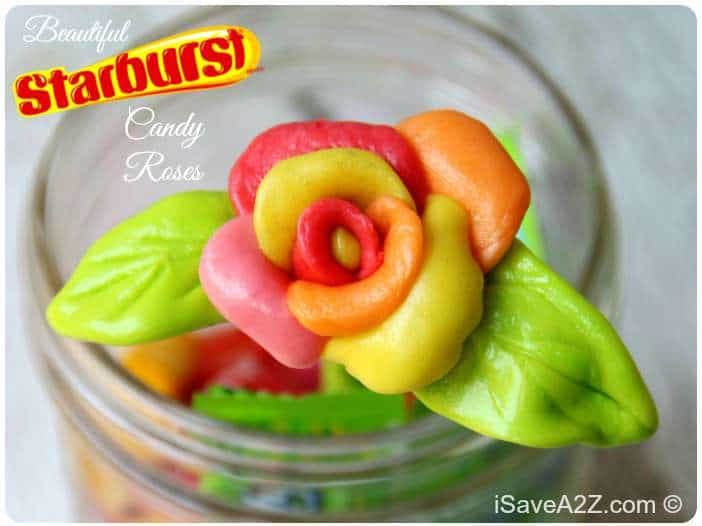
Instructions to Make Your Own Edible Starburst Candy Roses
First, I bet you are wondering why there is cornstarch in the ingredients list right? Well, when you play with candy it will get sticky. I used cornstarch to dust my hands so I didn’t get them sticky. In fact, here’s a tip for you. Add about a 1/2 cornstarch to a baby sock and tie off the ends with a rubber band. This way you can use this to dust your hands while you are working.
To make the roses:
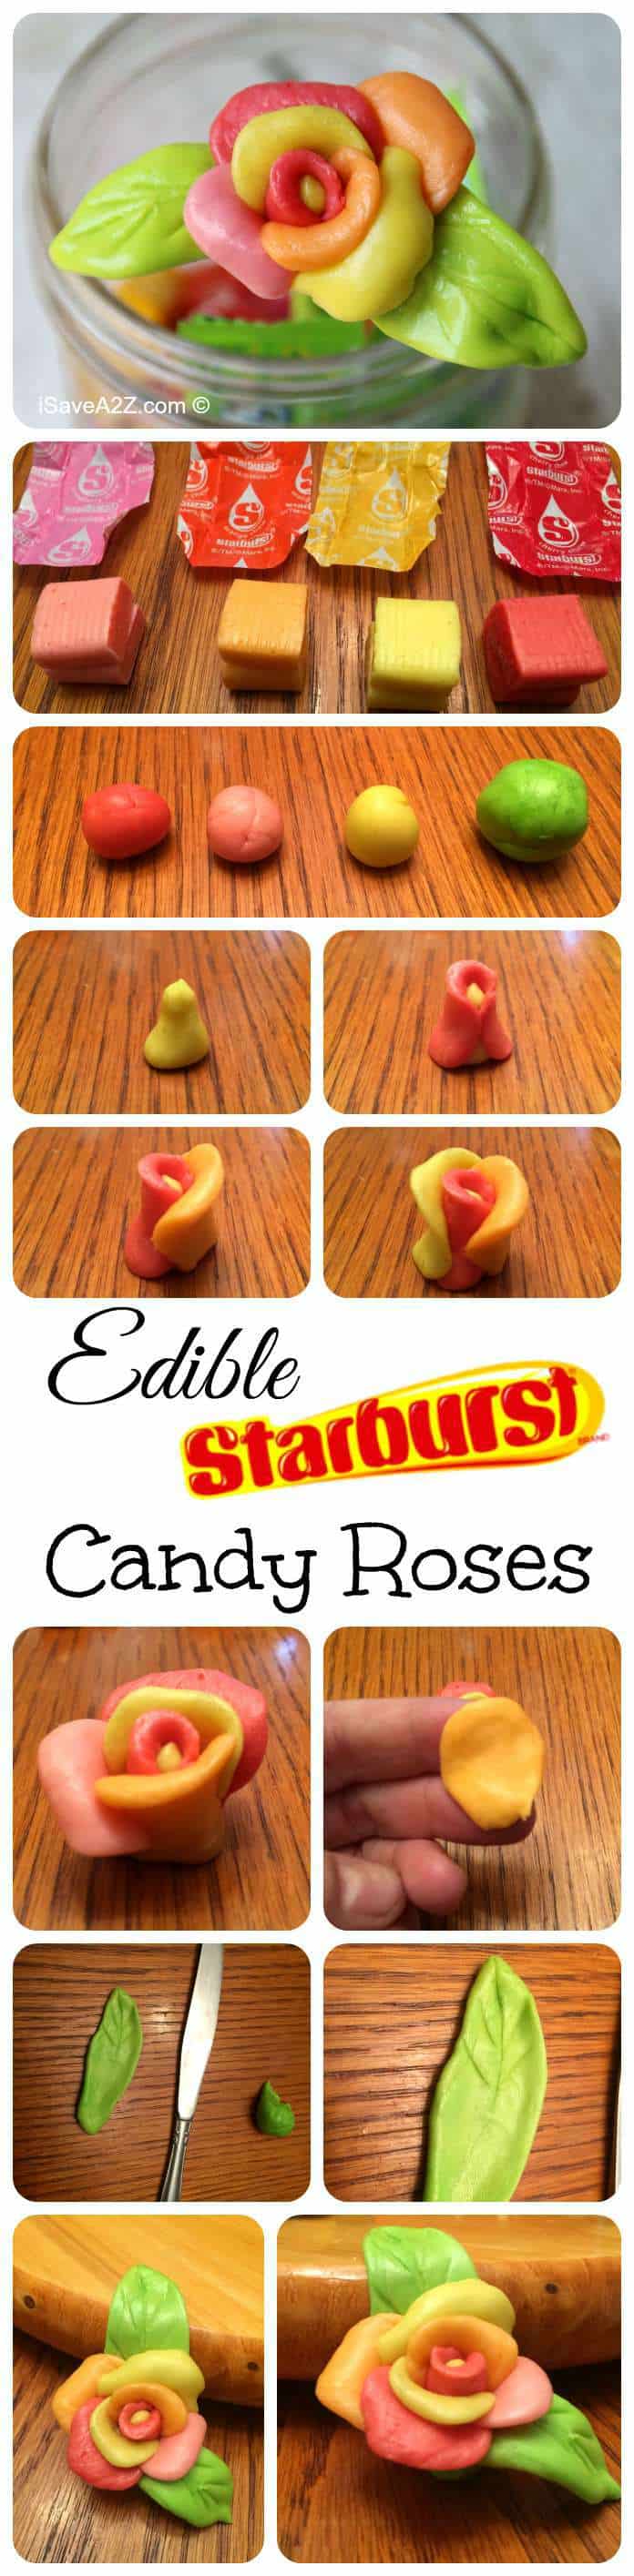
You want to start off with about 3 Starburst Candies for a small rose or 6 for a bigger one. You will start by kneading the piece of candy in your hand until it becomes soft enough for you to model into something. Don’t worry though, it will stay soft long enough for you to finish your rose. Do this will all the candy pieces. We decided to switch up the colors a bit and make a very colorful rose.
To make a rose you will start off with the very first small piece of candy shaped to look just like a small Hershey’s kiss.
Now you will make exactly six rose pedals out of any color you want. I chose to mix up the colors a bit. You will wrap the very first pedal around the first piece almost like a blanket covering you up when you are cold. It will cover it up as though you are almost hiding the first piece.
Now the remaining pedals you will place around the rest of the rose. If the bottom of the rose is too bulky you can always pinch some of the candy off it it.
To make the leaves:
I ended up using Laffy Taffy candy because there was a bright green color that I wanted to use for my leaves. I ended up mixing a yellow starburst with the Laffy Taffy candy to lighten up the color just a bit.
Once the candy was soft, I pressed it flat and used a knife to cut out the shape of a leaf. I used the knife to make little lines in the leaf to give it a realistic look too.
Next I pressed that leaf against the rose. I created two leaves to complete the look.
Finally I added the rose onto a lollipop stick. I decided I wanted to cover half the stick with the rest of my green candy so the stick wouldn’t show. It’s really up to you how you want the final rose to look. You really don’t even need a lollipop stick either. I think this rose would look beautiful on top of a cake!
Here are a few process photos:
Tip: My hands tend to my hot normally. This makes the candy soften quicker. My daughters hands are not as hot as mine and it took her a bit longer for the candy to soften. I also noticed that I had to put mine in the freezer to “set” into shape. This only took a few minutes.
What do you think? Do you think you will try this fun idea?
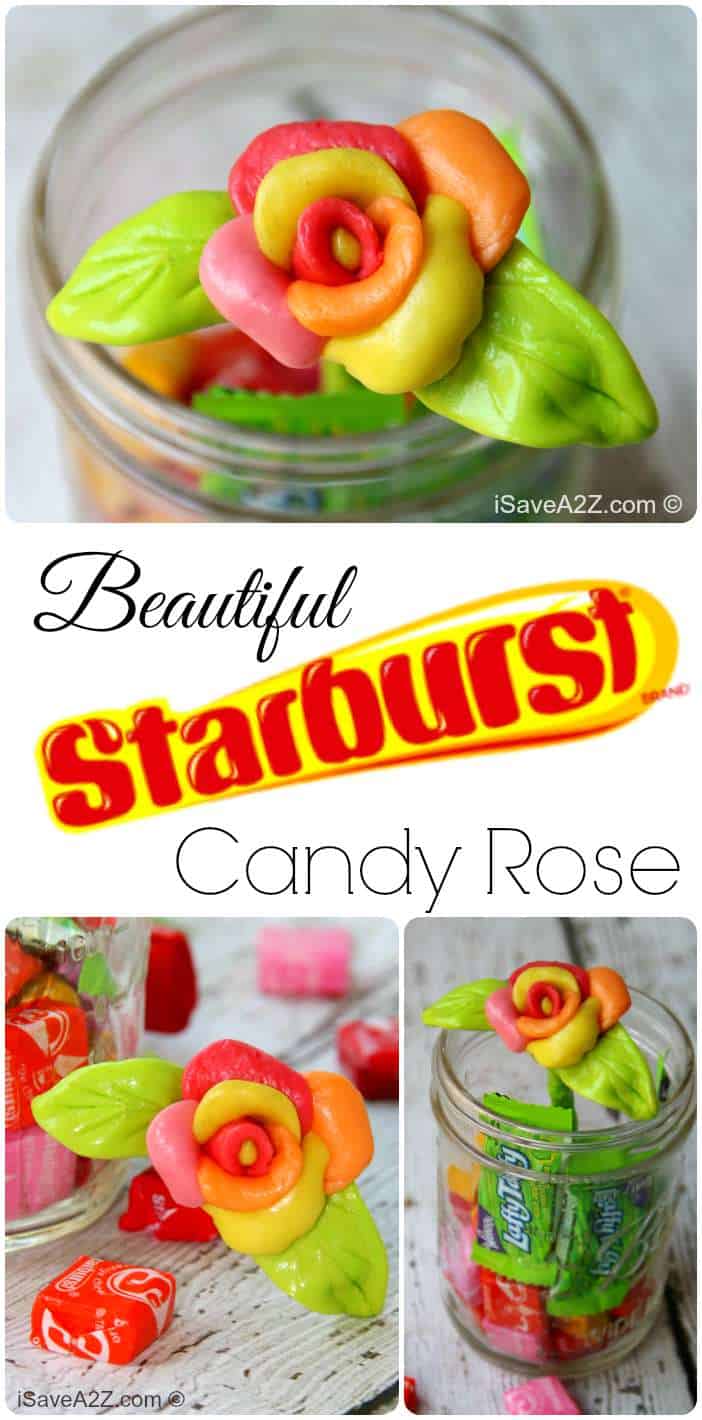
Feel free to Pin this project here for later:
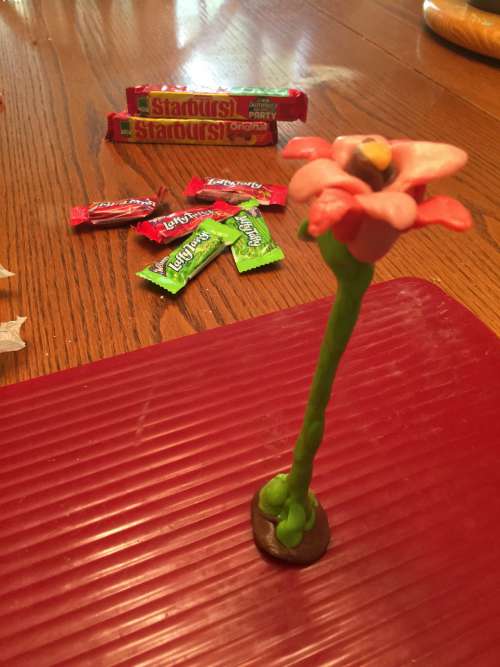
My daughter got the biggest kick out of this project. This would be a super fun sleep over project or a birthday party activity. She decided to make her very own flower. She insisted it’s not a rose because she wanted to be different than me. She also created a stand with some extra candy on the bottom so here’s stands on it’s own without the use of a Mason jar like I used. She’s so clever.


Very Interesting , I loved it 🙂
This is a great project, I think I may try it.