
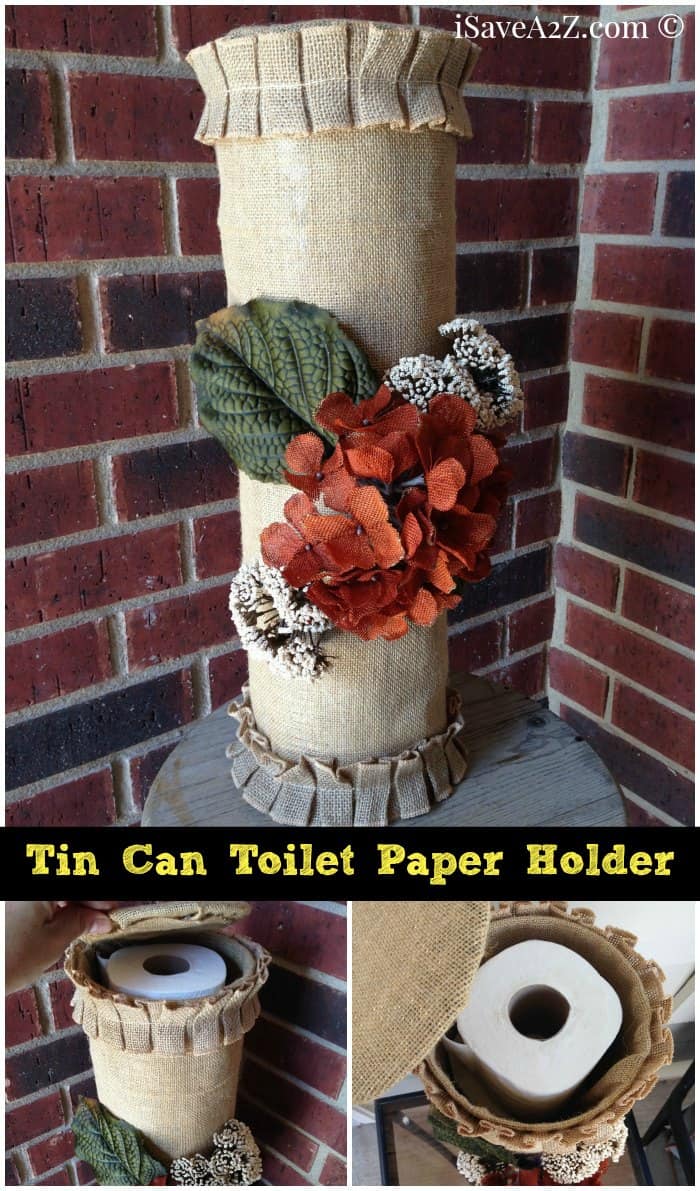
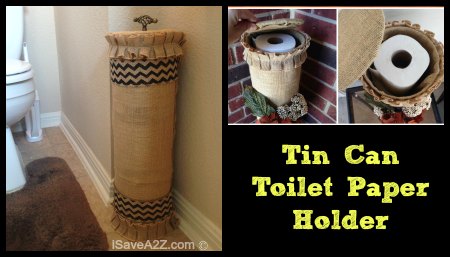
Tin Can Toilet Paper Holder
I love turning used products into something useful. I recently moved into a smaller place so my storage areas are sparse. I’ve decided to turn some large tin cans into a toilet paper holder. This project is not a new idea. In fact, I’ve made the same tin can toilet paper holder more than 10 years ago. Back then, I used a towel as the cover. That project required a bit of sewing but using the burlap did not. This project requires the glue gun. I ended up making a couple different versions of this project. One with flowers and one with chevron burlap ribbon. There are so many different colors of the Chevron burlap ribbon that it was hard for me to choose. I ended up sticking with a neutral color that would match almost anything.

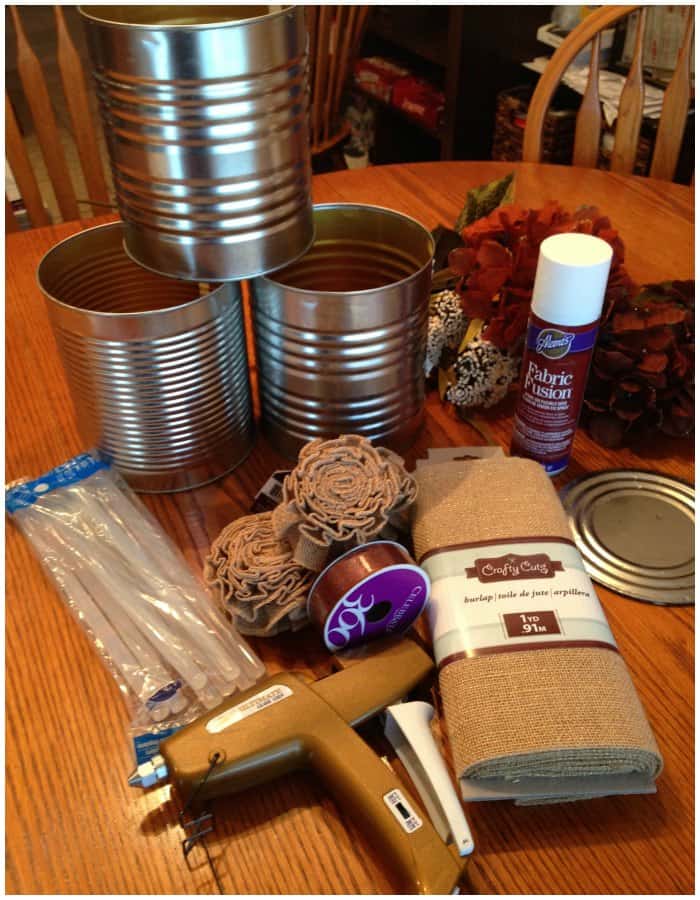
Here are the items you need to make our Tin Can Toilet Paper Holder:
- 1 yard Fabric (we used 1 yard of burlap just like this one here)
- Glue Gun
- Glue Sticks
- Ribbon
- Duct Tape
- Decorative Knob for the lid
- 3 large tin cans
- Can opener
- Scissors (I use the Fiskars scissors seen here which are the BEST scissors on Earth!)
- Optional: Flowers for decorations
Start by making sure the cans are clean. Cut out the bottom of two of the three coffee cans by using a can opener. Save the two lids you cut out to use as a lid later.
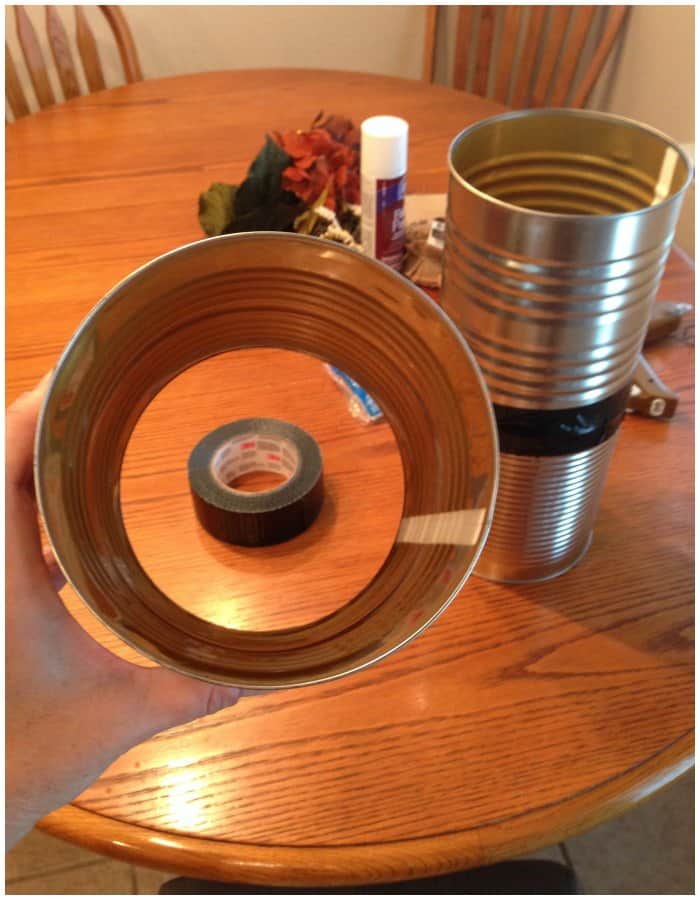
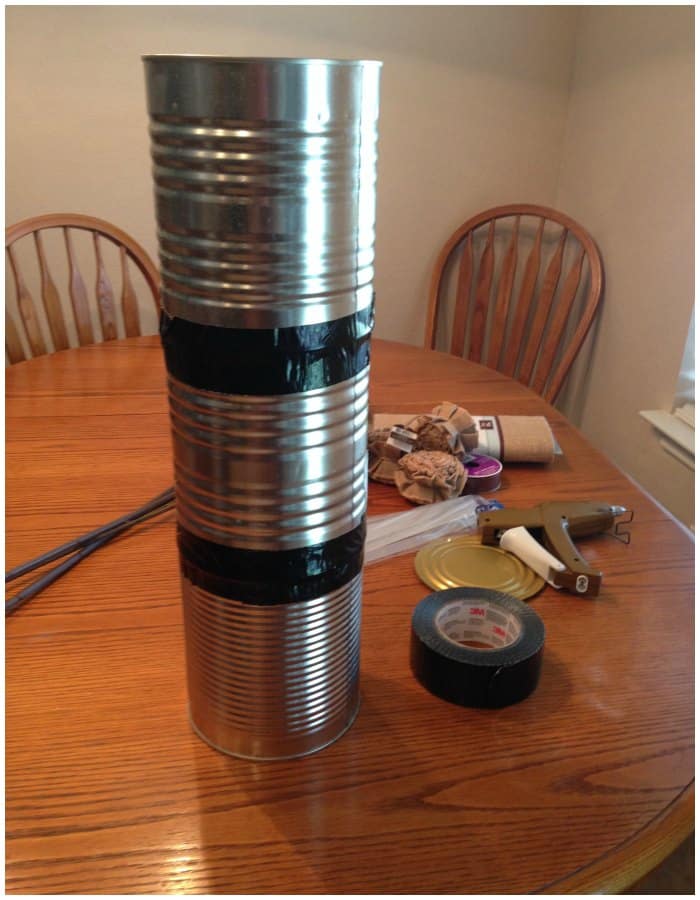
Stack the two cans you just cut the bottoms out of on top of each other and use duct tape to secure them together. I used duct tape on the inside too. You want to make sure to cover up those sharp edges so you don’t cut yourself.
TIP: If you are using a light colored fabric you may want to use a light colored tape so it won’t show through.
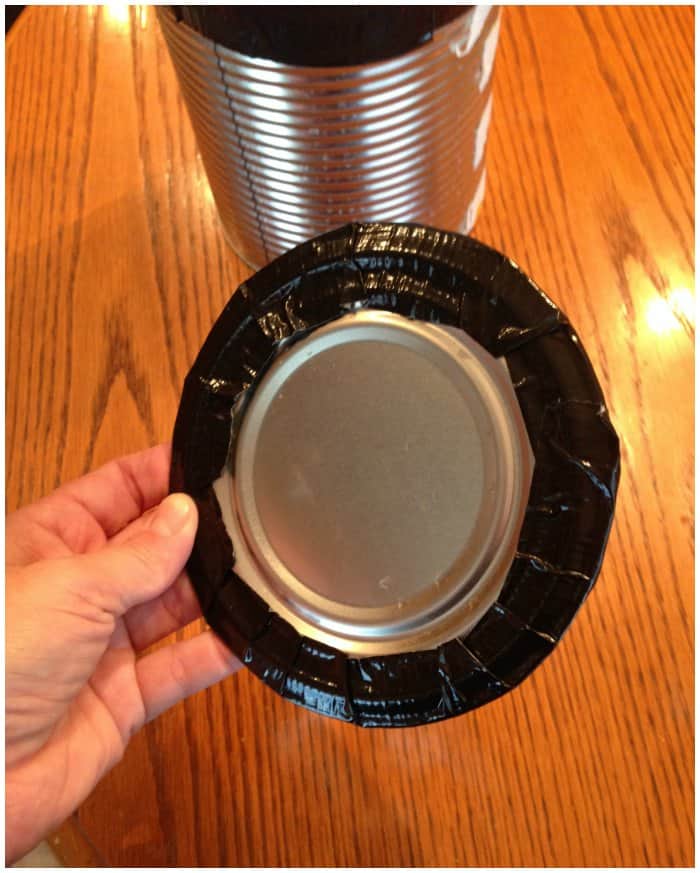
Next, tape both lids together on the sharp edges to make the lid.
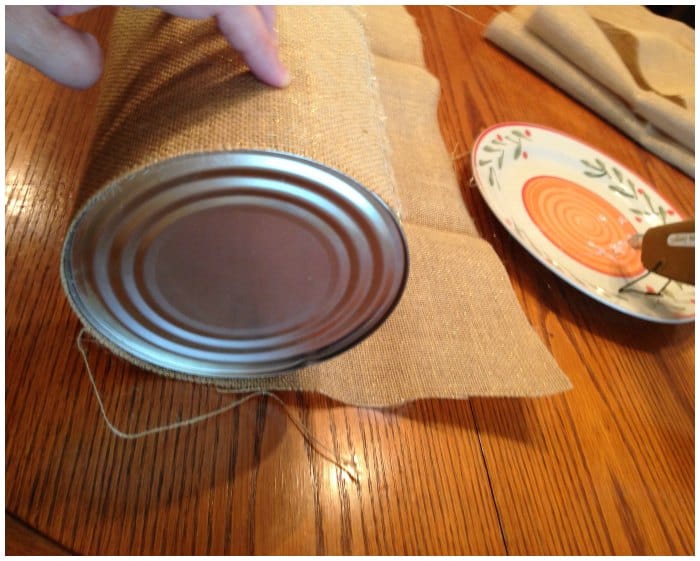
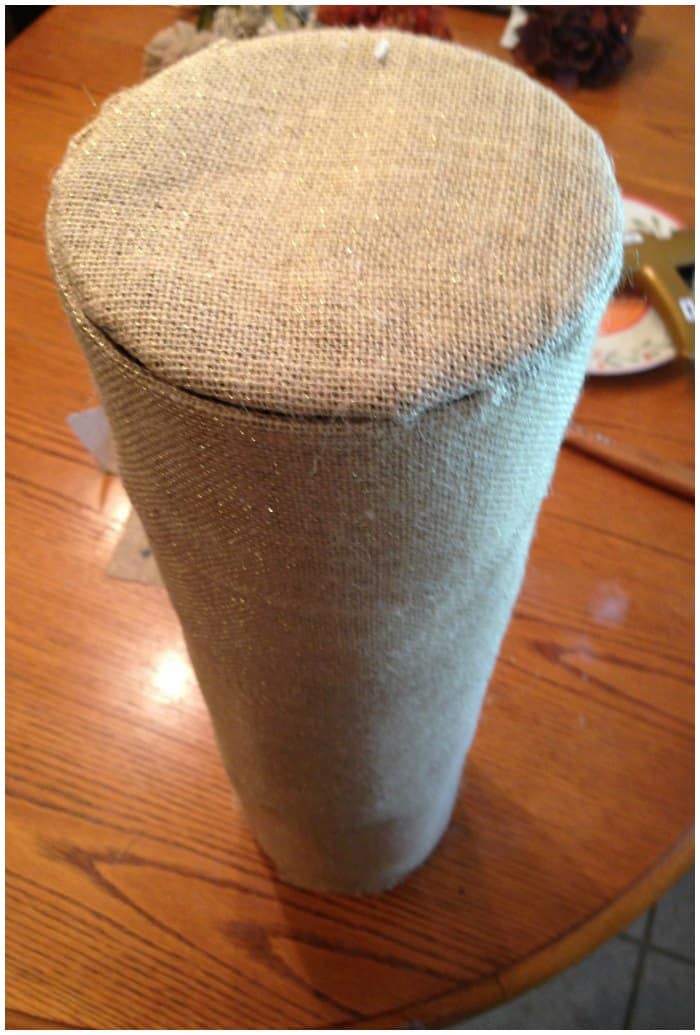
Heat your glue gun. Lay out the fabric around your coffee cans and cut off any excess material. Be sure to leave about 1 inch overlap around the sides and about 4 inches extra on the top. I used the hot glue gun and started a line from the top of the can to the bottom of the can spacing these lines about two inches apart. I didn’t go crazy on the glue. You have to wrap the fabric quickly so it doesn’t cool down before you wrap it.
Tip: I aligned the seam of the fabric to the seam in the back of the can to help guide me. I also made sure the bottom of the can was flush with the material so it wouldn’t sit lopsided. No one will see the bottom anyway.
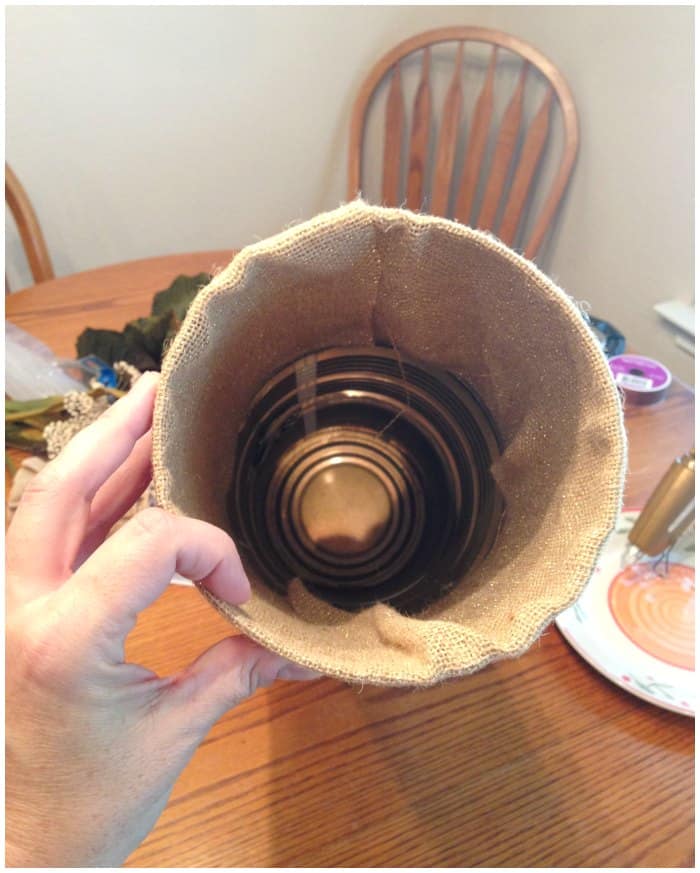
I glued a bit extra at the one inch overlap at the very end to make sure it holds securely. Next, I glued the inside of the can and I folded in the 4 inch over lay at the top.
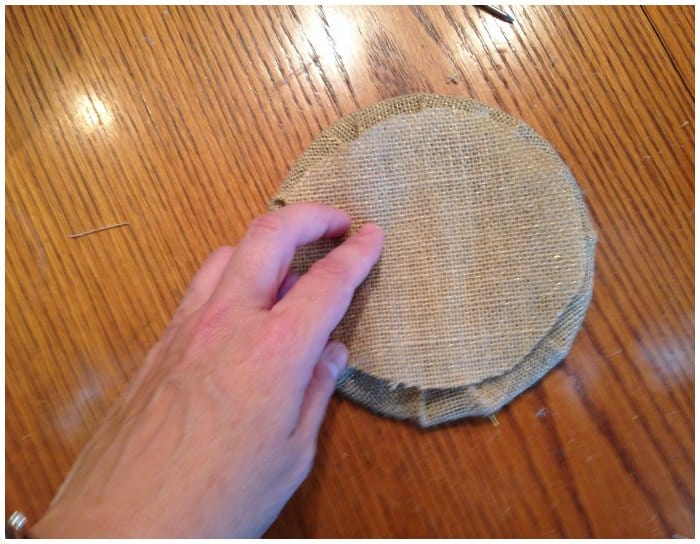
Now to make the lid. I cut out a circle of fabric that was about 1 inch to 1 1/2 inches bigger than the metal lid.
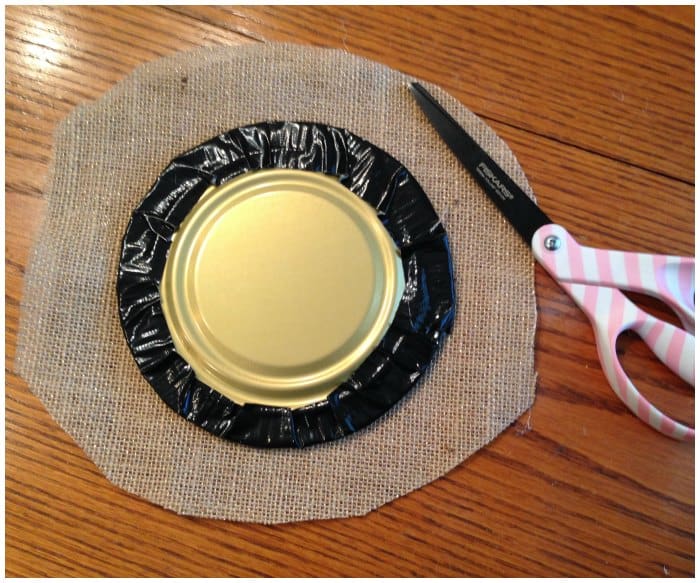
I started to glue one inch of the circle at a time. I also glued down the overlapping parts that stuck out. Be careful not to burn yourself when trying to hold the material down. Burlap can be a bit frustrating because it doesn’t fold very easily. I used a spoon to help hold down the parts that I was gluing so it would stick. I only had to hold it a few seconds at a time for it to grasp.
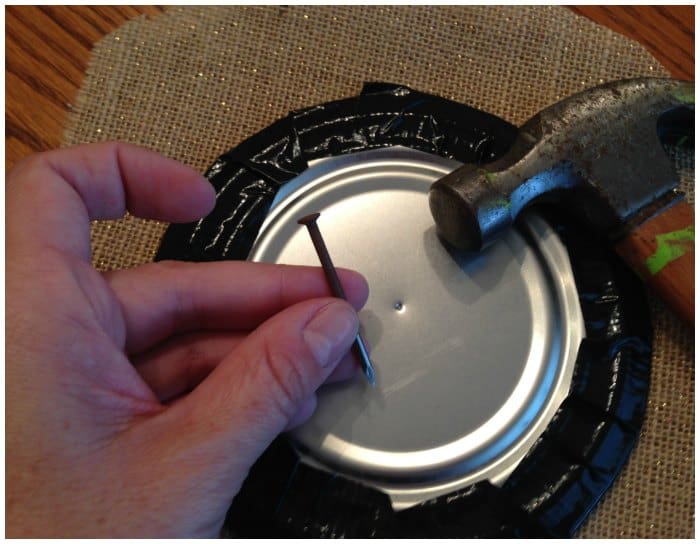
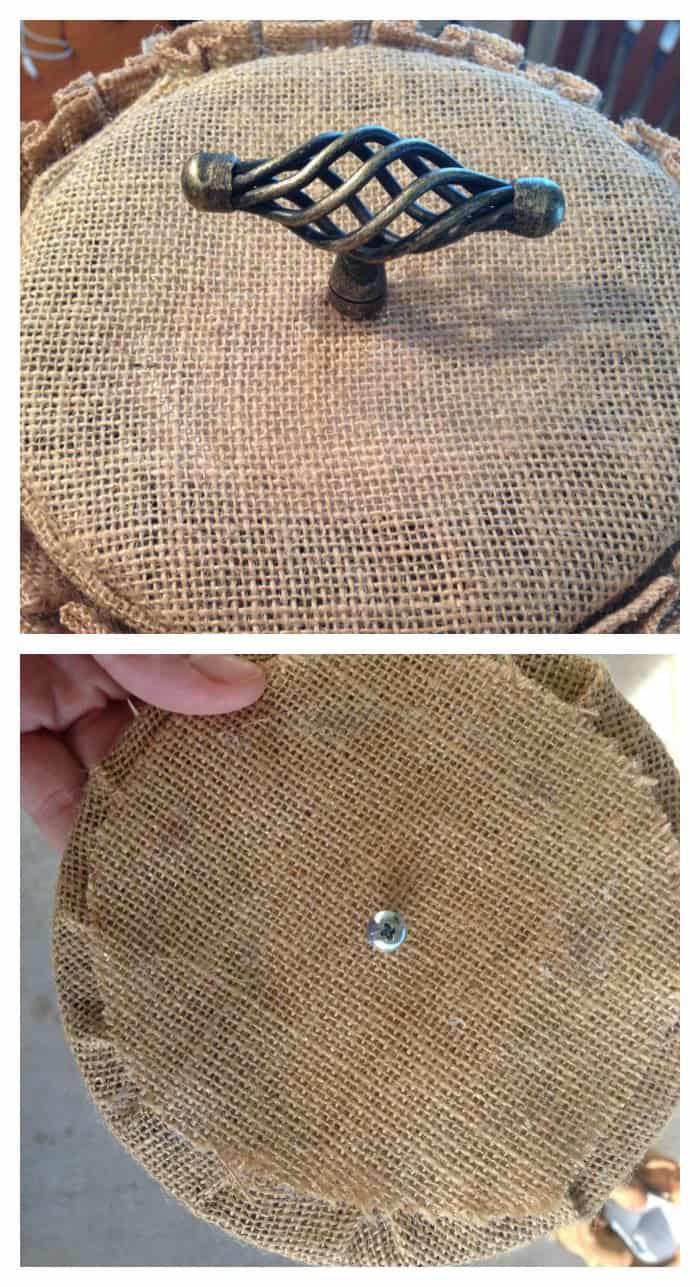
Now you will want to poke a hole in the center of the can lids. This will be for a decorative knob to be placed on the lid. I actually used a nail to puncture the tin can lids. It can be a bit difficult but not when you use the hammer and do it in the backyard grass area. Don’t do this on your table.
Once you have glued all the way around the circle, you will need to cut a smaller circle to cover up the glued parts. Glue the smaller circle on top of the lid so that whole lid is covered. Don’t worry about covering up the whole because you can feel it later.
Now the cans and lid are completely covered and it’s time to decorate it.
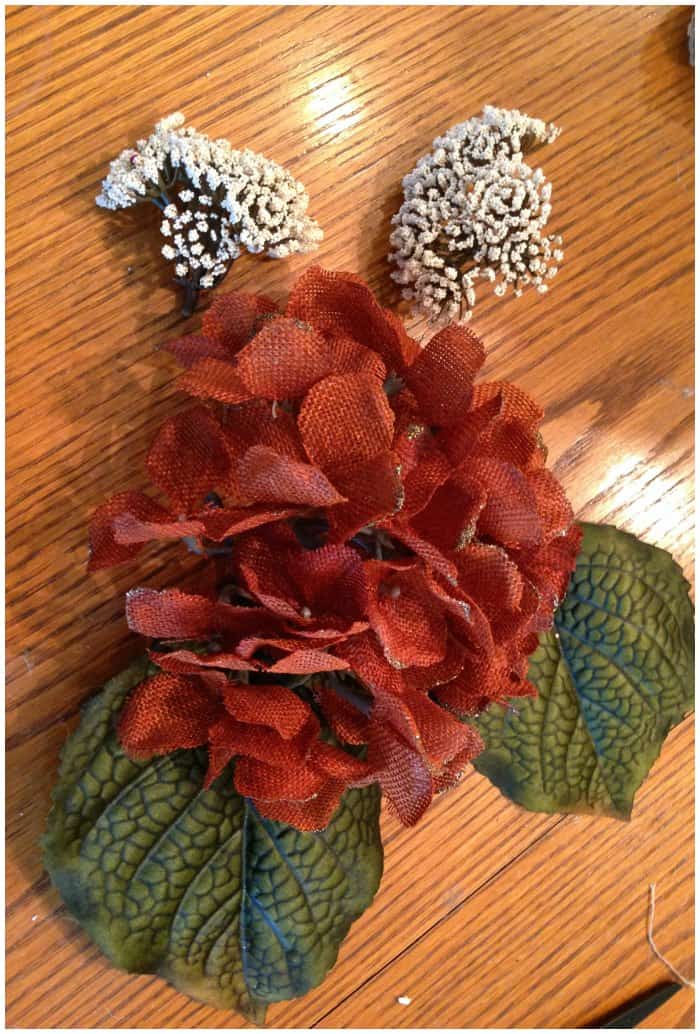
Here’s the part where you can get as creative as you want. I opted to get a few decorative fake flowers that match my bathroom colors for the fall season. I also bought some matching burlap ribbon for the bottom and top edges to get it a little something extra.
I started to glue on the burlap ribbon.
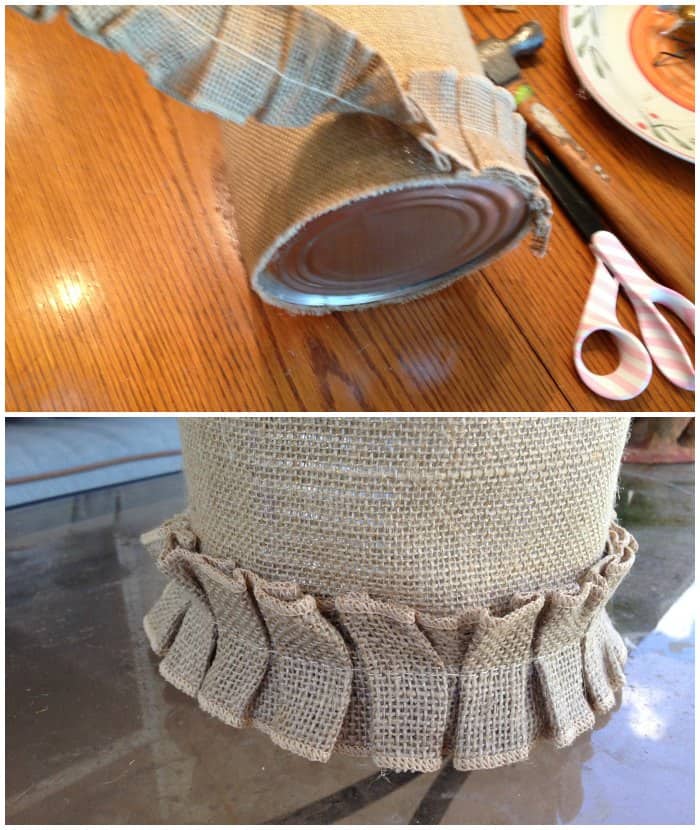
Cute, isn’t it? I thought so! Sorry for the blurry photo. It’s really hard to take a photo with my other hand as I try to do this project. I’m a visual learner though so I can always appreciate good photos during a DIY project.
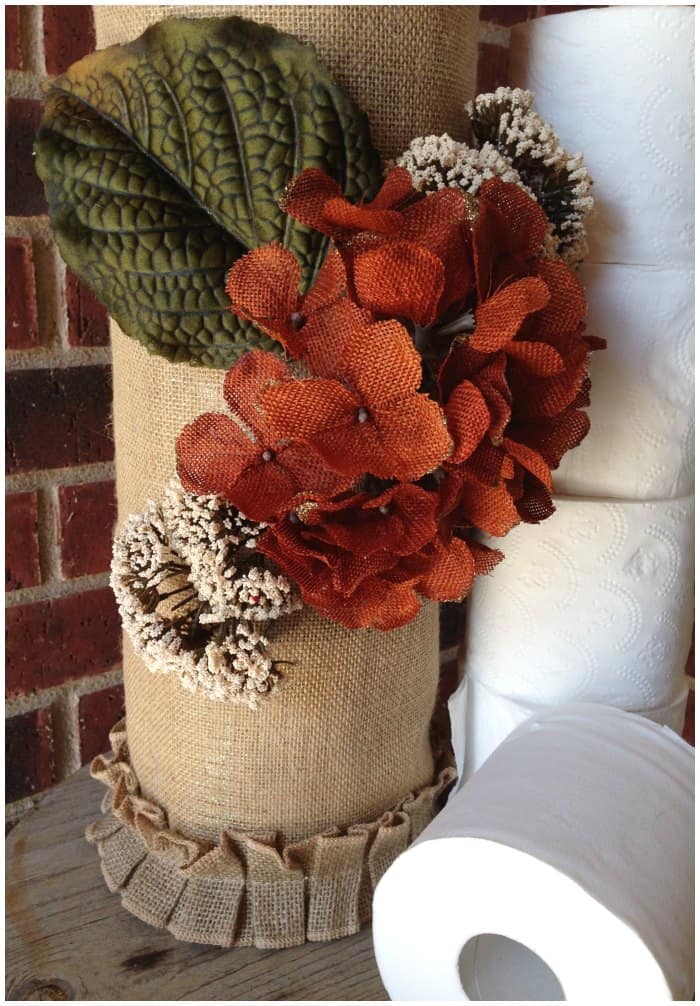
Now it’s time for the flowers. I popped the stems off of them and tried to arrange them in a manner I liked. I also grabbed some of the green leaves to glue on it too.
Perfect! By the way. You see those Fiskars scissors in this photo? Those are some of the best scissors I have ever owned and I’ve tried many scissors. If you ever want to make a crafter extremely happy, buy them these scissors as a gift! They are worth every penny and the pink design is just a bonus for me.

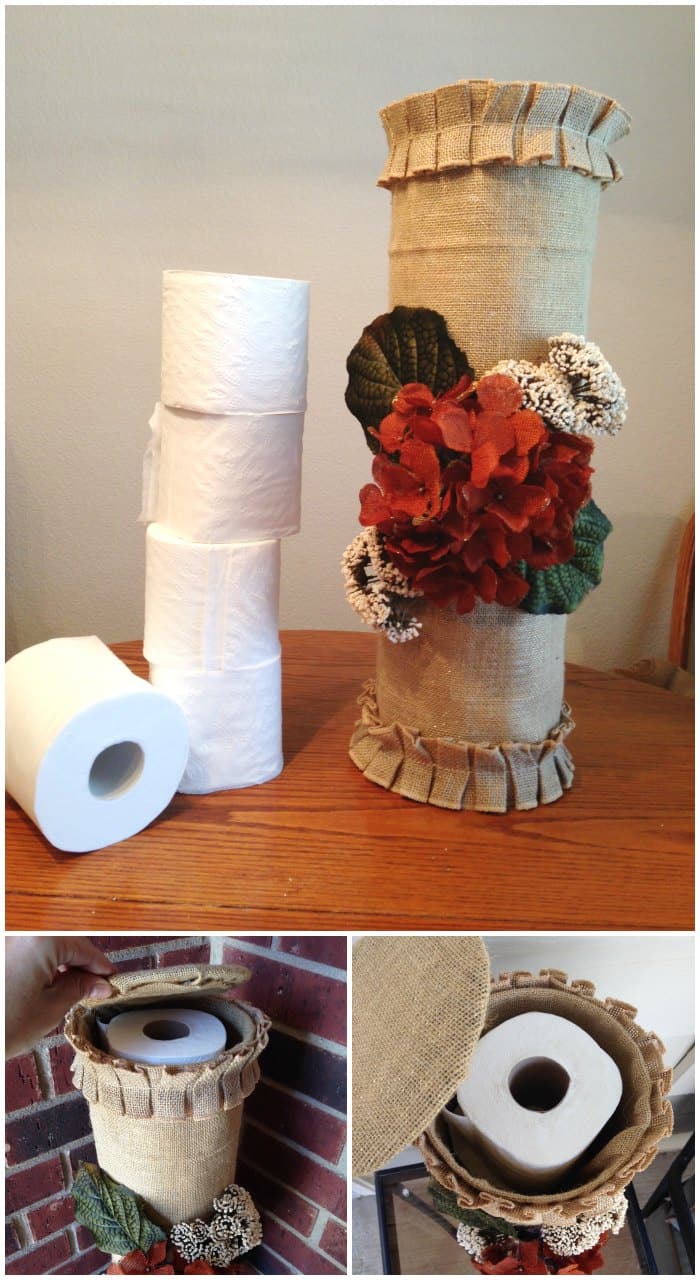
Lastly, put the decorative knob in the top of the lid and voila! your project is complete. Now fill it will rolls of toilet paper and display it proudly.
Here’s a close up of the flowers I attached:
What do you think? Do you think this is a project you will attempt?
Feel Free to Pin It on Pinterest here:


Very cool!
AMAZING (Y)
Might be a good idea to put a wooden dowel attached to center of one of the trimmed lids inside to help get tissue rolls out without having to tip the entire container. Very cute project.