How to Organize a Household Painting Project
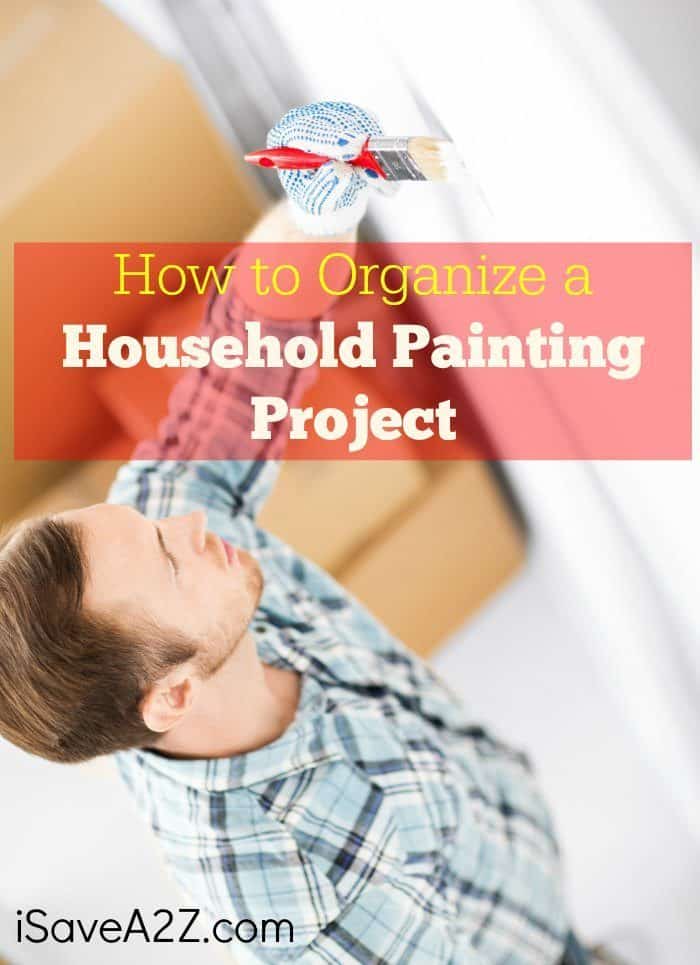
How to Organize a Household Painting Project
Trying to organize a household painting project can be quite an undertaking if you don’t plan ahead. Something as simple as painting a room doesn’t seem like it should be tough, but it certainly can be. Having the right materials, organizing your tasks and putting them in the right places will prevent most problems. Here are some tips to make sure your painting project comes off without a hitch:
Make sure the room is properly ventilated
The last thing you want is to get a paint headache or be stuck in a room full of dangerous fumes. Prepare ahead by having fans and open windows to keep the air moving. Good ventilation is a must when you will be spending hours around fresh paint.
Get a quality covering
Most people grab the first piece of plastic they find inside their garage and then curse their way through the painting process as it rips and tears beneath them. Go out and get a good linen covering or something strong enough to withstand the painting process. If you are counting on it to keep your important things covered, why would you go cheap on that particular product?
Remove what you can
If it is not tied down, get it out of the room when possible. The less things underfoot, the better.
Organize your paint supplies in the middle of the room
Your work station should generally be in the center of the room and will be available to everyone equally as they work in different areas. This is far better than having it right under your feet as you try to paint throughout the perimeter of the room.
Put painter’s tape around edges
This one is a must and the following product is the best by far. Go grab it over on Amazon and save!
Amazon product to pimp — http://www.amazon.com/ScotchBlue-Painters-Multi-Surface-70-Inch-60-Yard/dp/B00004Z4BB
Cover everything
Between your tarp, covering and painter’s tape, you should be able to protect every part of the room that needs protecting. Some folks try to “wing it” and get by without this process. That is a mistake every single time. Cover up everything and do it right the first time. You will thank us later.
Remove items when you no longer need them (sandpaper, etc)
When you finish a step in the painting process, get the leftovers gone. Sand the walls and then throw away the sandpaper. Tape the trim and then get it out of the room. The less items that are in the room, the smoother the project will go.
Have a clean up area for paints and yourself
Well before you ever start painting or working in the room you should have a prepared clean up area for your paints…as well yourself. Paints dry quickly on most surfaces and particularly into brushes. You want to have a place to quickly make them clean and ready to be used again and you will not want to stop and get all that together in the middle of the project. Have a quick and easy area that people can clean up when they finish helping.
If you are in need of better organization skills in general, then we have some things here that will be sure yo help you out! Check out our guide to Getting Organized! If you find that you are still having organization problems, then you might want to try this book on organizing inside and out!