Christmas Ornament Craft (using plastic cups)
Here’s a really fun craft idea you can do for Christmas and you only need two supplies!
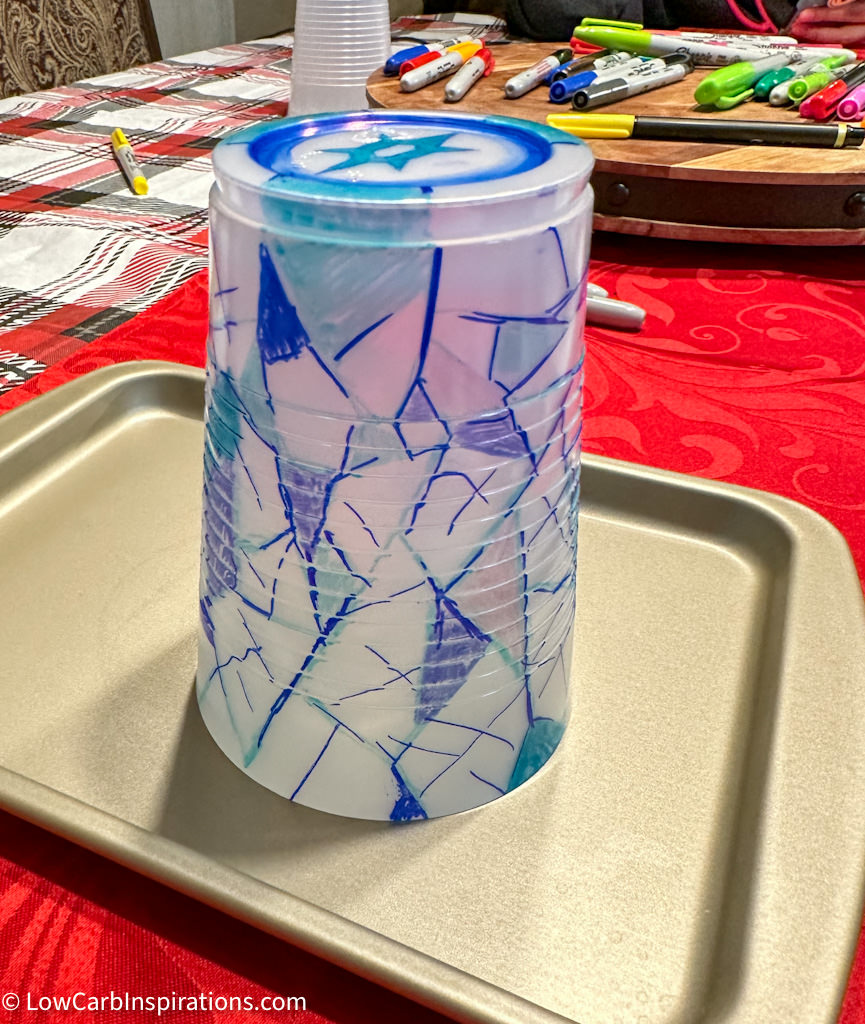
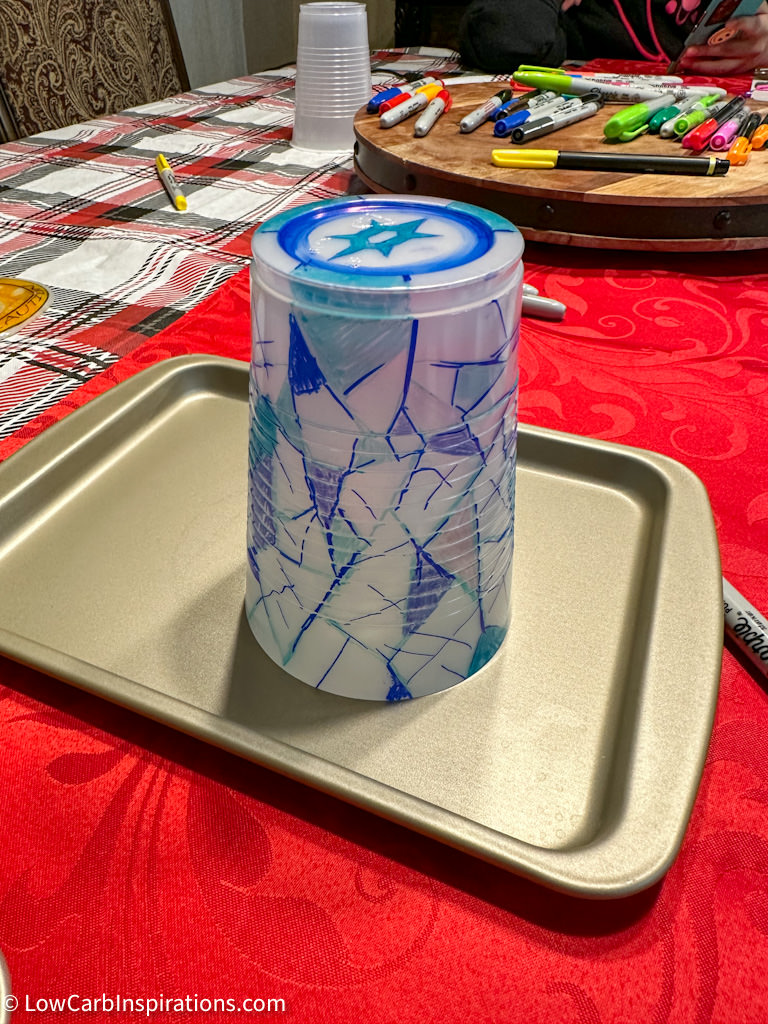
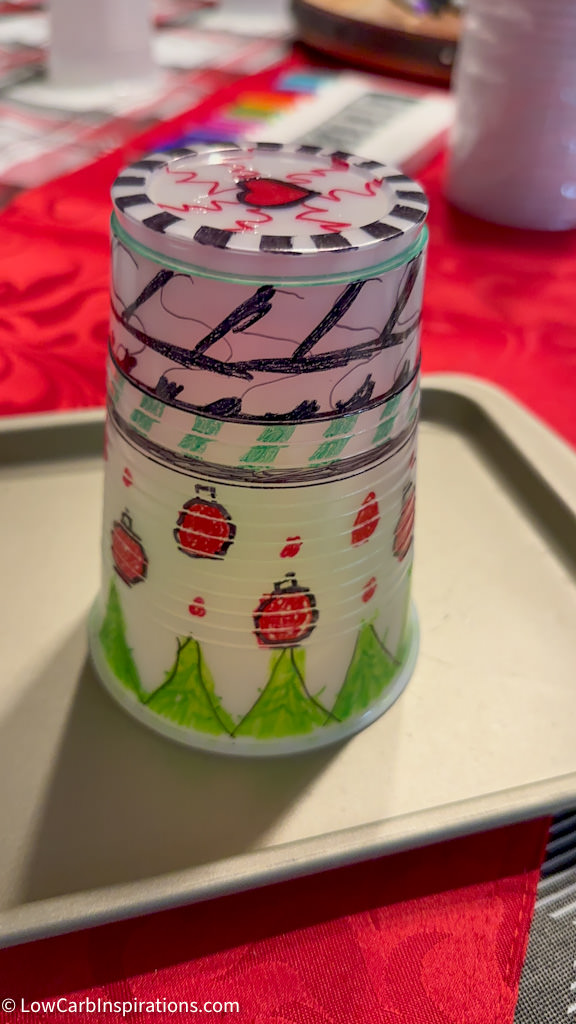
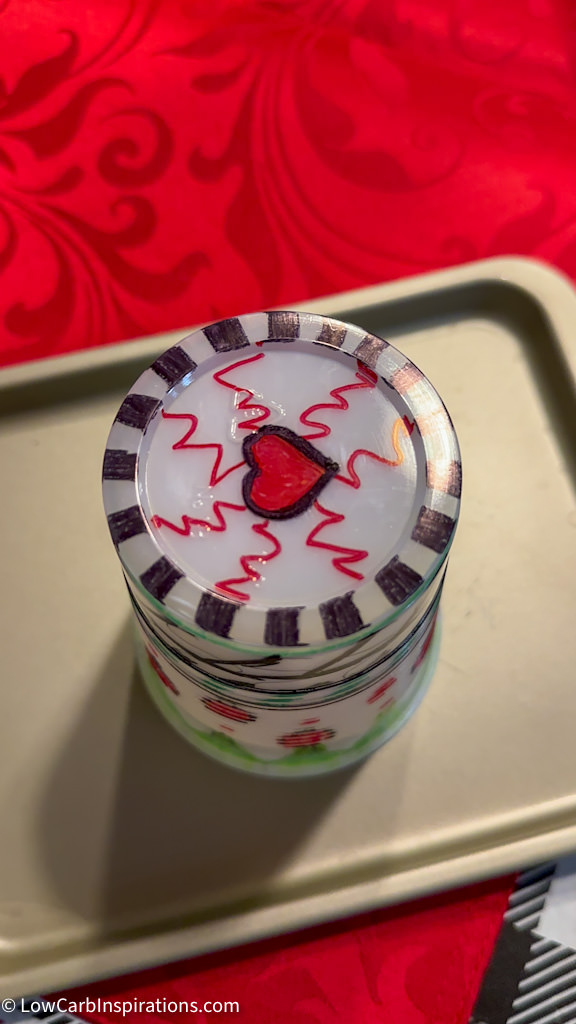
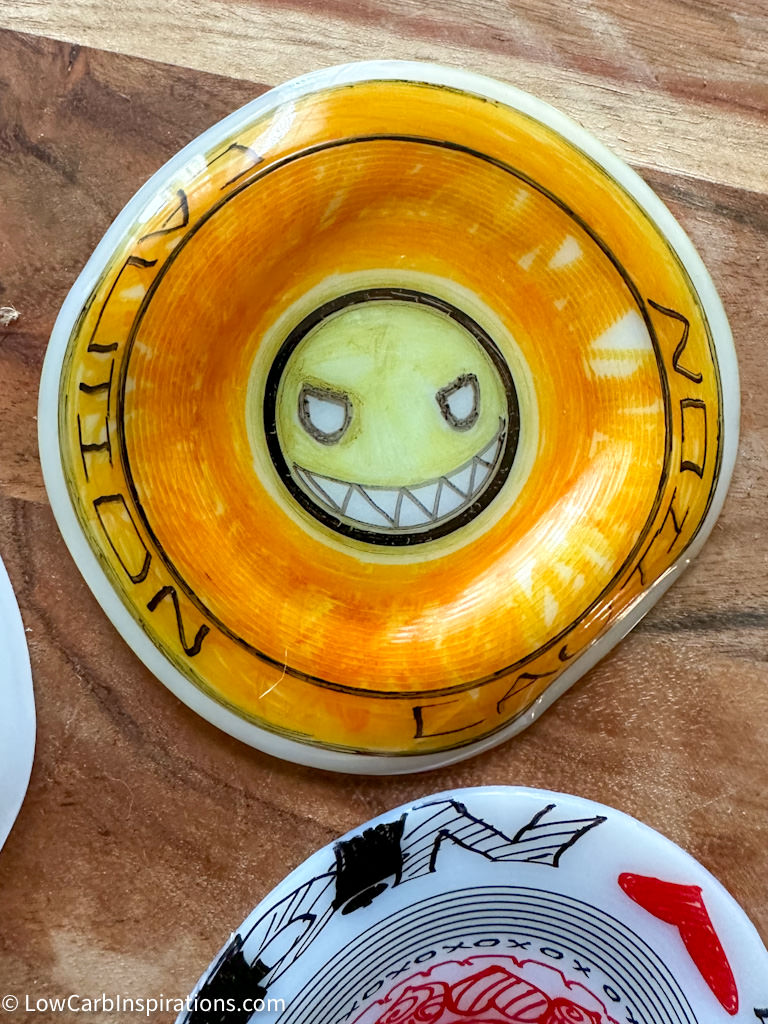
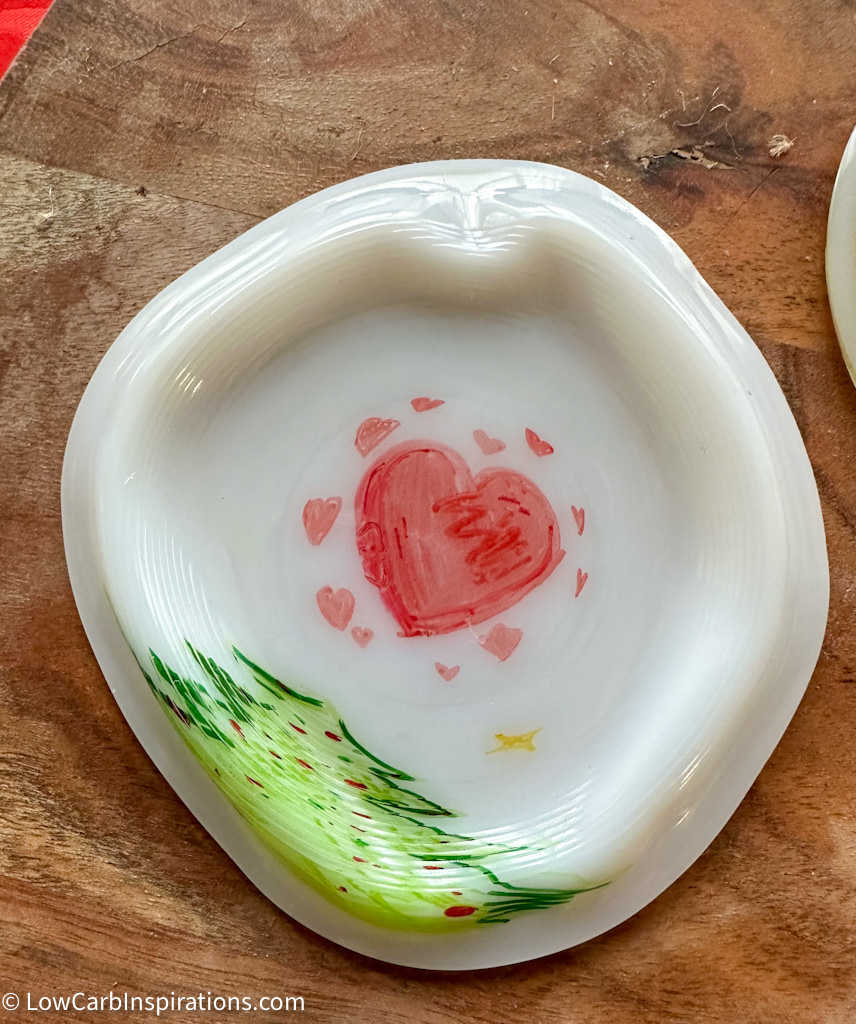
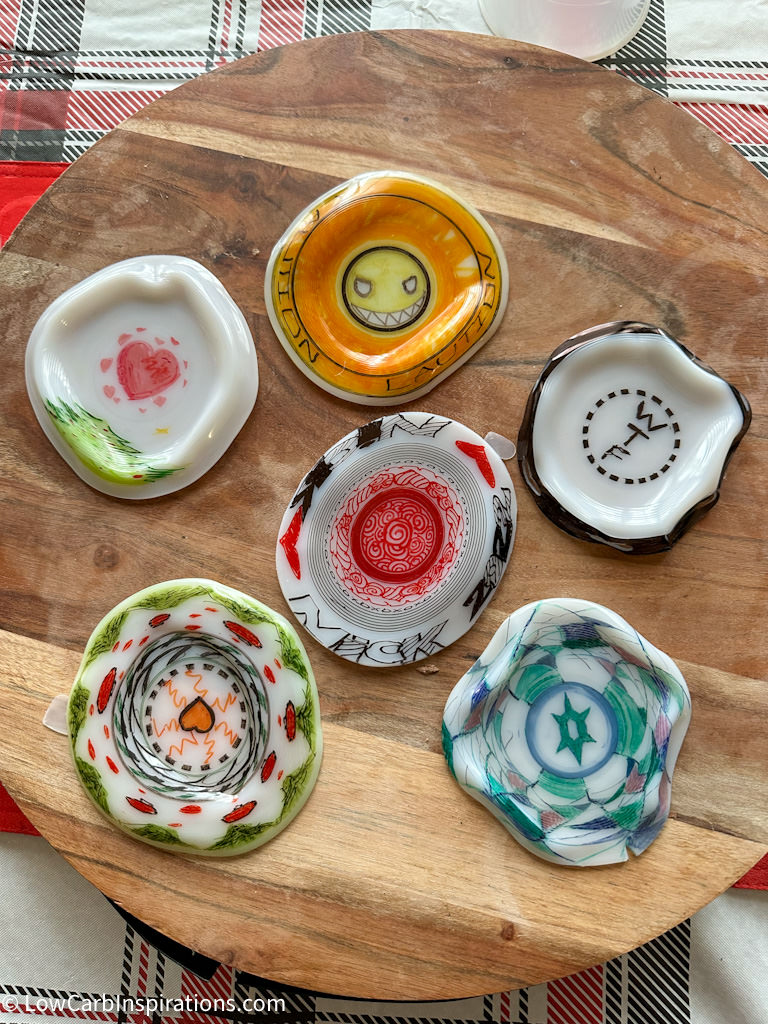
We made Christmas ornaments with Sharpie markers and some cheap plastic cups!
The kids had a blast! We saw this trend start on TikTok and decided to try it for ourselves. It’s definitely a craft we plan to do every year.
Let me save you some trouble and give you the tips and the tricks to making these plastic decorated ornaments easy and a success.
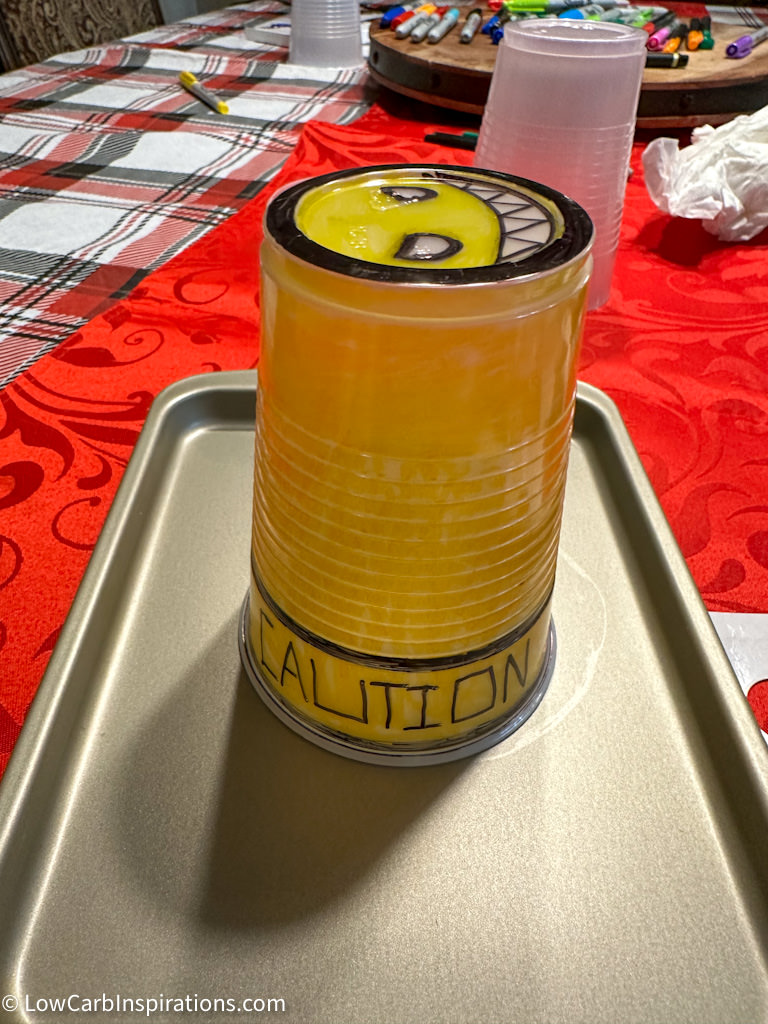
First, make sure you are using the white plastic cups with the recycle number 6 on them. These are the cups that melt easily.
Now, let me give you a bit of a warning. These cups do have a bad smell when you bake them in the oven and I am most certain that those fumes are probably harmful to you. I made sure to open the windows and only bake them for about 10 to 15 seconds until the cup fully collapsed. Then I would remove the tray and place it on the outside patio to remove the fumes quickly from the house.
If I were to do this again, I may even use a toaster oven that is dedicated to crafts only and use it outside. That’s a thought!
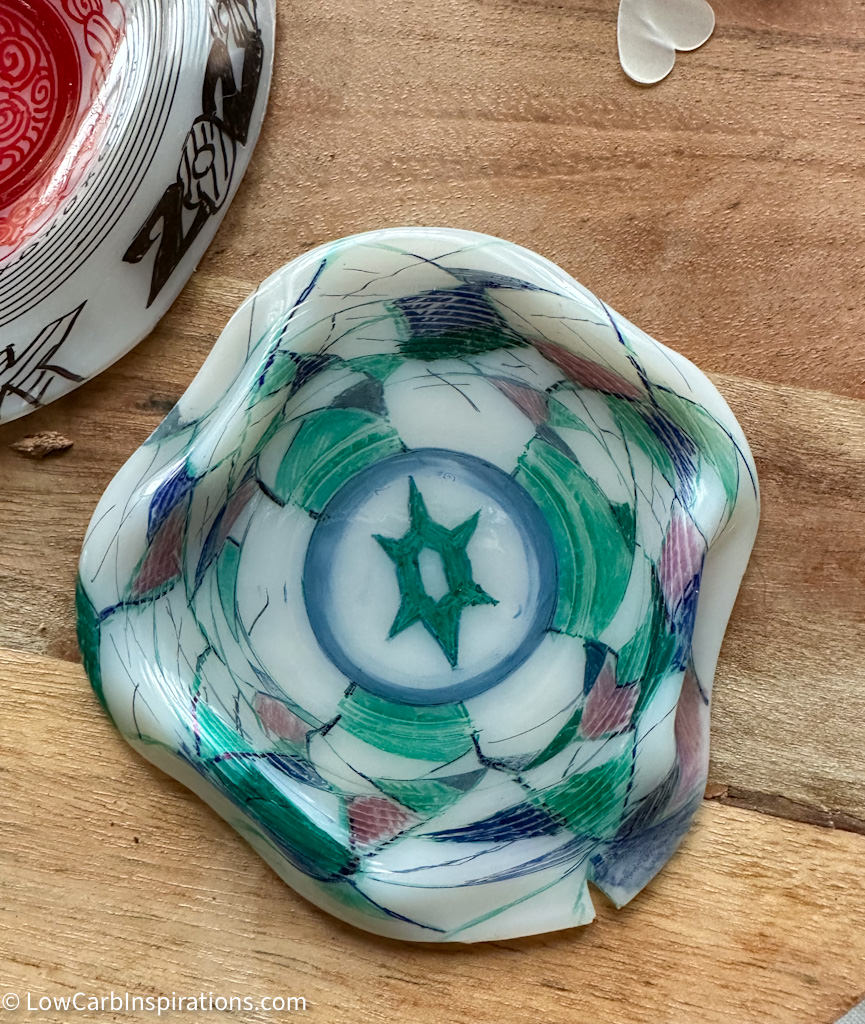
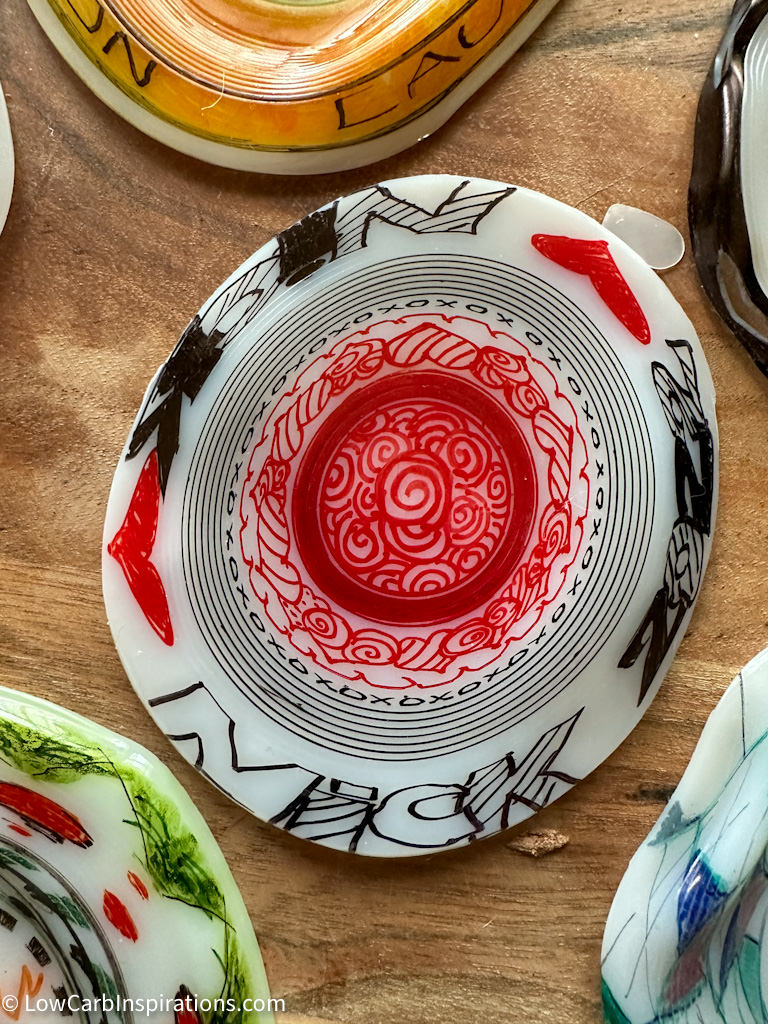
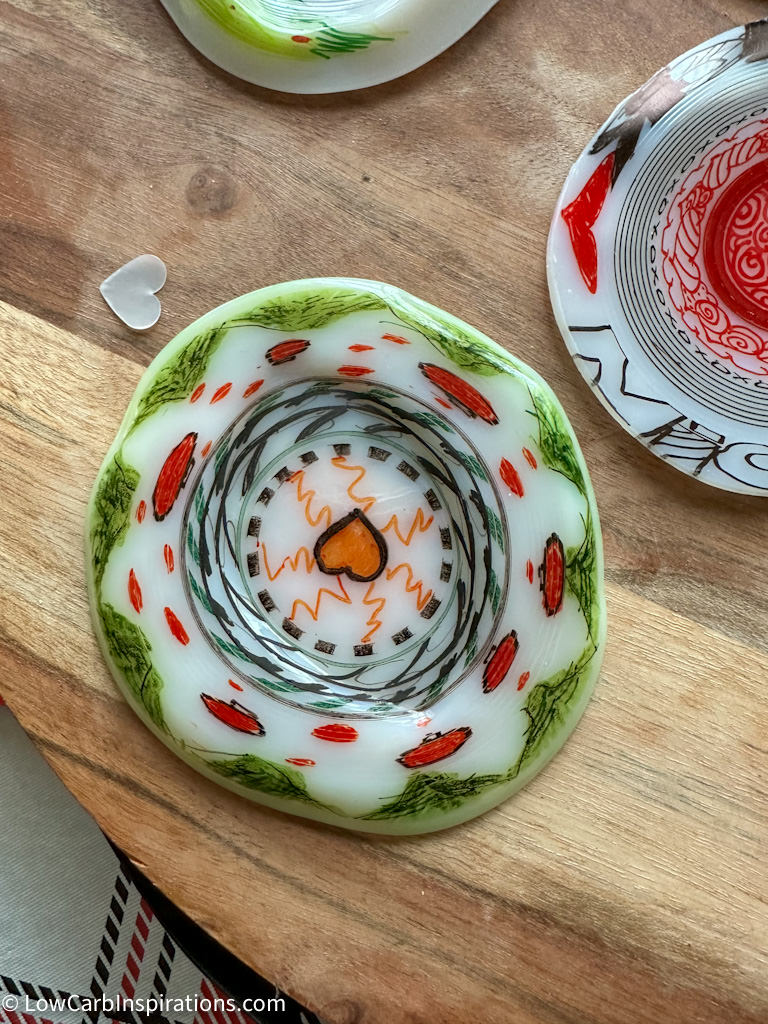
We also noticed that some of the cups didn’t collapse fully after being baked. Or they we lopsided. The cups that had an equal amount of paint from the Sharpie marker melted fully and looked the best. If I were to do this over again I would make sure the cup was fully decorated before baking it.
I also tried cutting off the rim of the cup to see if that made any difference in how it flattened when it baked and it really didn’t. It was the marker that made the most difference in the finished results.
How to Make Plastic Christmas Ornaments using plastic cups:
Supplies needed:
- Plastic #6 recycled cups (look for the triangle and number 6 on the bottom of the cup)
- Baking tray to use in the oven
- Variety of Sharpie markers
Instructions:
- Decorate the cup with the Sharpie markers.
- Preheat the oven and set it on broil.
- You can bake the cups one at a time or all at once. If you bake them all at once just be sure to allow at least 2 inches space between each of the decorated cups.
- Place them in the oven and watch them carefully. It will only take about 10 to 15 seconds (depending on your own oven temperature) to bake the cups enough for them to fully collapse.
- Using a hot pad, remove the tray from the oven and bring it outdoors or to a well ventilated place so you don’t breathe in the fumes.
- It only takes a few minutes for them to fully cool down.
- You can puncture a hole in them and place a ribbon in the hole to hang your Christmas Tree ornaments.
Here’s a bunch of photos showing the process. These were done by teenagers and adults so disregard some of the funny designs.