
Funeral Sandwiches Recipe: Fun Recipe with No Mourning Required
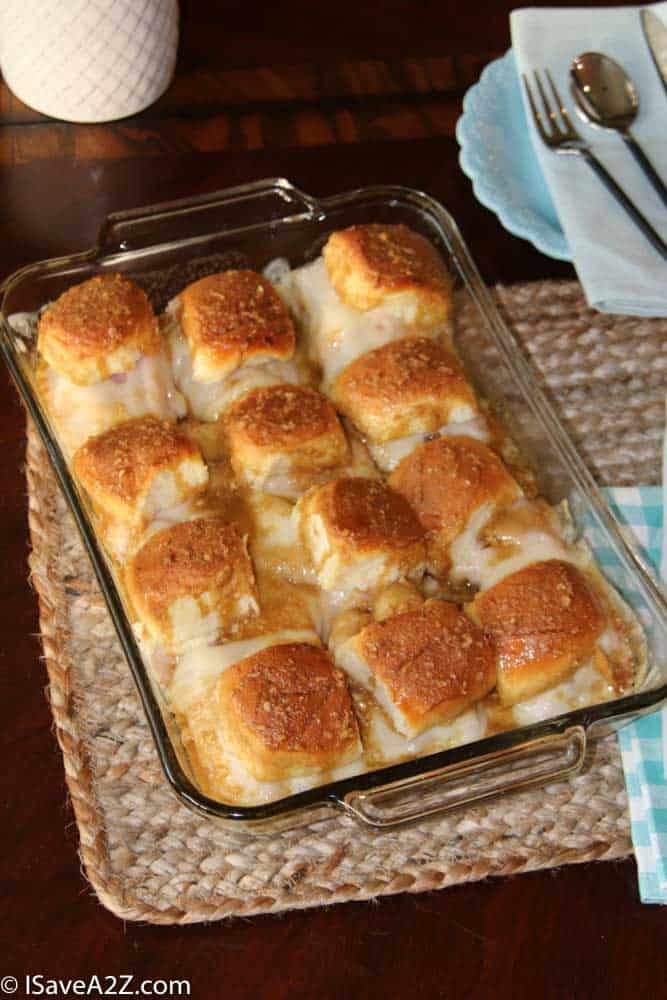
Funeral Sandwiches Recipe

Have you heard of Funeral Sandwiches? This is a very old recipe from way back before my time. It was custom to bring a dish to a funeral which is how this very popular recipe got its name. It’s a recipe that was named after the occasion it was mostly served at.
It’s a perfect recipe to bring as a side dish or appetizer to a gathering. It makes one heck of a lunch idea. These sandwiches are anything but boring.
These funeral sandwiches are easy to reheat or my kids may even tell you, it’s delicious even when served cold. I, however, prefer them hot out of the oven with the dripping sauce and gooey cheese!
There’s no mourning required to serve up a batch of goodness with this recipe. Oh, and the best part… These funeral sandwiches take all but 5 minutes to whip up and toss in the oven.
I’ve added my own small twist to this very old recipe. I love to add large minced onions to the sauce! Everyone in my house loves the added onions. After it cooks in the oven the extra minced onions on the top come out a bit crunchy. So, so good! It’s an option that is totally worth trying. I use the dried minced onions to add this level of goodness. Try it! You will be impressed.
Funeral Sandwiches Recipe Ingredients:
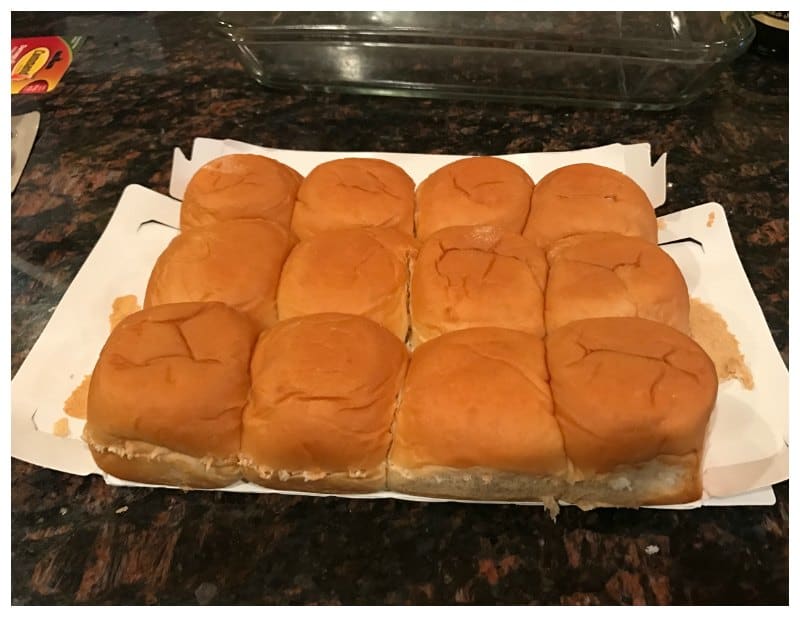
- 1 (12-piece package) Hawaiian sweet rolls or buns
- 1/2 pound thinly sliced deli ham (I’ve been known to mix it with ham and turkey too)
- 1/2 pound thinly sliced Swiss cheese (or your favorite cheese)
- 1/2 cup butter, melted
- 3 tablespoons Worcestershire sauce
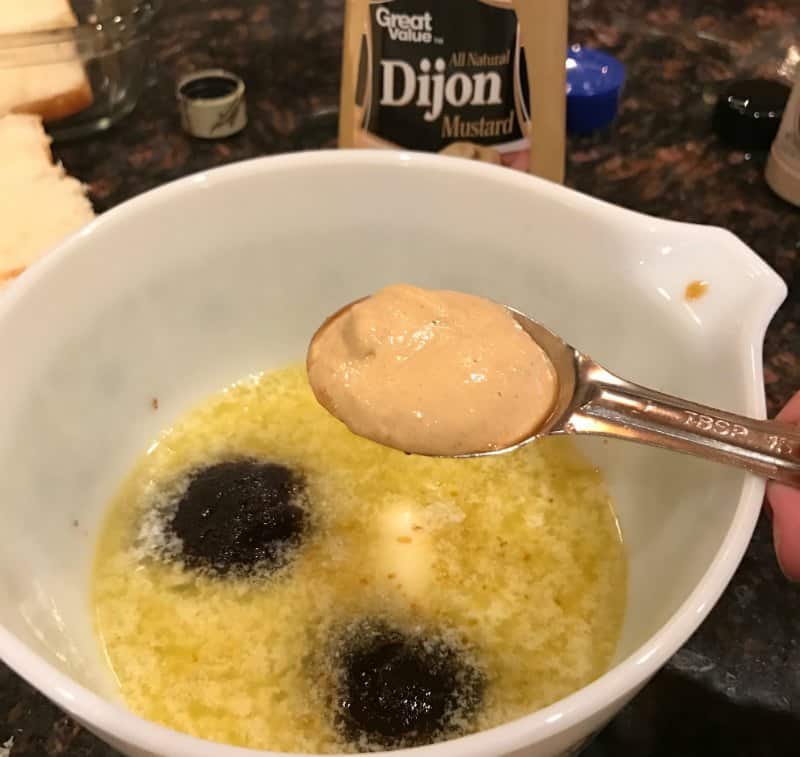
- 2 tablespoons Dijon mustard
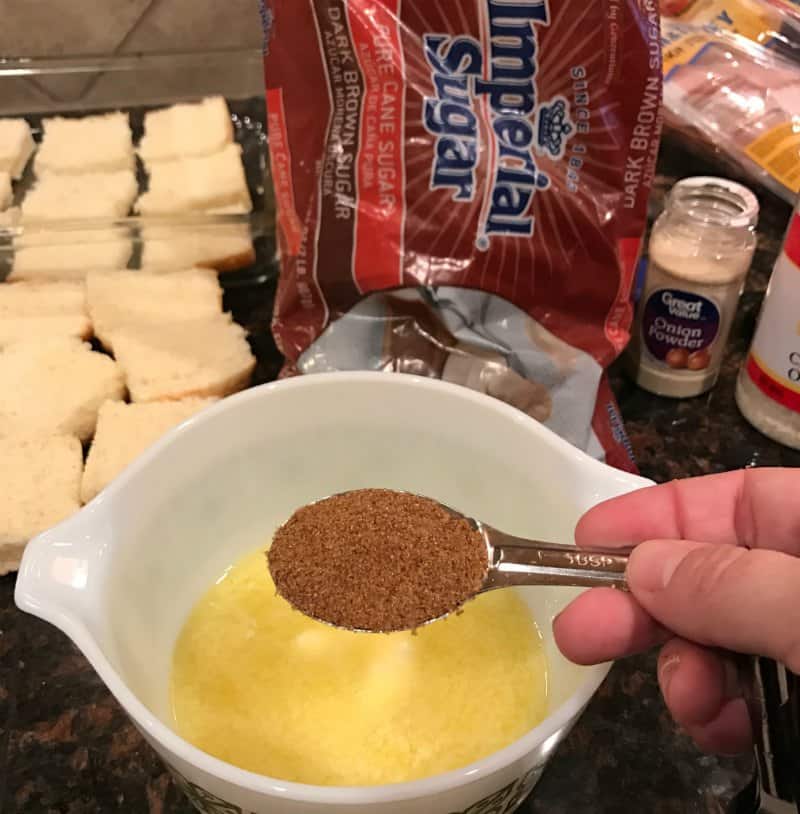
- 2 tablespoons brown sugar
- 1/2 teaspoon onion powder
- Optional: 1 tablespoon dried minced onion
- Optional: Poppy seeds sprinkled on top
MAKE IT KETO and LOW CARB FRIENDLY!
- Substitute store-bought Hawaiian sweet rolls by making these delicious Low Carb Hawaiian Sweet Rolls at home.
- Use Sukrin Gold Brown Sugar in place of traditional brown sugar.
Funeral Sandwiches Recipe Directions:
- Start off by preheating the oven to 350 degrees.
- You will need a rectangle baking dish. Preferably a 7×10 dish that’s at least 3 inches deep.
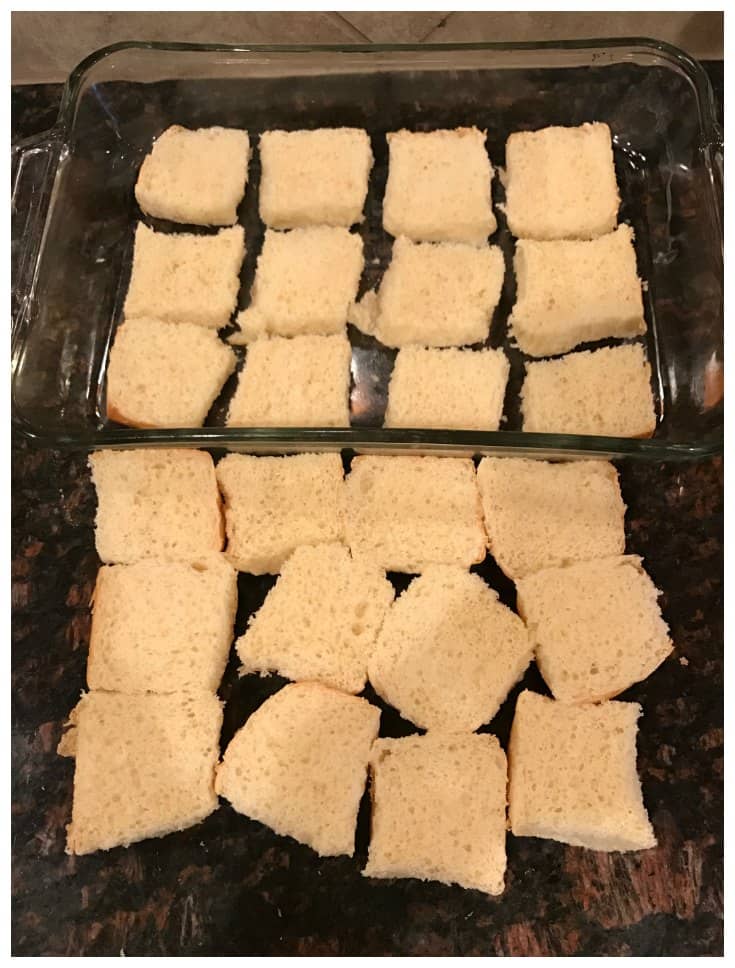
- Remove the King’s Hawaiian rolls from the packaging and slice them in half. Pull all the rolls apart individually and place the bottom half portion of the rolls in the baking pan.
- Layer each roll with ham and cheese evenly. I usually add one of two slices of ham to each sandwich. I also tend to fold one slice of cheese in half for one sandwich. I like to make them hearty. I love using Swiss cheese but another favorite is Provolone. YUMMO!
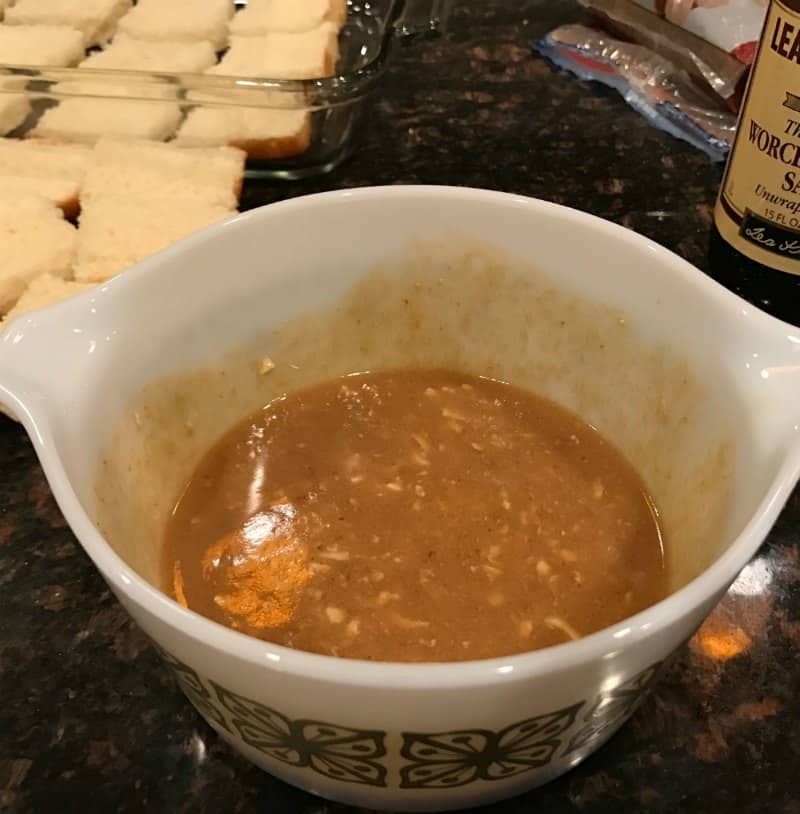
- In a medium-size bowl, combine the melted butter, Worcestershire sauce, Dijon mustard, brown sugar, onion powder, and the optional minced onions.
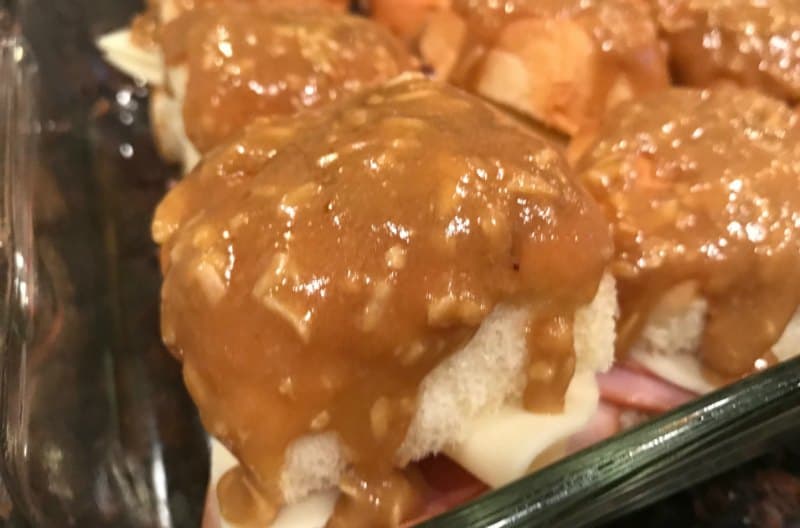
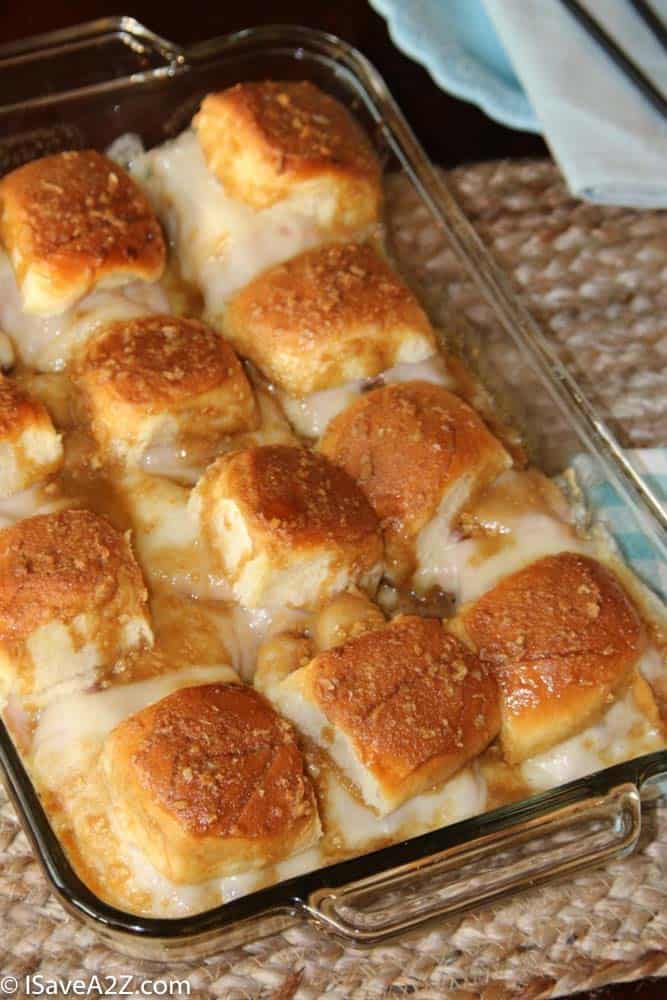
- Place the tops of the rolls on each sandwich and brush each one evenly with the sauce you just made. I make sure to allow each individual sandwich to have sauce that drips down the sides when you pour it. This is where you can sprinkle poppy seeds if you are using them on these cheese sliders.
- I’ve placed these funeral rolls in the oven right after power the sauce over the sandwiches and to be honest, or you can make them 4 hours ahead of time and place them in the fridge until ready to bake them. I wanted to be sure to mention this because it’s a wonderful recipe to make ahead of time without the worry of your sandwiches getting soggy.
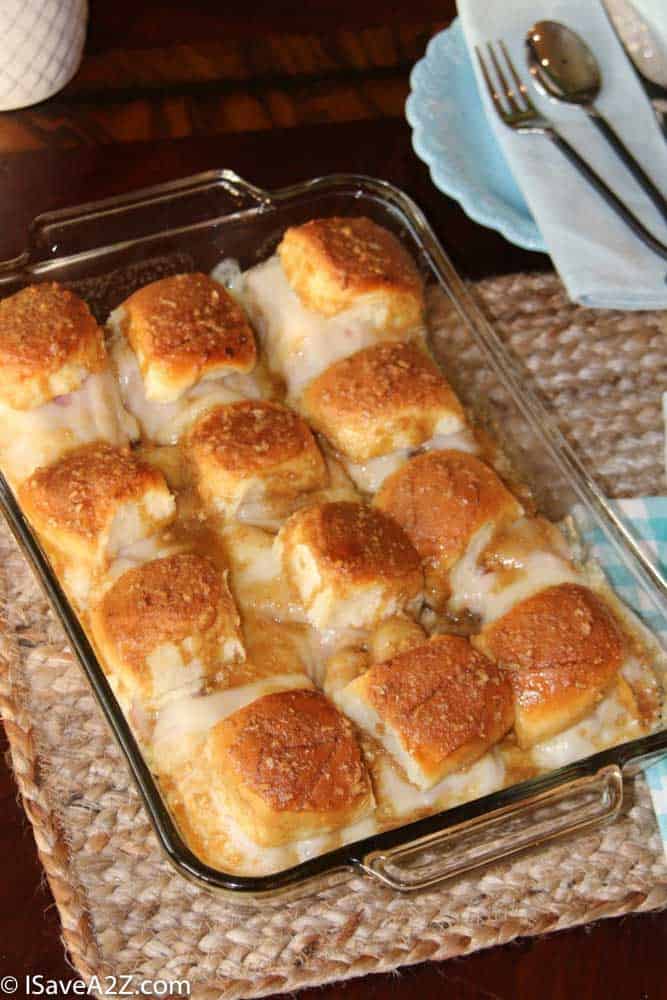
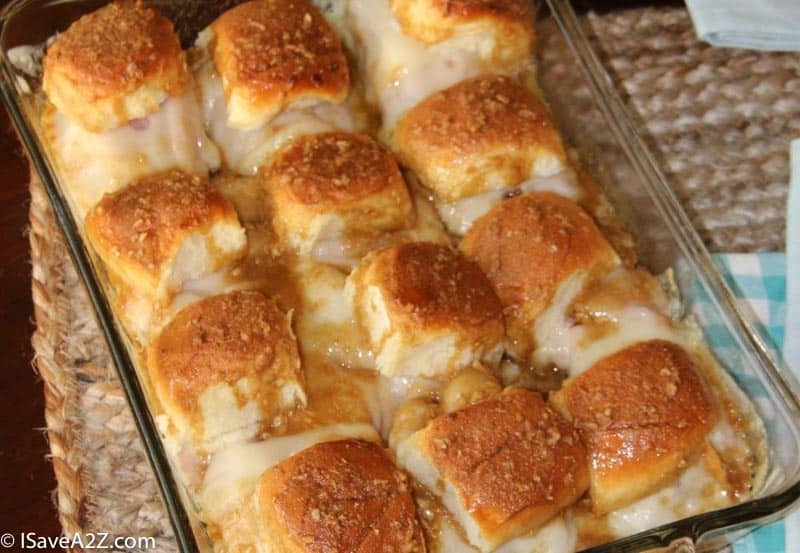
- Bake the rolls uncovered for about 15-20 minutes and serve them up warm!
I swear, these are the best sandwiches ever!


Print this delicious recipe here!

Funeral Sandwiches Recipe
Ingredients
- 1 12-piece package Hawaiian sweet rolls
- 1/2 pound thinly sliced deli ham I’ve been known to mix it with ham and turkey too
- 1/2 pound thinly sliced Swiss cheese or your favorite cheese
- 1/2 cup butter melted
- 3 tablespoons Worcestershire sauce
- 2 tablespoons Dijon style mustard
- 2 tablespoons brown sugar
- 1/2 teaspoon onion powder
- Optional: 1 tablespoon dried minced onion
Instructions
- Start off by preheating the oven to 350 degrees.
- You will need a rectangle baking dish. Preferably a 7×10 dish that’s at least 3 inches deep.
- Remove the Hawaiian sweet rolls from the packaging and slice them in half. Pull all the rolls apart individually and place the bottom portion of the rolls in the baking dish.
- Layer each roll with ham and cheese evenly. I usually add one of two slices of ham to each sandwich. I also tend to fold one slice of cheese in half for one sandwich. I like to make them hearty. I love using Swiss cheese but another favorite is Provolone. YUMMO!
- In a medium-size bowl, combine the melted butter, Worcestershire sauce, Dijon mustard, brown sugar, onion powder, and the optional minced onions.
- Place the tops of the rolls on each sandwich and brush each one evenly with the sauce you just made. I make sure to allow each individual sandwich to have sauce that drips down the sides.
- The old recipe will tell you to cover this dish with plastic wrap or tin foil and set it in the fridge for at least 4 hours. Who has time for that? If you do, that’s great but if you don’t, that’s okay too. I’ve placed these sandwiches in the oven right after power the sauce over the sandwiches and to be honest, there’s really no difference at all in my opinion. I wanted to be sure to mention this because it’s a wonderful recipe to make ahead of time without the worry of your sandwiches getting soggy. You can refrigerate them ahead of time and pop them in the oven just before you are ready to eat them.
- Bake the rolls uncovered for about 20 minutes and serve them up warm!
Nutrition facts are provided as a courtesy.
Feel free to Pin It on Pinterest for later using this photo:
More Easy Sandwich Recipe Ideas to Try

Keto Hawaiian Sweet Roll Sandwiches Recipe

Bacon Avocado Grilled Cheese Sandwich


I had these as a child and loved them! Found your recipe and added some fresh chopped onion and they are awesome..
These are awesome! Maybe n stead of the optional minced onions, I use poppy seeds. Delicious
So easy to follow. We will be having for Christmas day finger foods lunch. ( Going forward… Will be called CHRISTMAS SLIDERS.) ????????
So easy to follow and healthy. Thank you so much for your guide!!!
Yes! We love these sandwiches so much! Glad you enjoyed them too.
Oh my gosh….these look delicious! I just printed the recipe and can’t wait to try them. I love quick dinner ideas like this. Thanks for sharing the recipe!