
Essential Oils Diffuser Necklace

Essential Oils Diffuser Necklace
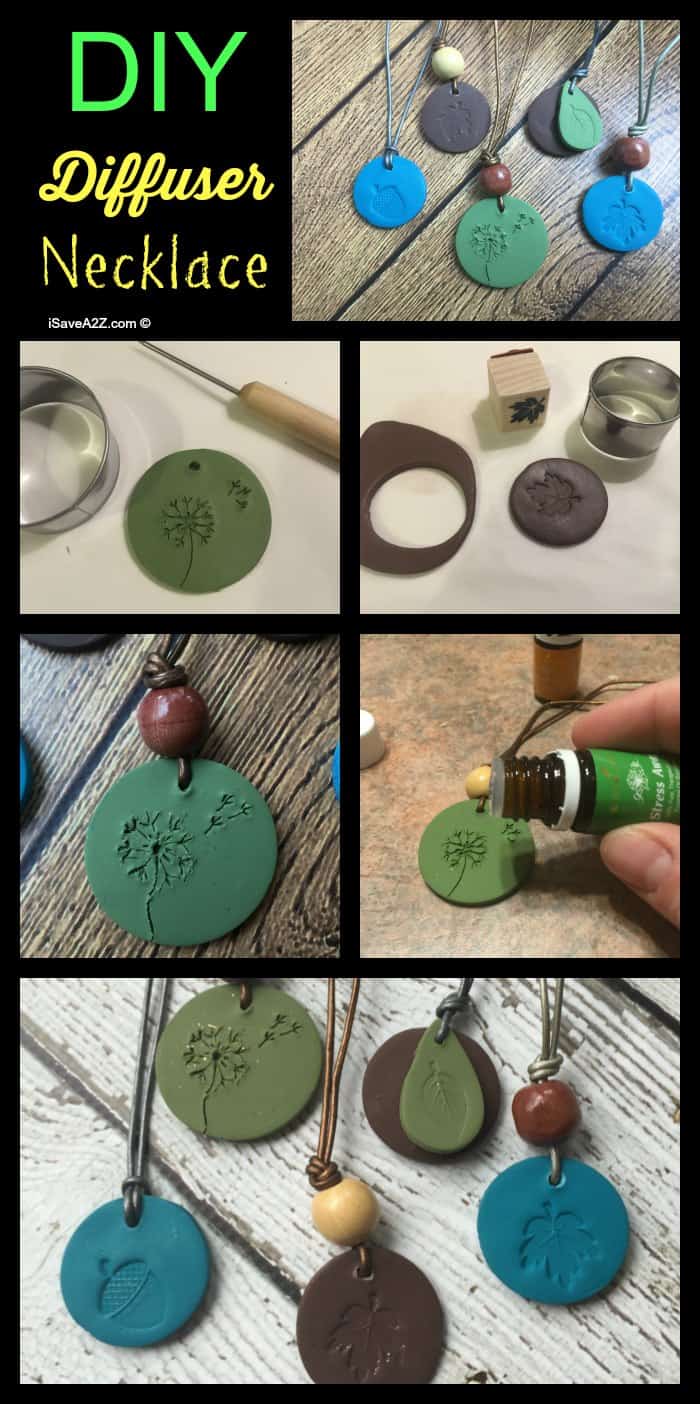
If you love Essential Oils as much as I do, I’m sure you are going to love an essential oils diffuser necklace. It’s a great way to smell your favorite scent in blasts throughout the day without overwhelming everyone around you. I would call this a beginner project that you should try. It’s totally worth it and fun to make too!
There are a few different clay types you need to know about. There are clays that you need a kiln to fire with, there are oven baked clays and there are air dry clays. I would stick with the oven baked clays. They are a bit porous and hold the essential oils for a long time. One drop will last you a day or two. Most of these types of clay can be found at your local crafting store. My favorite clay for this project is the Sculpey Polymer clay. You can get a huge pack of all colors for really inexpensive as seen here on Amazon.
UPDATE!!! We just completed another DIY Essential Oils Diffuser Necklace made out of WOOD! I have found that even though I love this project, I also like the wood pendant necklaces too!
You can click on the photo below to see the tutorial for the DIY Essential Oils Diffuser Necklace made out of wood:
DIY Essential Oils Diffuser Necklace made out of wood
Here’s what you need for this project:
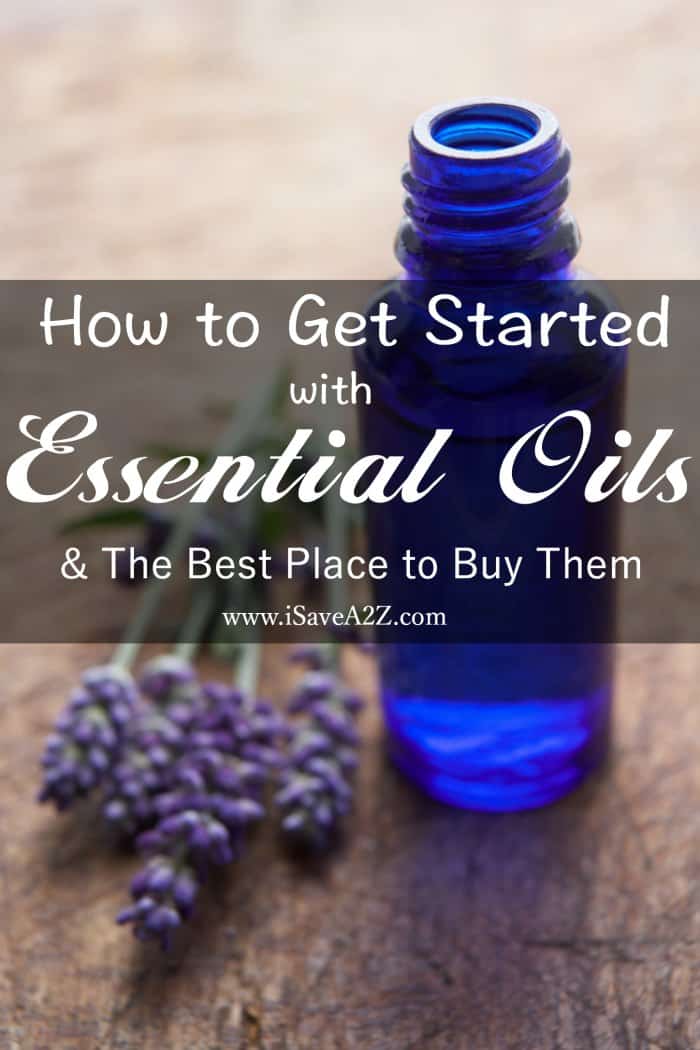
Essential Oils (I prefer the Young Living Essential Oils because they are high quality and smell heavenly. Read Where to Buy Essential Oils here)
Oven Bake Clay
Leather cord (or a necklace cord of your choice)
Clay cutters of your choice (I used the round set on this project but they have tons of different Clay Cutters here)
Optional: wooden beads
Optional: Stamp designs
Directions:
Lay out a piece of parchment paper. You will work from this surface so you don’t end up staining another surface. You can also pick up your project by the paper when you are done. I will explain this later.
Break off a piece of your clay and start to knead it to make it soft enough to roll out.
Roll out the clay.
Use your design stamps to imprint the design on to your clay. I used this exact stamp set to make my designs: Hero Arts Thankful Woodblock Stamp Set![]() (I drew on the dandelion design with the pointed clay tool)
(I drew on the dandelion design with the pointed clay tool)
Now use your cutters to cut the necklace design out around the stamp you just created.
Use your clay pointed tool to create the hole for the cord in your necklace. You might want to make it a bit bigger than your cord size to ensure it will fit. (I speak from experience on this. I wished I would have made my holes bigger)
Make as many designs as you want. I personally made a design for each separate oil. I didn’t want to mix oil scents on each necklace. I also created a necklace design with two pendants on one necklace so I could combine the scents. You don’t have to do this but I wanted too.
You can leave the design on the parchment paper and transfer the parchment paper onto a baking sheet without touching the clay design.
The instructions for baking the clay are on the package. My instructions said to bake it at 275 degrees for 15 minutes for every 1/4 inch of clay. I ended up baking it for 20 minutes just to ensure it was done all the way. I really like this clay because there was no cracking as you see with some clays. See, I really, really like my Sculpey Polymer clay.
TIP: Don’t use the air dry clay. It’s too light for a necklace. It won’t hang right and it doesn’t hold the essential oils like you would want it too. (I tried)
Once your baking is complete, allow your project time to cool before you handle it. It took about 20 minutes here.
Now it’s time to make your necklace. I put the cord around my neck and leave an extra couple of inches for the knot I create. You can make a simple double knot and just put it over your head or you can make a Chinese sliding knot and make it adjustable. The instructions for the Chinese sliding knot are perfect here on WikiHow. I couldn’t have written them better myself.
Add ended up adding a wooden bead at the top of most of my designs. You can also place a drop of essential oils inside the bead too. The wood absorbs the oil wonderfully. This would be another way I would use multiple scent combinations. Hello Young Living Theives and Lemon combo! Love those two together.
I did not spray a sealant onto my diffuser necklace because I want the essential oils to absorb each time I wear it. The oven baked clay doesn’t break away like other clays would after time. When you add your essential oils to the necklace, you only need to add one drop (well for Young Living essential oils anyway). One drop will last you a day or two! I use the tip of my finger to rub it in. It will seem shiny at first but it will completely soak in after a few minutes.

Perhaps doing this with Paper Clay would be appropriate?
YOUR IDEAS ARE WONDERFUL, I AM GOING TO TRY THE SOAPS, IT MIGHT BE SOMETHING MY GRAND DAUGHTER WOULD LIKE TO HELP WITH
I normally read that polymer clay doesn’t work because it isn’t porous, and then I occasionally find a blog like yours using it. ?? I’m so confused and really want to make some, but not sure if I should stick with terracotta?
I think Terracotta has a better absorption than what I used. You may not need to reapply the oils as much. I don’t like the terracotta for a jewelry piece though. This is why I used what I did. I also have one hanging in my car for an air freshener.
I loved all the crafts that I looked at and be looking at more thanks