Scrap Wood Projects: Fall Scrap Wood Sign
Scrap Wood Projects: Fall Scrap Wood Sign
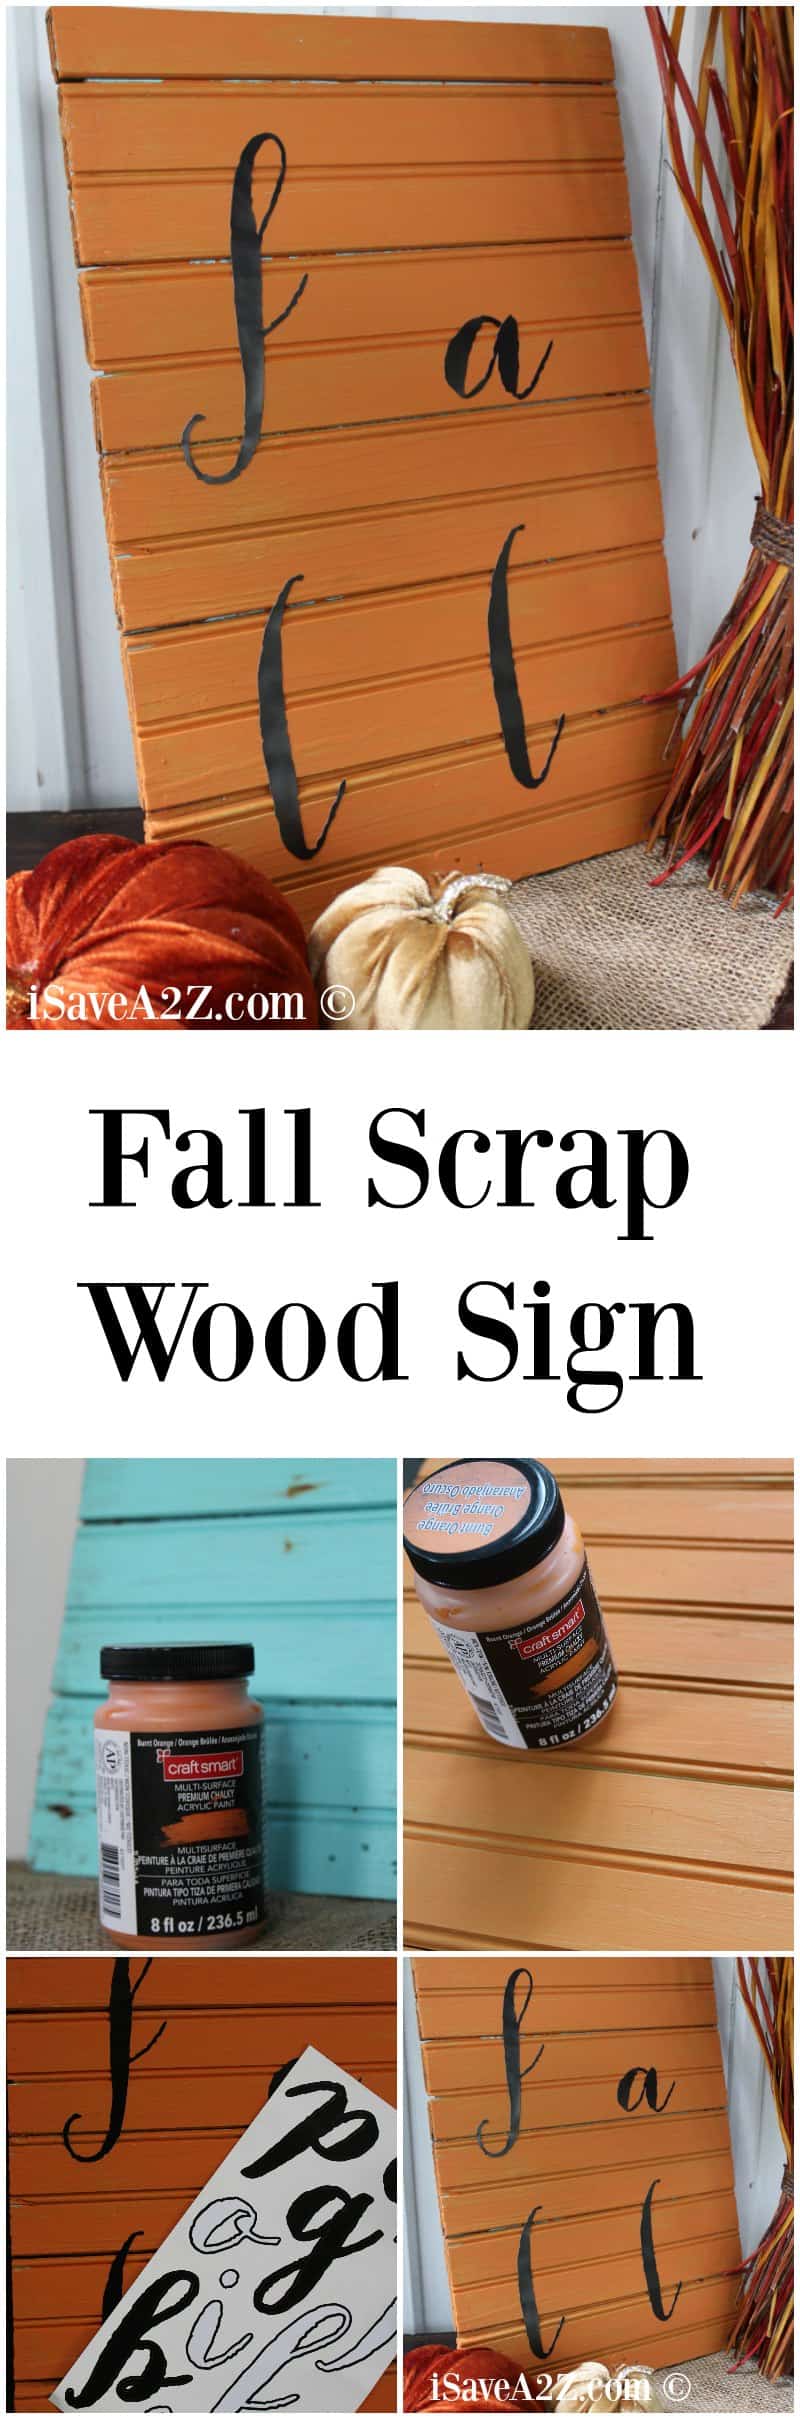
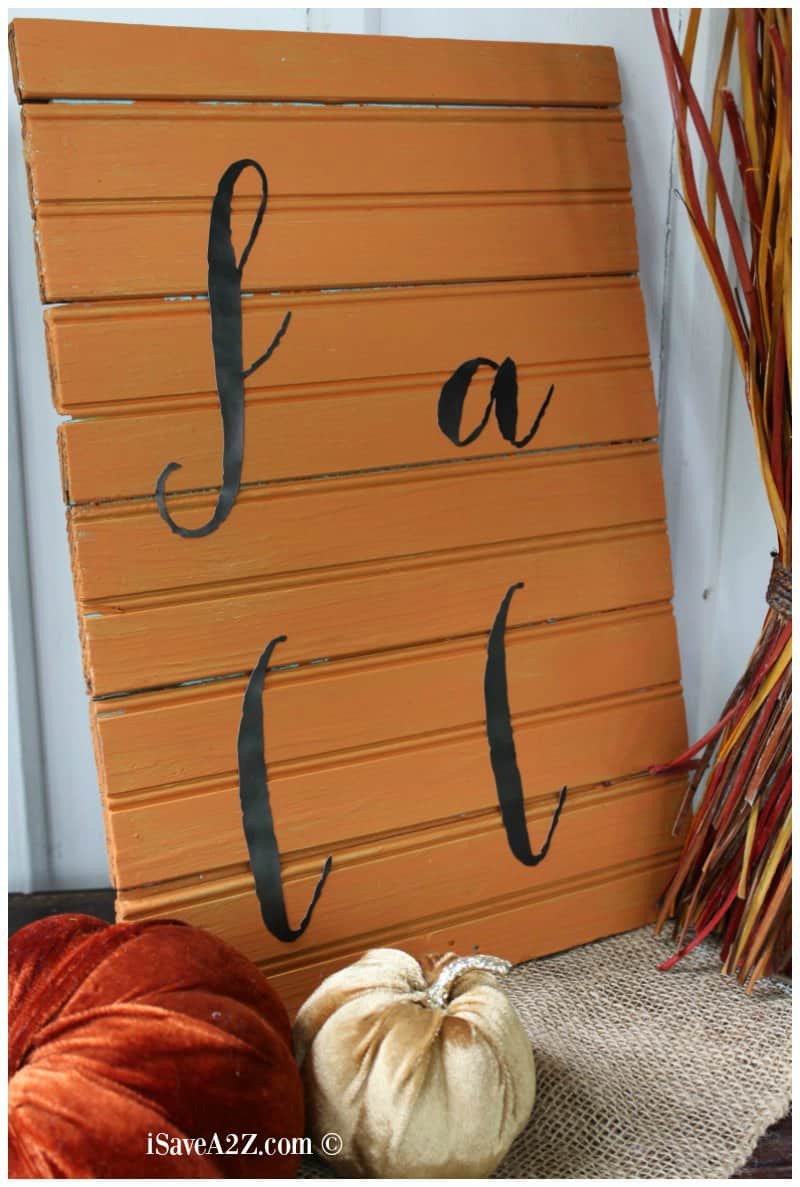
I am obsessed with Scrap Wood Projects! In celebration of the new fall season I decided to make a super cute sign for the front porch. I call it my Fall Scrap Wood Sign project!
We’ve done a few Scrap Wood Projects over time. Some of our favorites are pallet board projects!
This scrap wood project is one we made out of bead board but honestly, you can use just about any piece of scrap wood you want. I’ve seen some really cute signs made out of extra wood like 2x4s that are attached at the back with a small piece of wood holding it together. The idea’s are endless!
We did use some peel and stick letters for this project to make it super simple but next time I will go a bit more detailed and use my Silhouette Cameo machine and some outdoor vinyl to create a more detailed design.
Fall Scrap Wood Sign Supplies Needed:
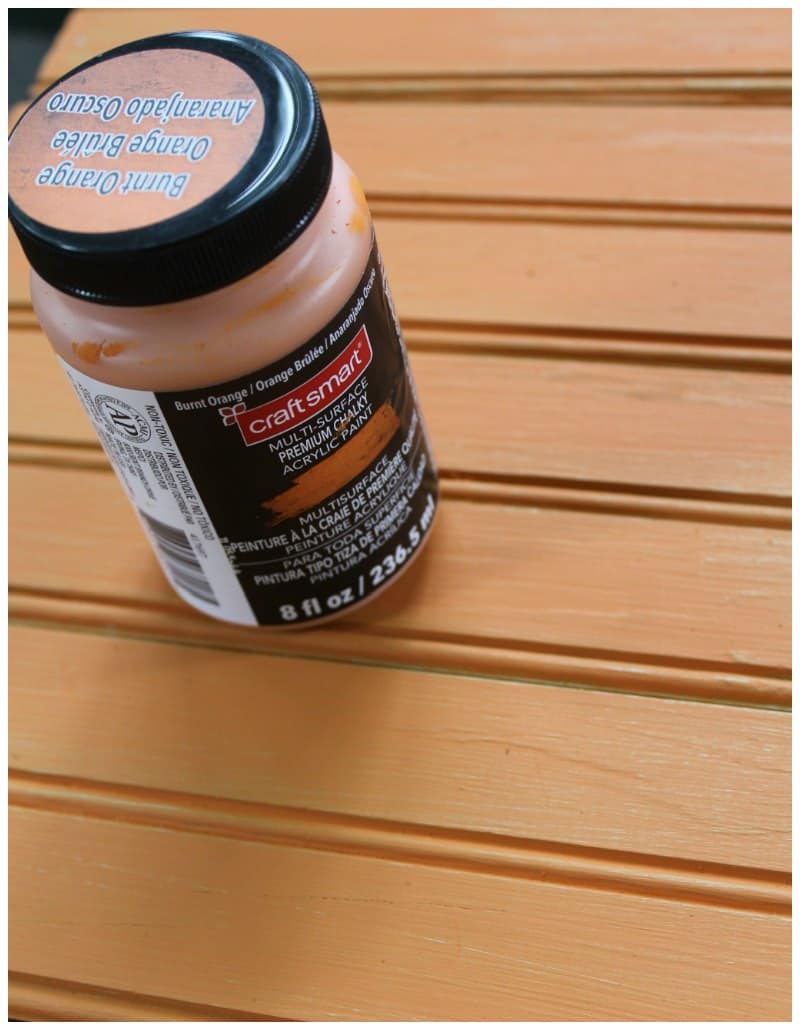
Square or rectangular scrap wood piece (The one we found at salvage was painted blue already, which is why it was blue. Don’t let color or finish scare you as you will paint over it anyhow.)
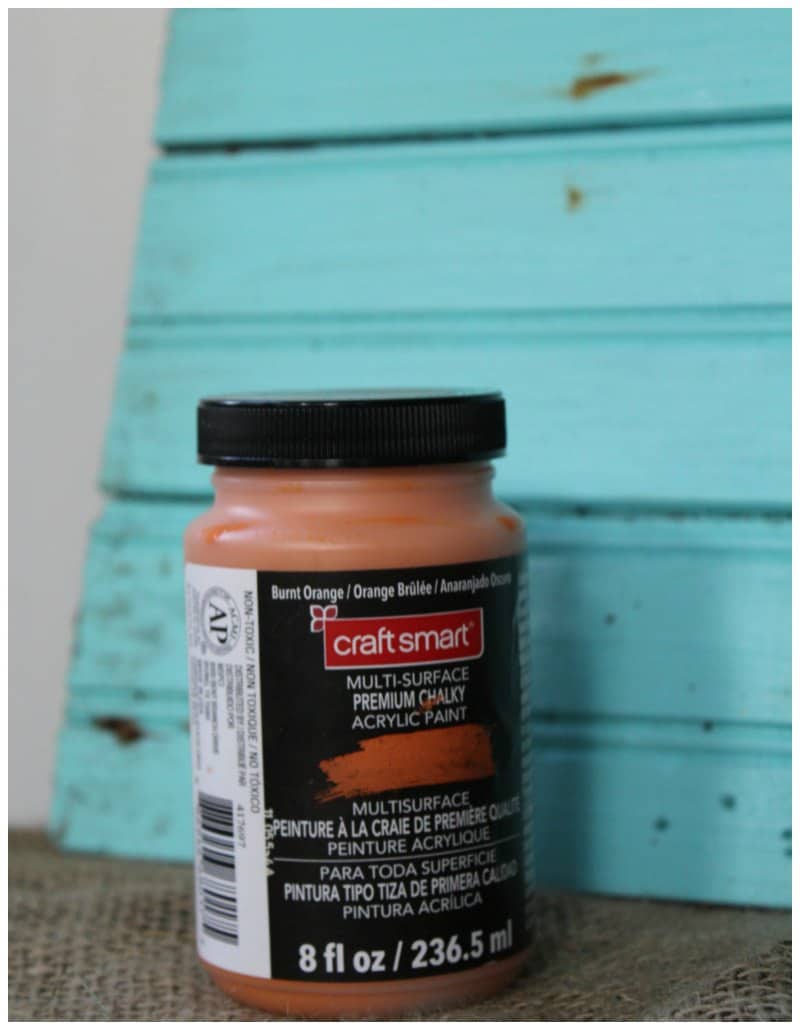
Orange paint in choice of finish. We chose a chalk finish.
Paint brush
Peel and stick letters
Mod Podge and sandpaper (optional)
Fall Scrap Wood Sign Directions:
1. Begin by applying two to three coats of paint to the scrap wood. I really like to use chalk paint because it doesn’t require any prep work before you apply the paint. No sanding needed. We’ve done so many chalk paint projects! You can turn any acrylic paint into chalk paint! Get our homemade chalk paint recipe here. It’s definitely a favorite for repainting furniture!
You can apply full coverage of paint or allow some of the surface underneath to peek through. It just depends how rustic you want the piece to look. Sometimes I like to apply two coats of paint and then sand the edges with sandpaper to allow the first color to show through.
2. When the paint is dry, you can lightly sand the edges with sand paper if you wish. This will help add to the rustic look. Or, leave as is. It’s all up to you and the look you are going for.
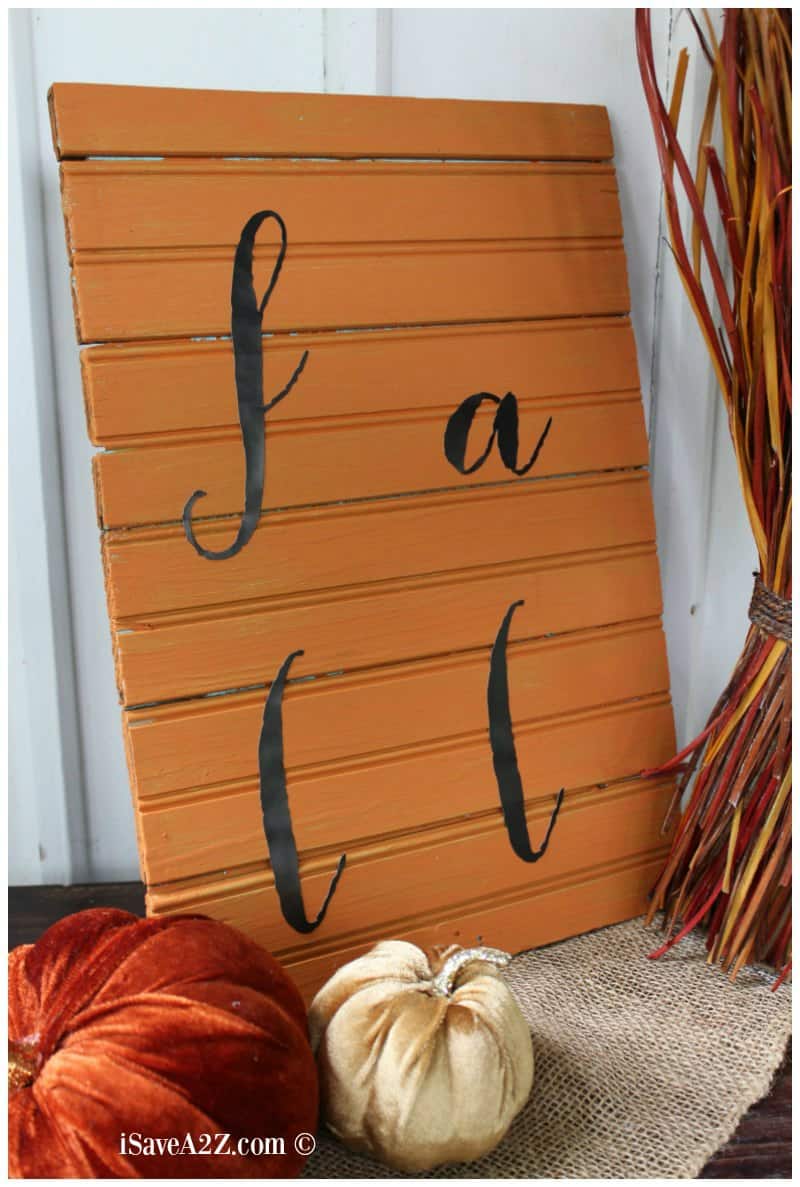
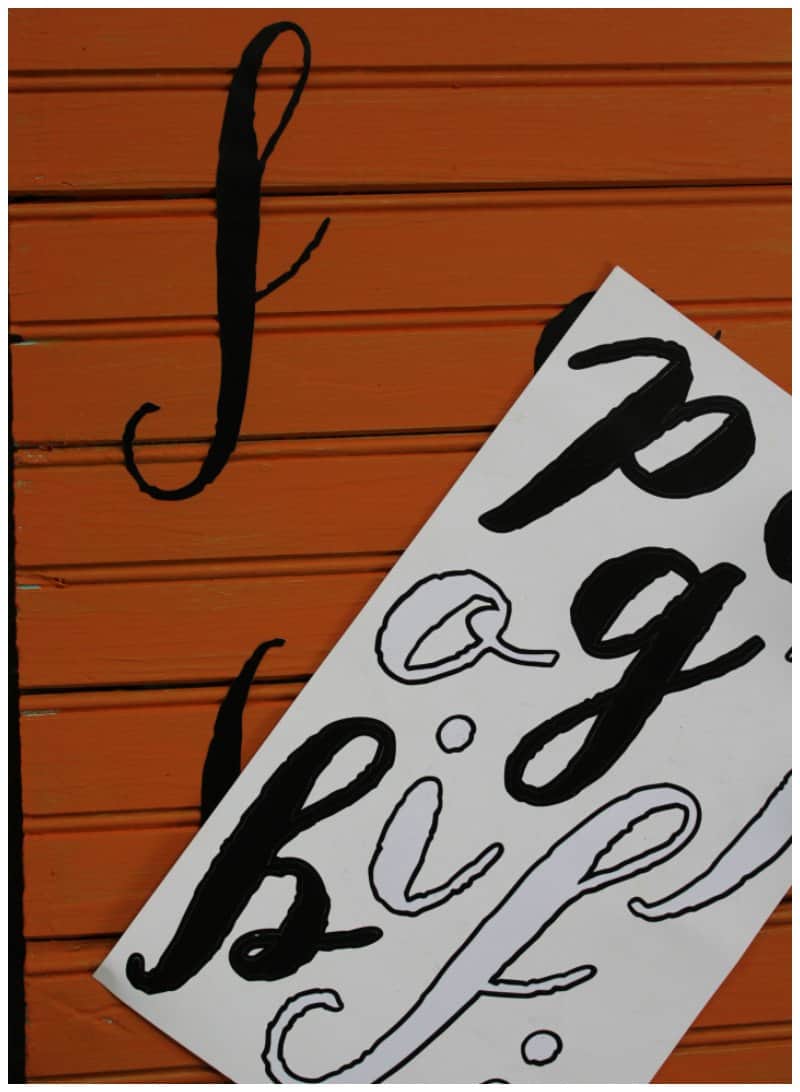
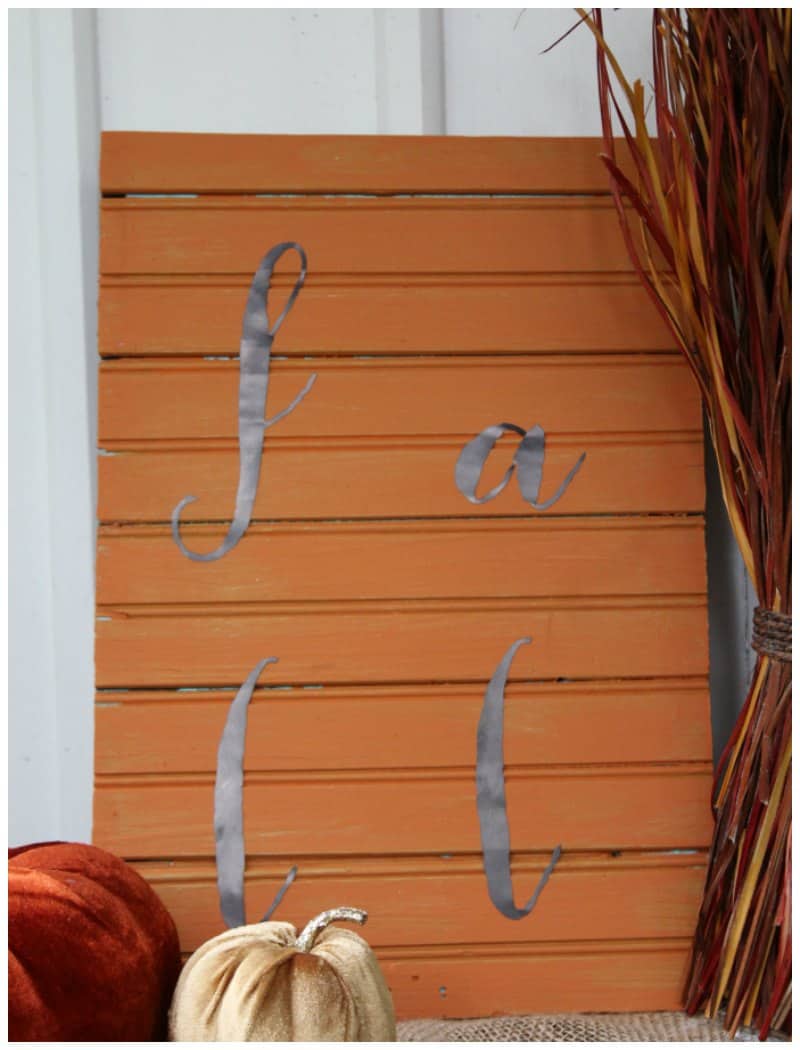
3. Peel and stick the letters to spell out the word FALL in a square fashion as we did. You can use any font you wish. We didn’t measure, we just eyeballed the spacing and stuck the letters on.
4. If you are worried about the letters peeling off, apply a thin layer of Mod Podge over them to keep them secure in place.
There are so many ways you can decorate a space for the fall season! It’s time to display that fall scrap wood sign!! Lean it up against a mantel or pot of mums, or adhere some ribbon to the back and hang if you wish.
Feel free to Pin It on Pinterest: