3 Ingredient Japanese cheesecake made in the Pressure Cooker
3 Ingredient Japanese cheesecake made in the Pressure Cooker
I’m so excited to share with you the 3 Ingredient Japanese cheesecake I just made in the Pressure Cooker!! Gosh, I love my pressure cooker. I get asked over and over again which one to buy and then how to use it. I can’t believe that I have a fear of using this machine. It actually sat in the box about 2 months before I could muster up the courage to even try it. Don’t be like me. Just TRY IT! Seriously, you will fall in love!
Before I tell you about my new favorite cheesecake recipe, I will tell you a tad of information about the pressure cooker I used. If I don’t, I know there will be comments asking for it. I love my Instant Pot DUO 6 quart Electric Pressure Cooker. I like the DUO for a couple of reasons. It has a thick cord that you can disconnect for easy storage. It has a slot at the top to hold the lid open and most importantly, it has a yogurt cooking option. If you love to cook yogurt, this is a must.
Now, if you are on a budget and still want a good working machine without the yogurt option, I would get the Instant Pot 6 quart LUX Electric Pressure Cooker. The only difference is those 3 things I mentioned above. The biggest difference is the yogurt option. Now that doesn’t mean you cannot cook yogurt, it just means you will have to work those settings manually. Plus, the LUX model runs about 30 dollars cheaper too. Both are still the same 6 quart size.
There are many sizes of the Instant Pot Electric pressure cooker from 5 quarts all the way to 8 quarts. You can see all the Instant Pot Electric Pressure Cooker models and sizes here. I am in love with the brand but have no association with them what so ever. Plus, I feel the need to share because a close friend bought a knock off brand and it lasted only 2 months. Luckily she was still able to return it but it’s still a hassle.
Now I have got to give you the details for the 3 Ingredient Japanese cheesecake made in the Pressure Cooker! I say this is my new favorite cheesecake recipe because it’s lighter and not as sweet as normal cheesecake. I would take this Japanese cheesecake over any cheesecake they serve at The Cheesecake Factory any day!
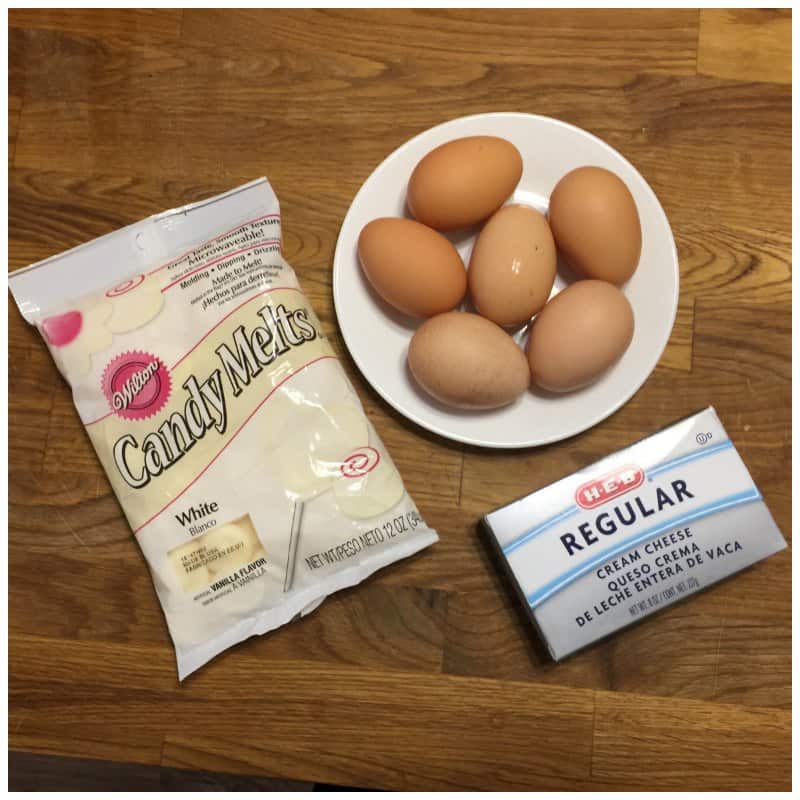
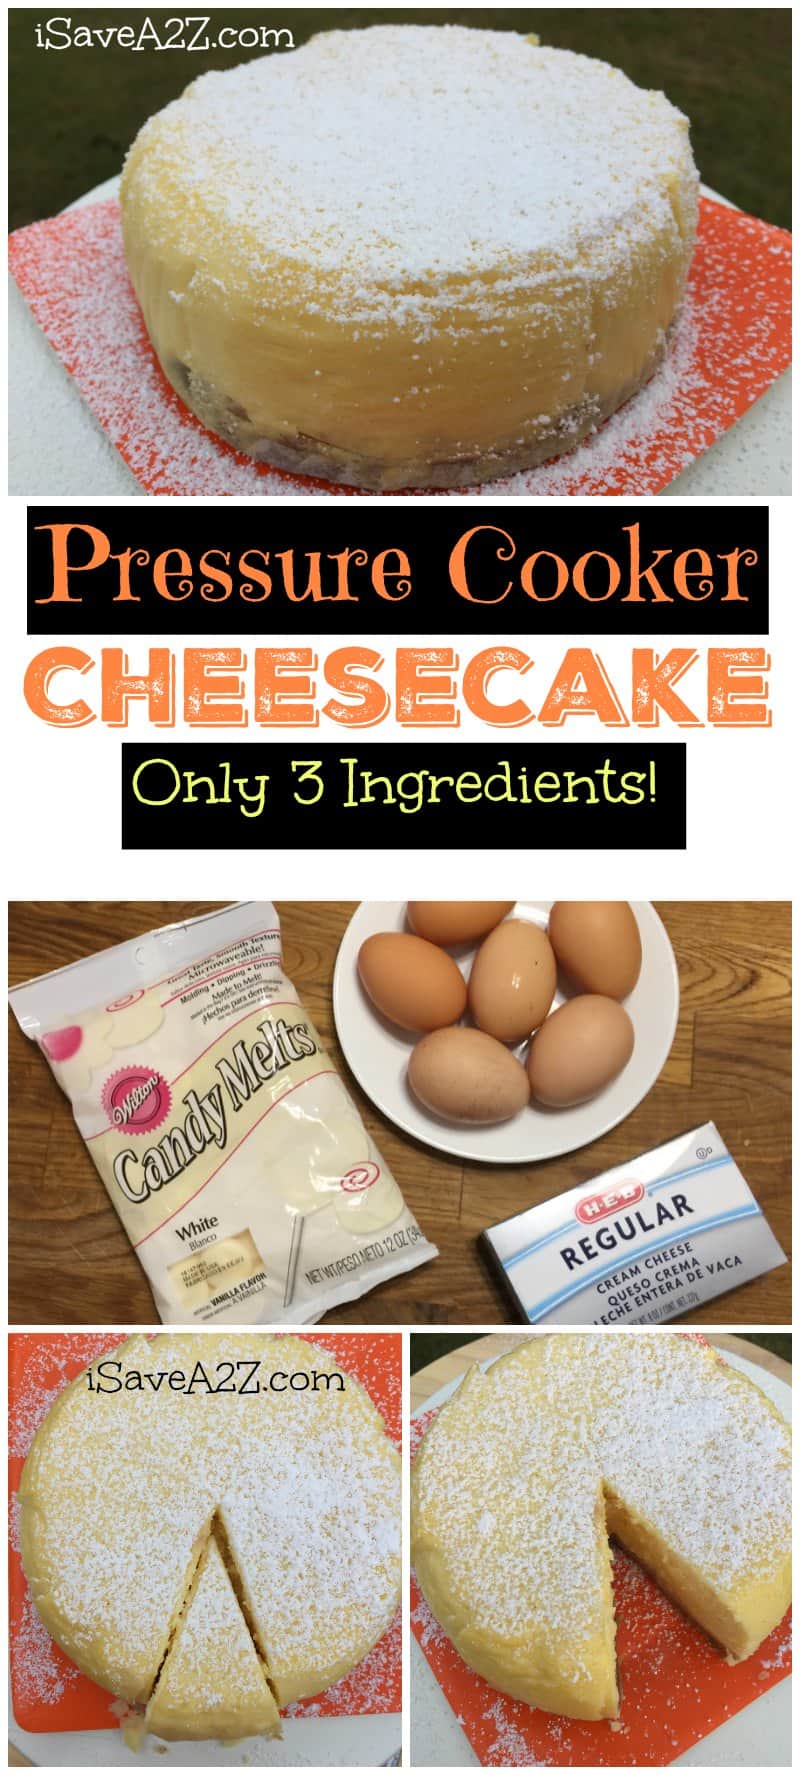
3 Ingredient Japanese cheesecake ingredients:
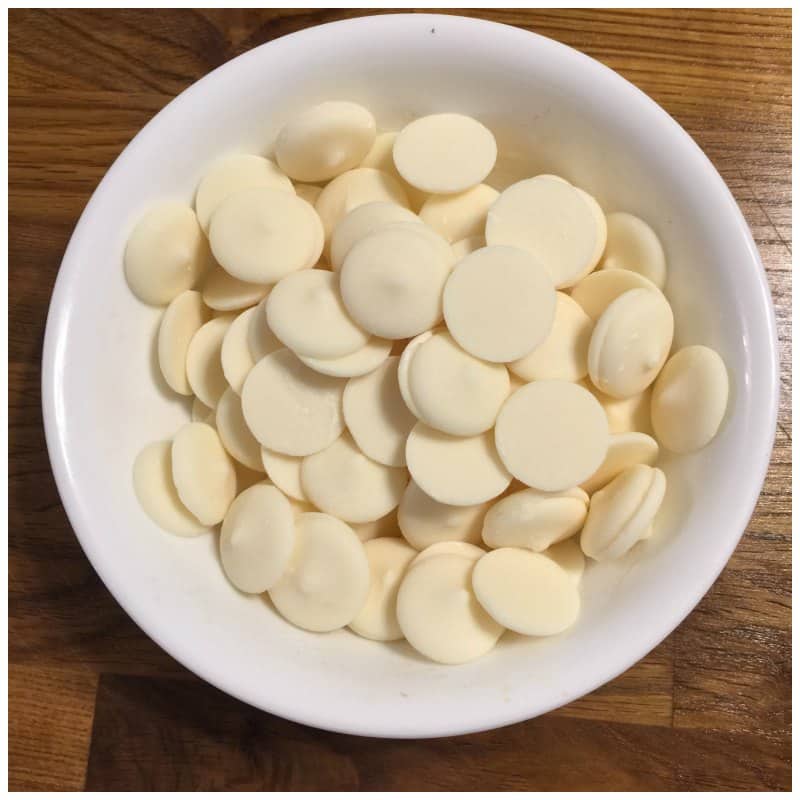
8 oz white chocolate (I used the Wilton candy melts)
8 oz cream cheese
6 eggs
Optional Crust:
Graham crackers
3 tbs butter
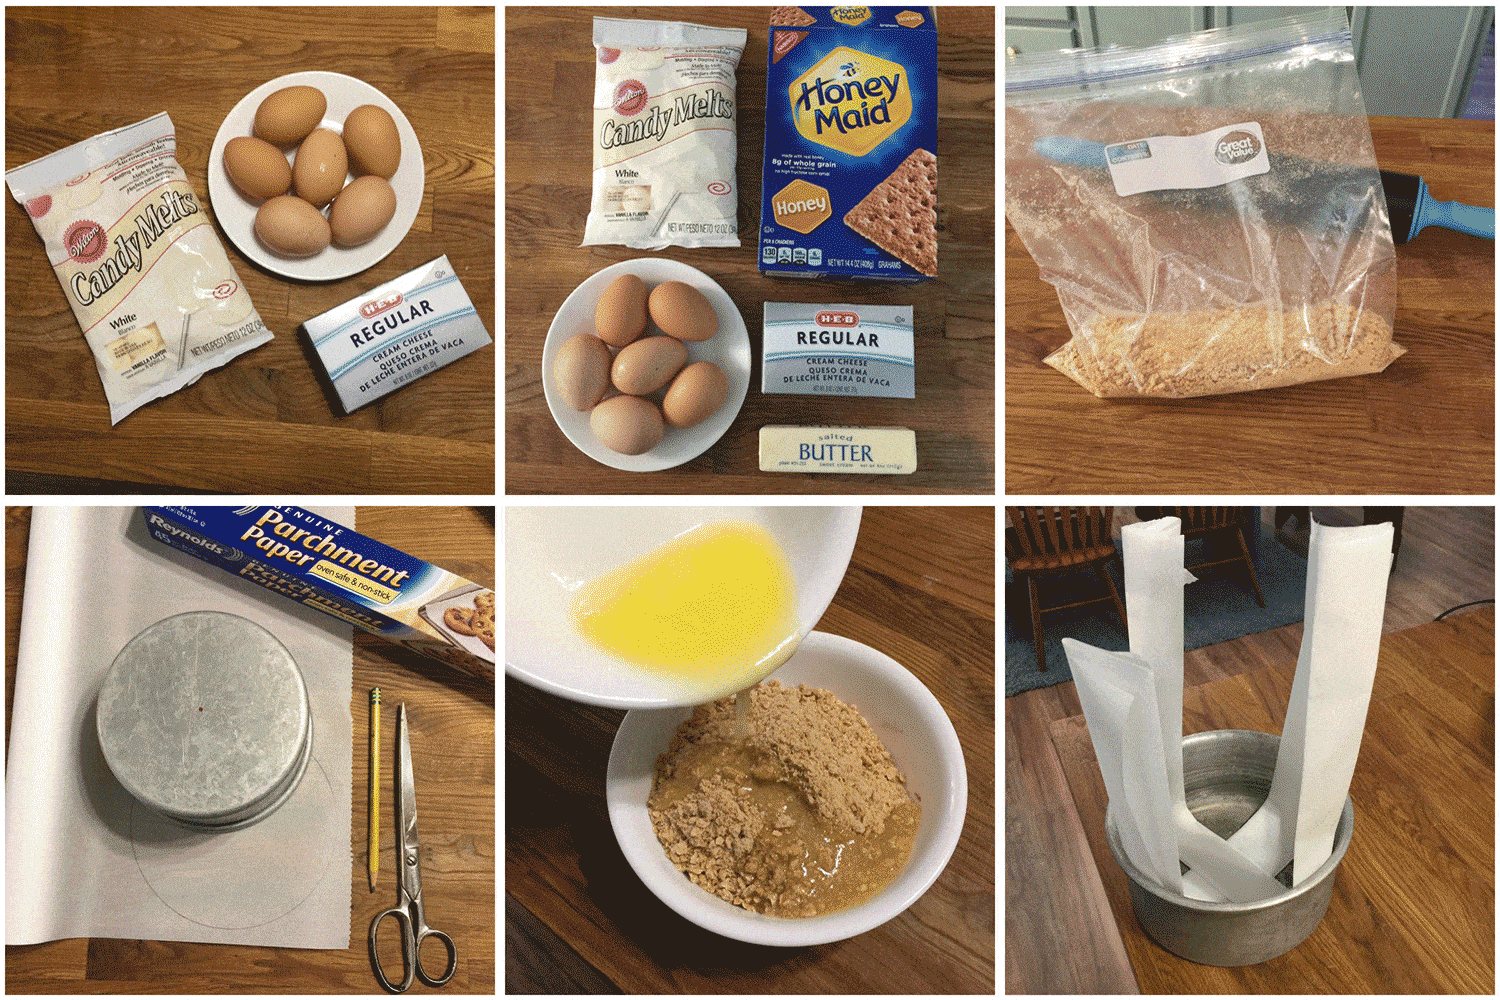
If you make it with the crust, then this is what your ingredients will look like:
3 Ingredient Japanese cheesecake instructions:
The very first thing you want to do is gather all of your ingredients and bowls. Gather 2 bowls to separate the eggs. You will need a mixer. You need a bowl to melt the chocolate in. You need a big bowl to whip the egg whites in. You also need to make sure your eggs are at room temperature.
You will also need to prepare the pan you plan to use to steam the cheesecake. I’ve made this recipe a few times and I’ve used a few different pans. I always make sure the pan can fit in my pressure cooker and I always make sure it’s a deep pan so that it can hold all of these ingredients. In the photos of this recipe I used a 6×3 inch Wilton cake pan. I purposely used this pan to show you that you do not have to purchase a special pan for this recipe!
I do have a Fat Daddios 7 inch cake pan with a removable bottom that is super easy to use for this recipe but I didn’t want you to think you had to purchase it. But, I will warn you, you will fall in love with the recipe and if you make it often I highly suggest getting this pan because it’s awesome!
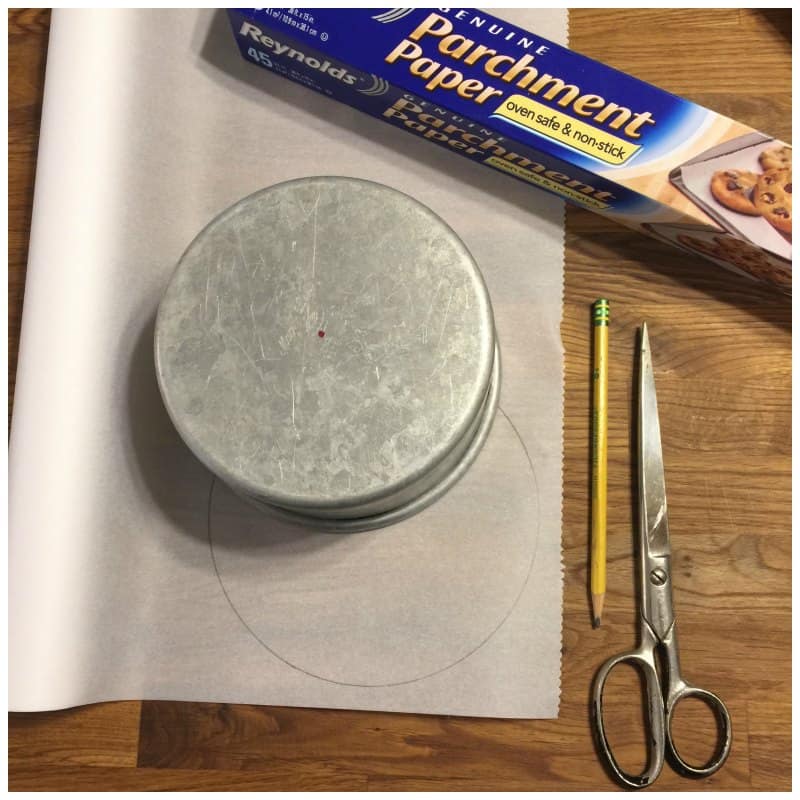
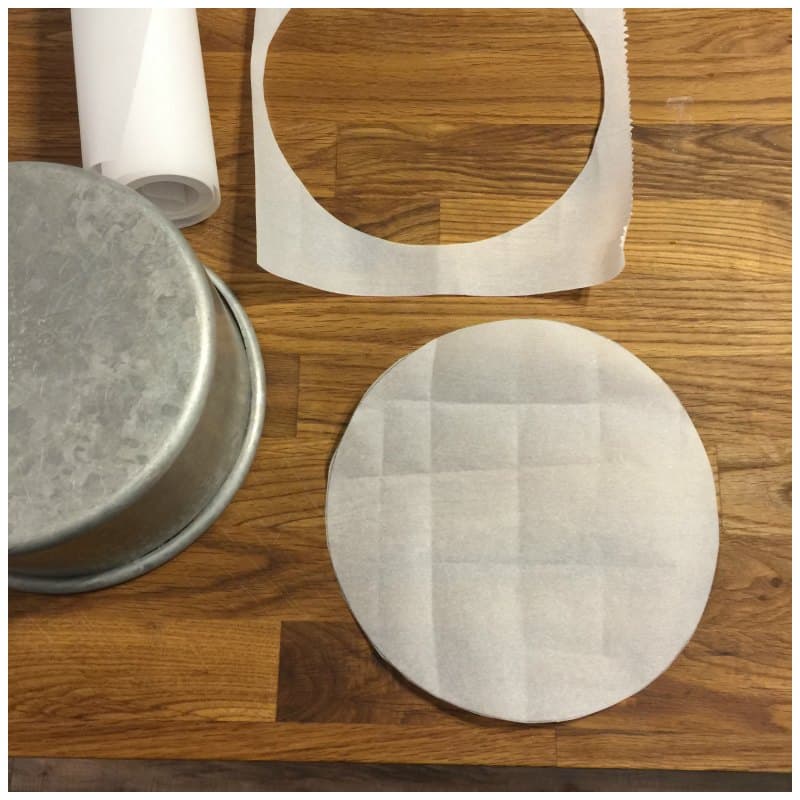
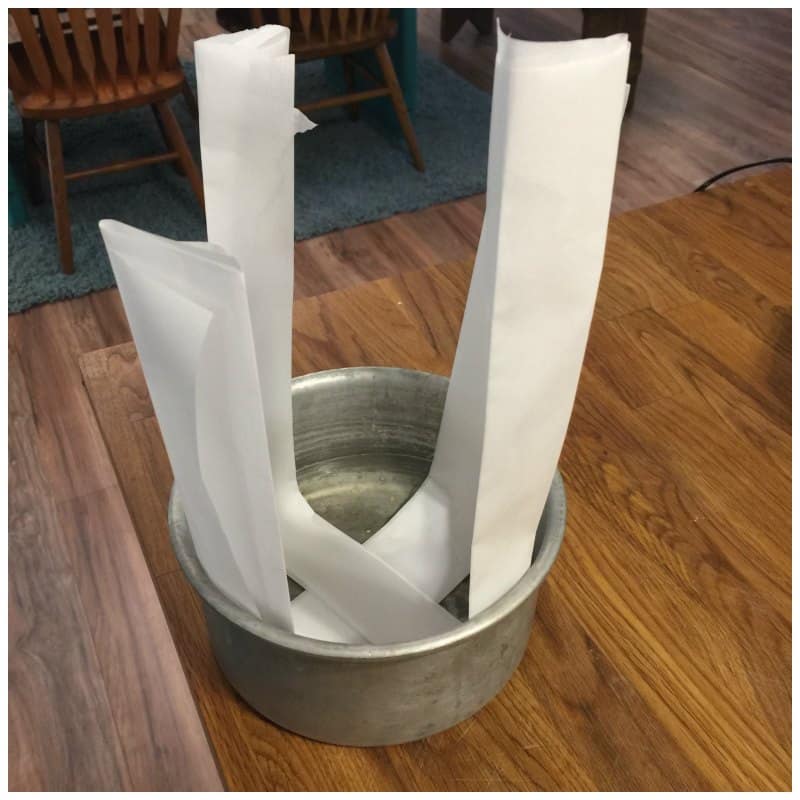
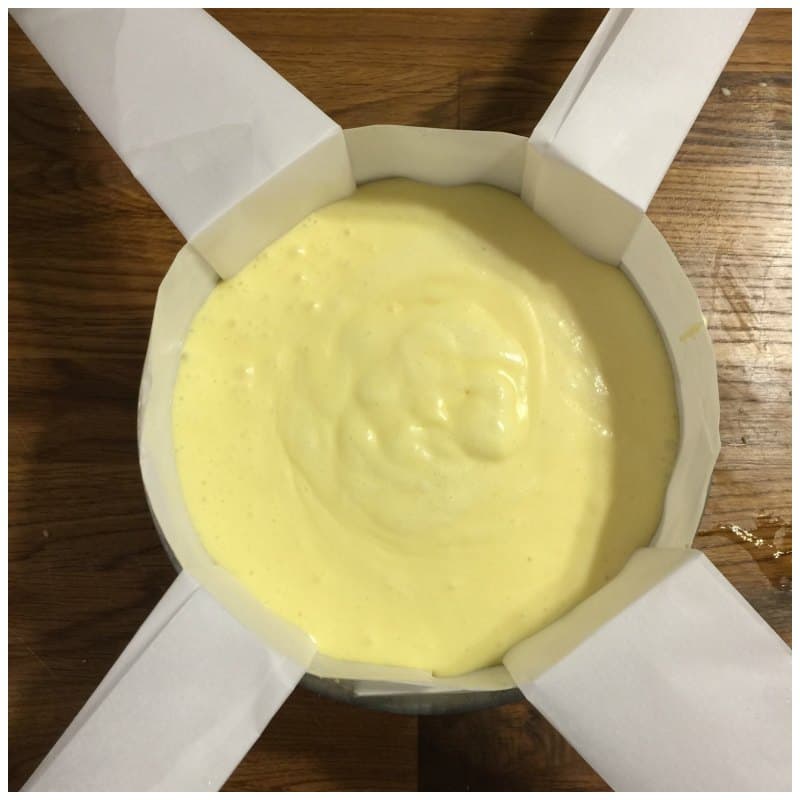
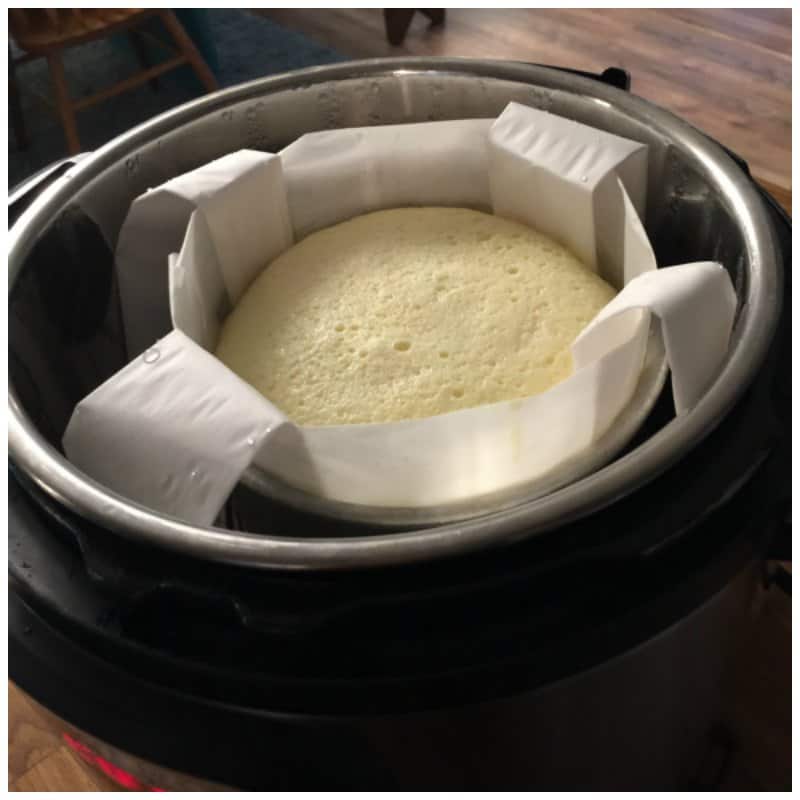
To prep my non cheesecake pan, I simply lined it with parchment paper. I cut out the exact bottom by drawing a circle around around the cake pan and cutting it out. I also cut out the sides with parchment paper too.
You will want to create a couple of handles with the parchment paper to help you grab the cheesecake out of the pan while it’s still hot. This was just a couple of strips of parchment paper that I folded over to make these handles. I place them in the bottom of the pan before I laid down the circle in the bottom.
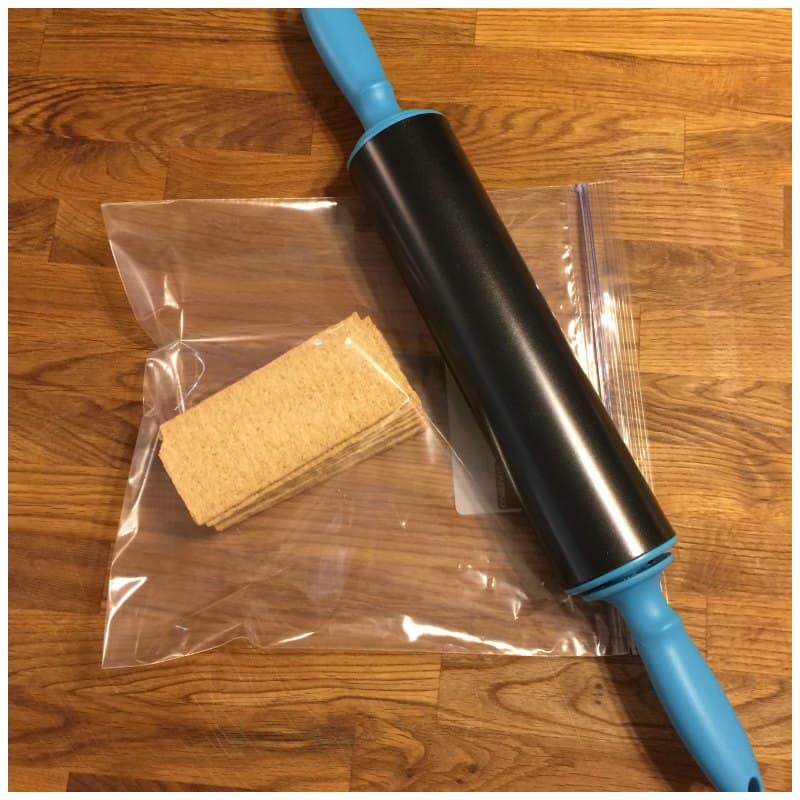
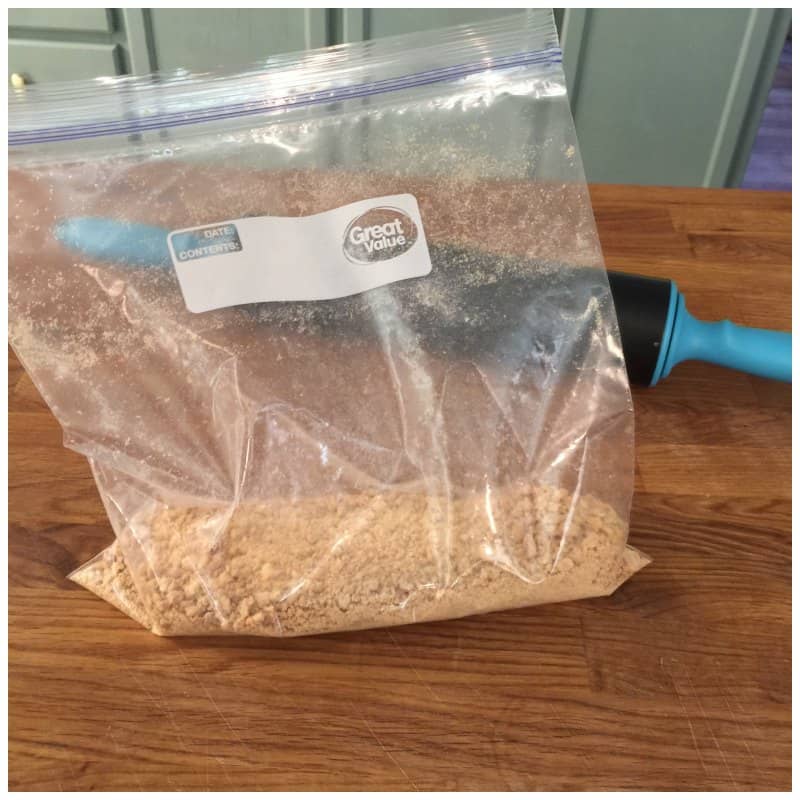
Optional Graham Cracker crust. If you plan to use a crust. I suggest you prep the crust before starting to make the cheesecake. I used one sleeve of graham crackers and about 3 tablespoons of melted butter. I crushed the graham crackers by placing them in a ziplock baggy and rolling them with a rolling pin. Then I added the melted butter to the mix.
To start making the cheesecake, you will begin by melting your chocolate. You can do this by placing a bowl over a boiling pot of water and slowly melt it or you can microwave a bowl of chocolate at 20 second intervals. Careful doing the microwave method though. It goes fast. You need to stir the chocolate after every 20 second batch. The chocolate may still hold it’s shape and you will never know it’s melted until you touch it. It will only take about 2 or 3 times to completely melt it in the microwave. If you overdo it, you risk the chance of burning the chocolate and you will have to start all over.
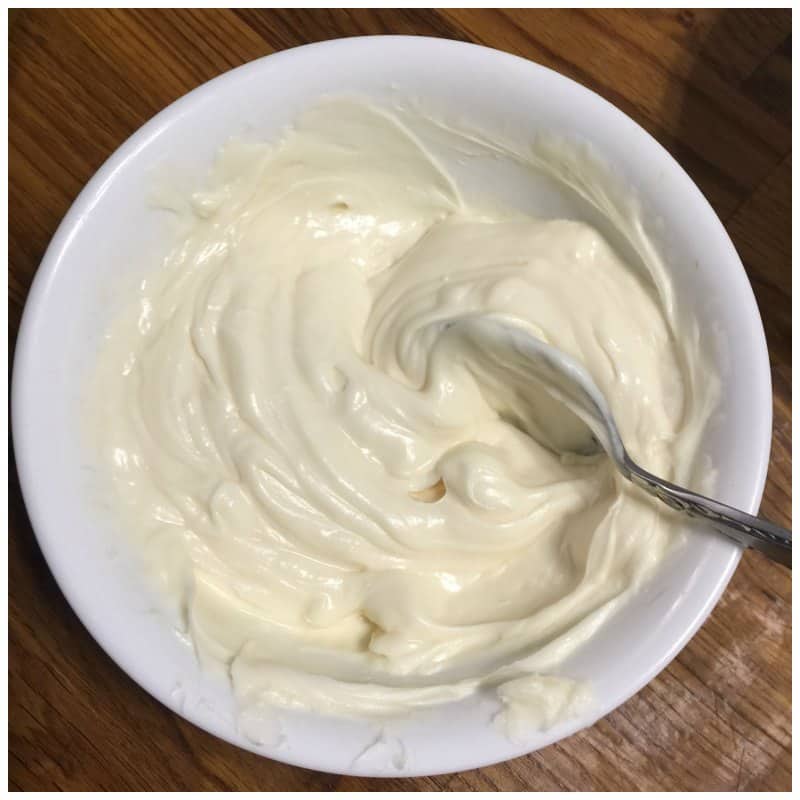
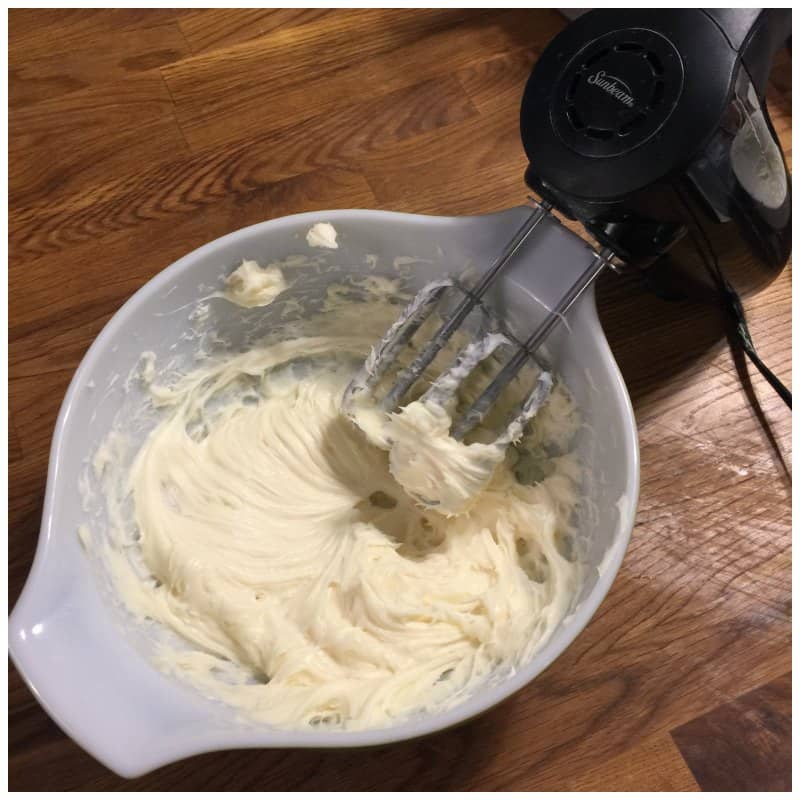
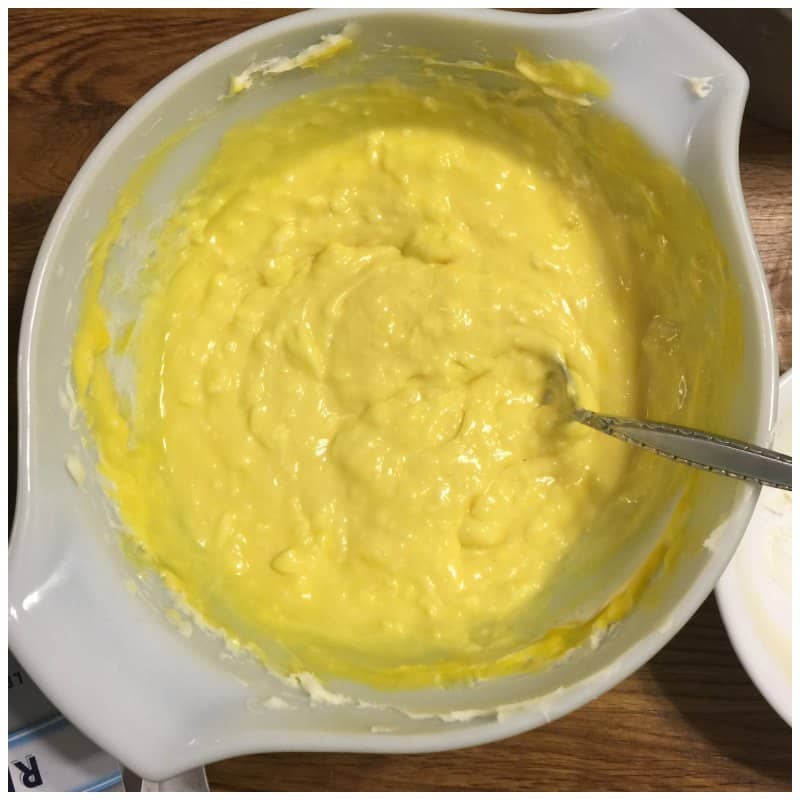
Now mix the melted chocolate together with the cream cheese. I used the mixer to combine the ingredients into a creamy texture. By this time the mixture as cooled a bit. Set it aside and start separating the eggs.
You will need to separate the egg yolks from the egg whites.
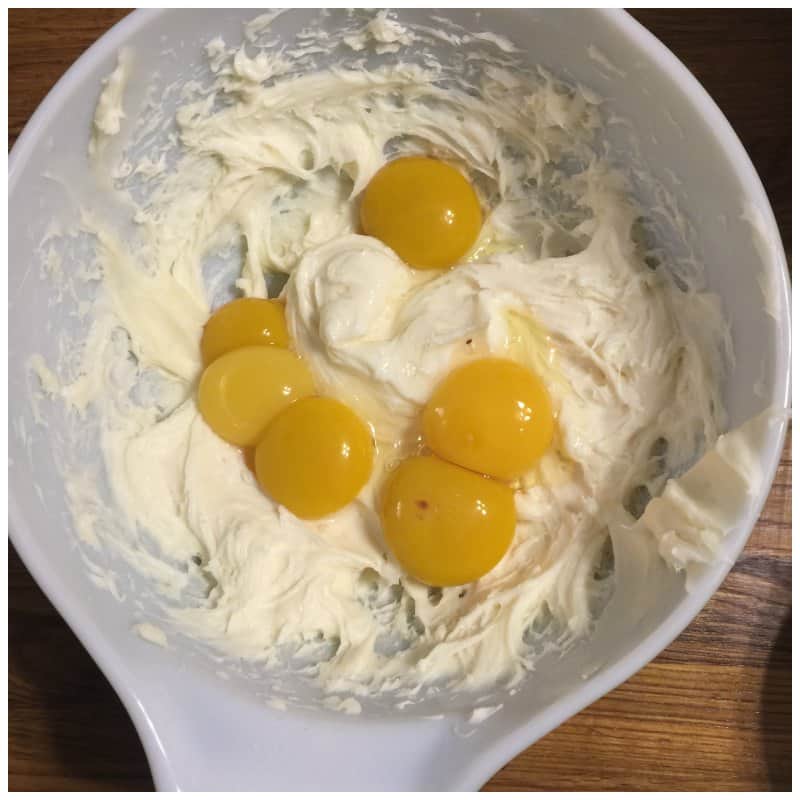
Add the egg yolks to the cooled cream cheese mixture.
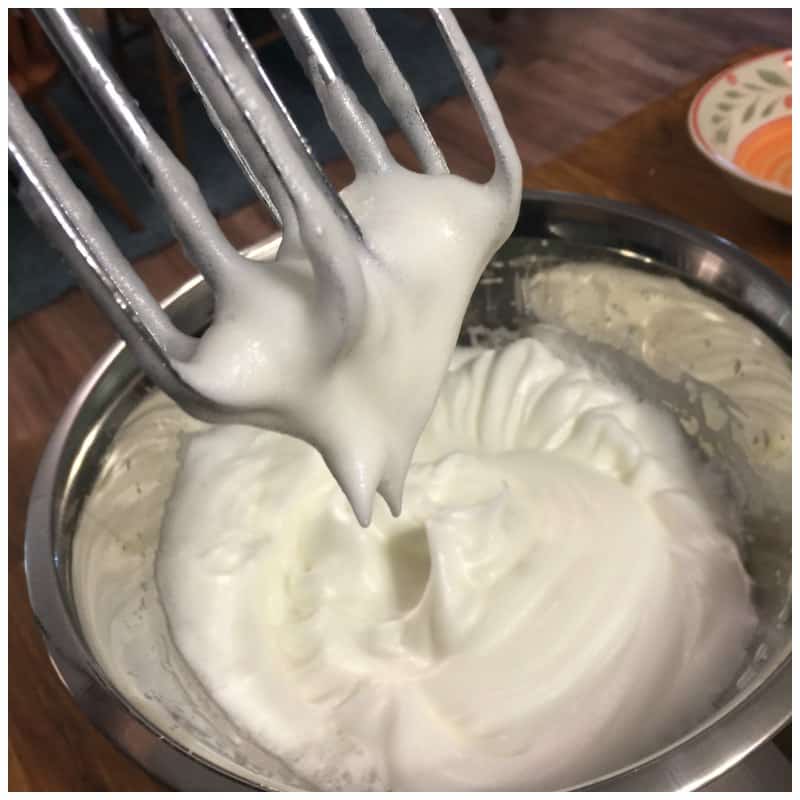
In a separate bowl, whip the egg whites until you get stiff peaks. This is the secret ingredient that allows the cheesecake to be light and fluffy!
Fold in the whipped egg whites into the batter.
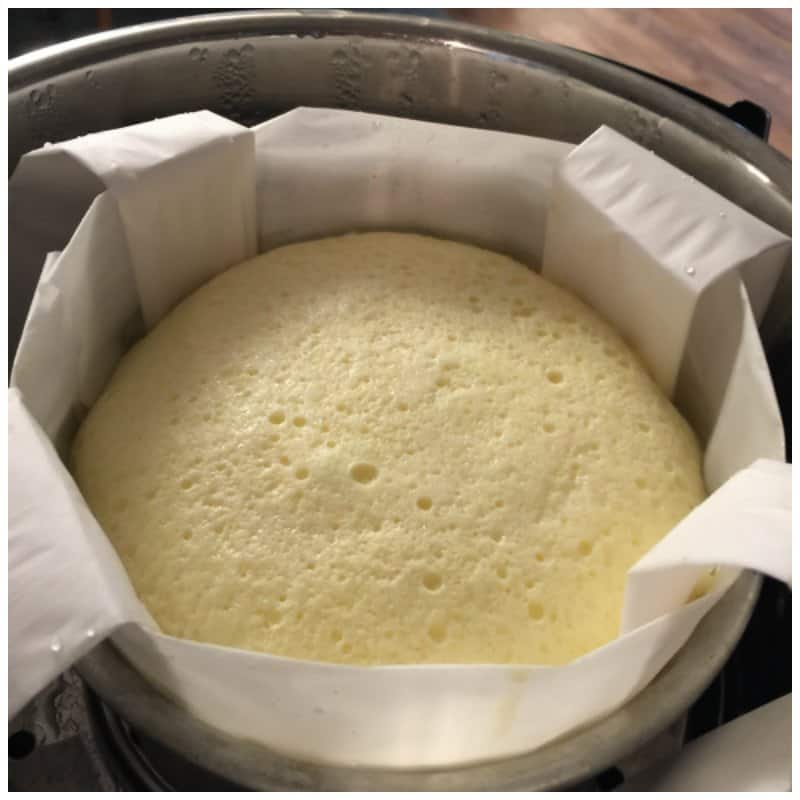
Pour the cheesecake batter into the prepped pan and it will look like this:
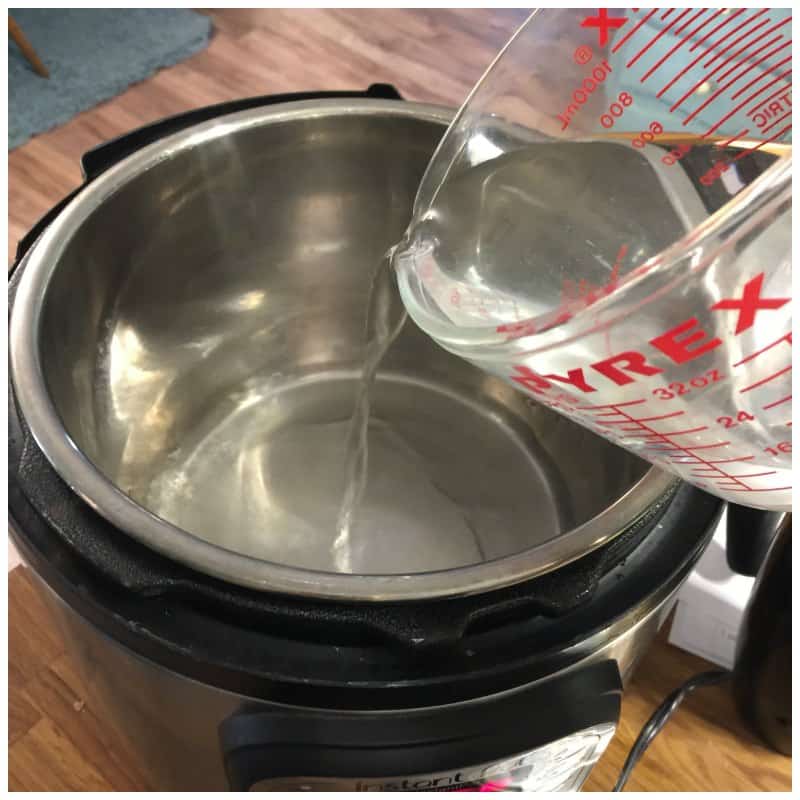
Pour 1 1/2 cups of water in the bottom of the pressure cooker and place the rack in the bottom of the pressure cooker.
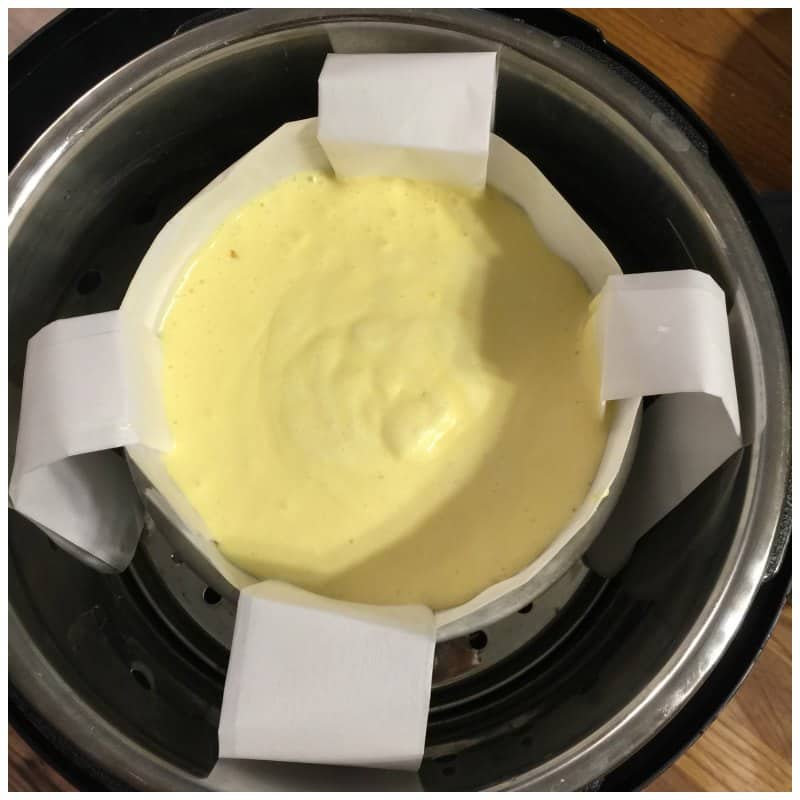
Place the cake pan on the rack inside the pressure cooker and cook it on high for 40 minutes. Then do a quick release of the steam.
Allow the cheesecake to completely cool before serving it. I made this in the evening and let it cool overnight in the refrigerator.
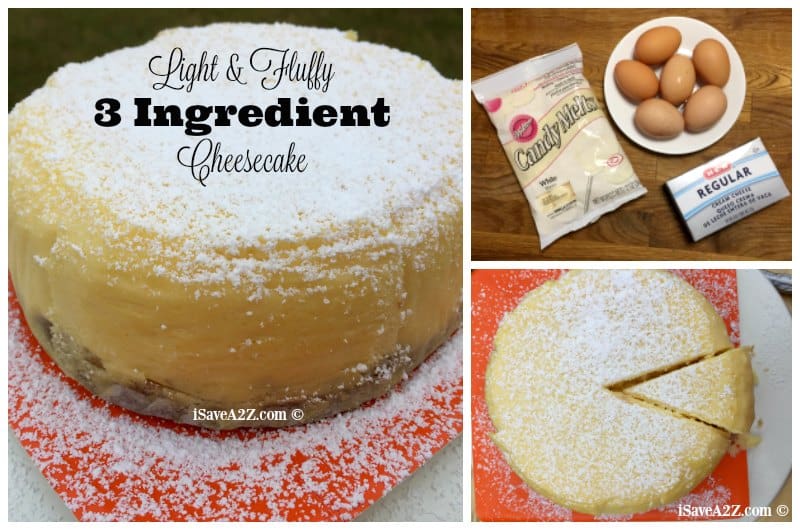
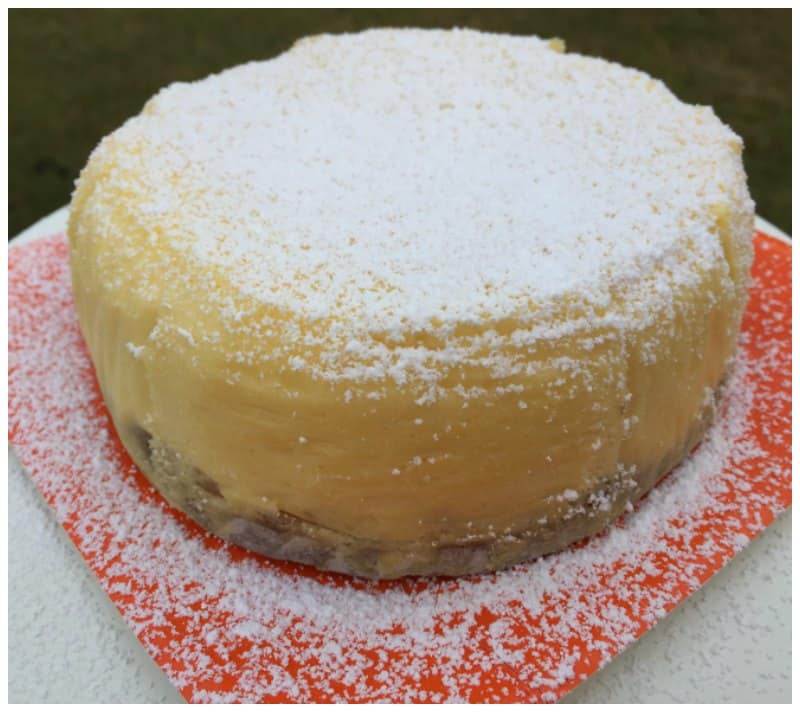
This is what it looks like when it’s done in the pressure cooker:
You can sprinkle powdered sugar over the top and serve it cold. You can also serve it with fresh fruit on the top too! Yum!!
My husband does not like really sweet desserts and this one is a favorite of his!
You may want to Pin It on Pinterest for later!
Here’s a printable version of this recipe:

3 Ingredient Japanese cheesecake made in the Pressure Cooker
Ingredients
- 3 Ingredient Japanese cheesecake ingredients:
- 8 oz white chocolate I used the wilton candy melts
- 8 oz cream cheese
- 6 eggs
- Optional Crust:
- Graham crackers
- 3 tbs butter
Instructions
- The very first thing you want to do is gather all of your ingredients and bowls. Gather 2 bowls to separate the eggs. You will need a mixer. You need a bowl to melt the chocolate in. You need a big bowl to whip the egg whites in. You also need to make sure your eggs are at room temperature.
- You will also need to prepare the pan you plan to use to steam the cheesecake. I've made this recipe a few times and I've used a few different pans. I always make sure the pan can fit in my pressure cooker and I always make sure it's a deep pan so that it can hold all of these ingredients. In the photos of this recipe I used a 6x3 inch Wilton cake pan. I purposely used this pan to show you that you do not have to purchase a special pan for this recipe!
- I do have a Fat Daddios 7 inch cake pan with a removable bottom that is super easy to use for this recipe but I didn't want you to think you had to purchase it. But, I will warn you, you will fall in love with the recipe and if you make it often I highly suggest getting this pan because it's awesome!
- To prep my non cheesecake pan, I simply lined it with parchment paper. I cut out the exact bottom by drawing a circle around around the cake pan and cutting it out. I also cut out the sides with parchment paper too.
- You will want to create a couple of handles with the parchment paper to help you grab the cheesecake out of the pan while it's still hot. This was just a couple of strips of parchment paper that I folded over to make these handles. I place them in the bottom of the pan before I laid down the circle in the bottom.
- To start making the cheesecake, you will begin by melting your chocolate. You can do this by placing a bowl over a boiling pot of water and slowly melt it or you can microwave a bowl of chocolate at 20 second intervals. Careful doing the microwave method though. It goes fast. You need to stir the chocolate after every 20 second batch. The chocolate may still hold it's shape and you will never know it's melted until you touch it. It will only take about 2 or 3 times to completely melt it in the microwave. If you overdo it, you risk the chance of burning the chocolate and you will have to start all over.
- Now mix the melted chocolate together with the cream cheese. I used the mixer to combine the ingredients into a creamy texture. By this time the mixture as cooled a bit. Set it aside and start separating the eggs.
- You will need to separate the egg yolks from the egg whites.
- Add the egg yolks to the cooled cream cheese mixture.
- In a separate bowl, whip the egg whites until you get stiff peaks. This is the secret ingredient that allows the cheesecake to be light and fluffy!
- Fold in the whipped egg whites into the batter.
- Pour the cheesecake batter into the prepped pan as seen in the photos.
- Pour 1 1/2 cups of water in the bottom of the pressure cooker and place the rack in the bottom of the pressure cooker.
- Place the cake pan on the rack inside the pressure cooker and cook it on high for 40 minutes. Then do a quick release of the steam.
- Allow the cheesecake to completely cool before serving it. I made this in the evening and let it cool overnight in the refrigerator.
- You can sprinkle powdered sugar over the top and serve it cold. You can also serve it with fresh fruit on the top too! Yum!!
Nutrition facts are provided as a courtesy.

