
DIY Easy Change Picture Frame
DIY Easy Change Picture Frame
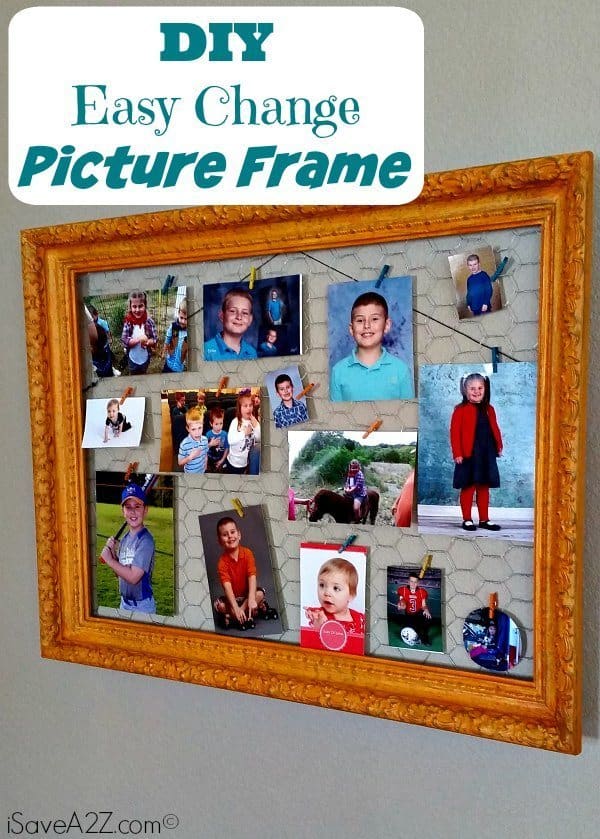
I have a quick, easy and fun DIY project that you can complete in very little time. My kiddos are still young and we have a large family. So with Fall, Spring, sports, special days at school and all of our cousins, we have a LOT of new pictures all throughout the year. Trying to display all those special photos without it being cluttered can be a challenge. Our solution is this DIY Easy Change Picture Frame! We painted and put it together in one afternoon. Our colorful little clothes pins let us display whatever pictures we want and change them out as we please. No messing with a glass frame, no worries about where to put a new frame and no problem with trying to hang it all so that it looks good.
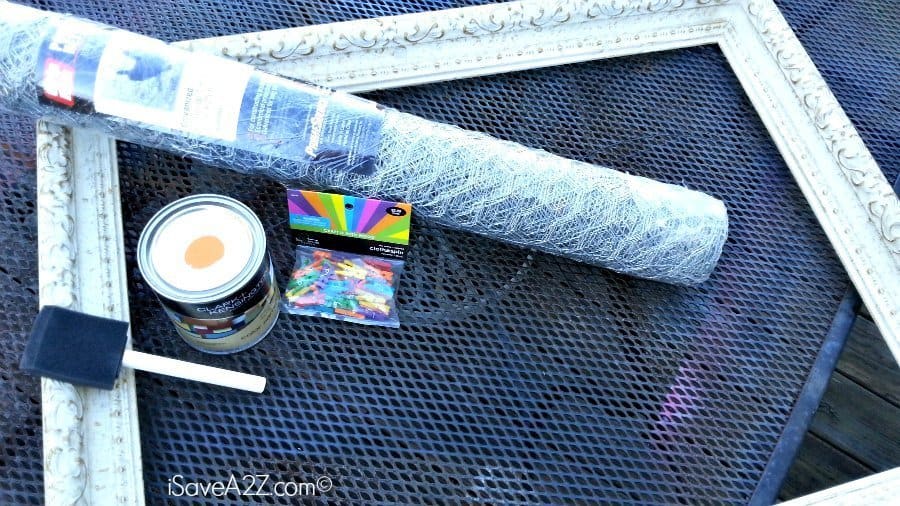
So here are the supplies you will need for this project.
- a large picture frame. This is an old frame I got from a garage sale at a great price!
- 1 roll of chicken wire
- paint in whatever color you choose, and a brush
- wire cutters and a staple gun
- small clothes pins; I found this little bag at Hobby Lobby and they have a few sizes to choose from.
- Pictures!
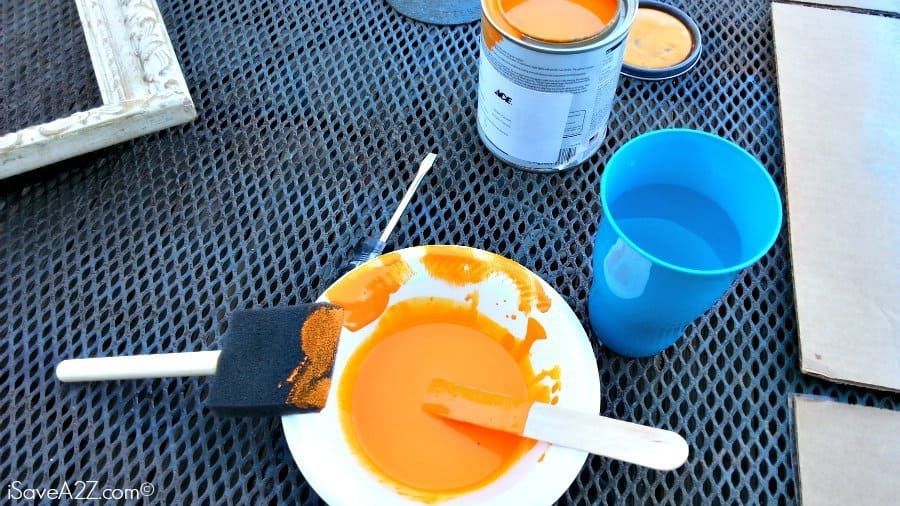
The first thing we did was wipe the frame down so that it was clean. Since this is a very old picture frame and it had so much detail, I wanted some of that to show through. I decided to water down my paint so it was thinner and applied it in very thin layers until I liked the look. Be sure to let the frame dry completely before you move any further. We painted in the morning and went on about our day. Then came back to it in the afternoon to finish it up.
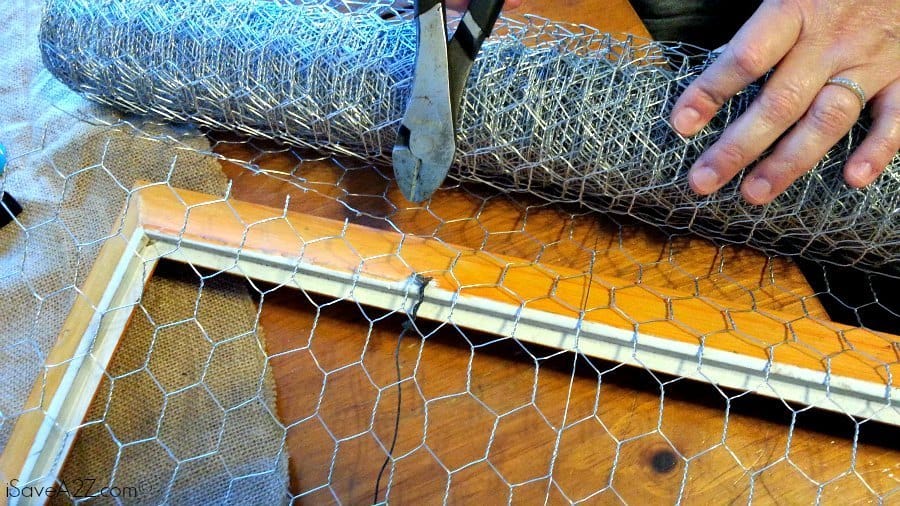
Once the picture frame is good and dry, lay it face down. Roll the chicken wire over the back of the frame to cover all of the edges. It’s okay to have some overhang because you can trim it up later. Once you have the length that you need, use wire cutters to cut the piece of chicken wire.
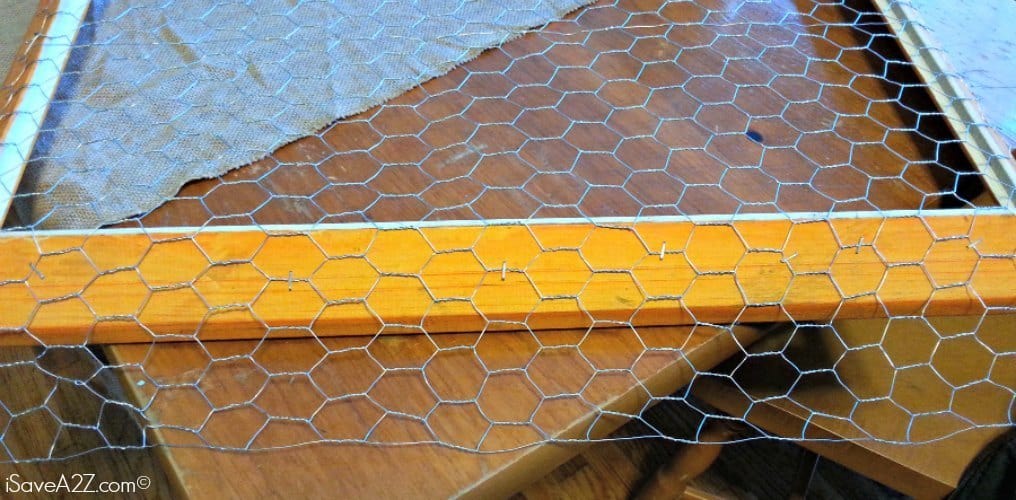
Use the staple gun to attach the chicken wire to the frame. Then use the wire cutters to go back and trim off the excess. You’ll want to cut it close to the staples so that you don’t have any pieces hanging past the edge of the frame. This will also keep it from scratching your wall.
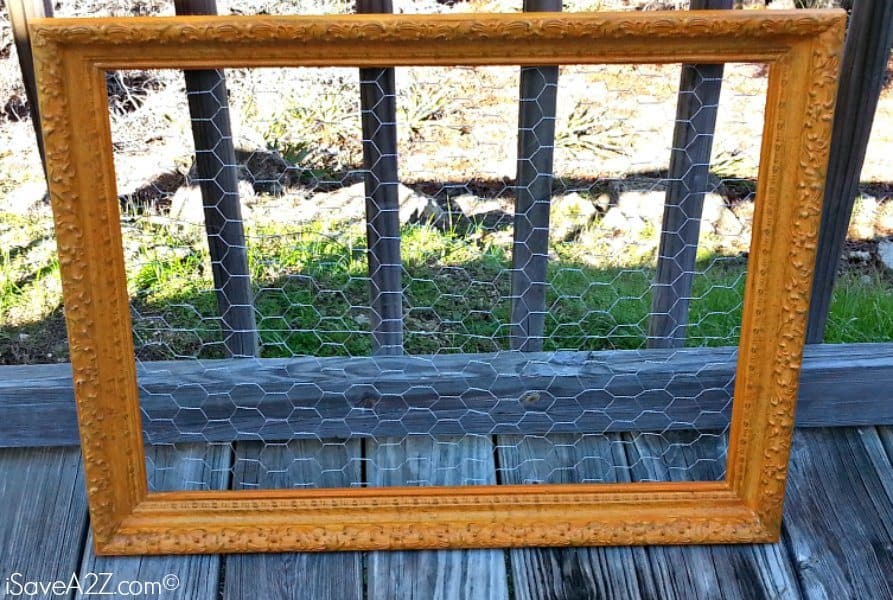
Check it out!! That’s how easy it is to make this DIY Easy Change Picture Frame! Now all you need to do is hang it and add your pictures.
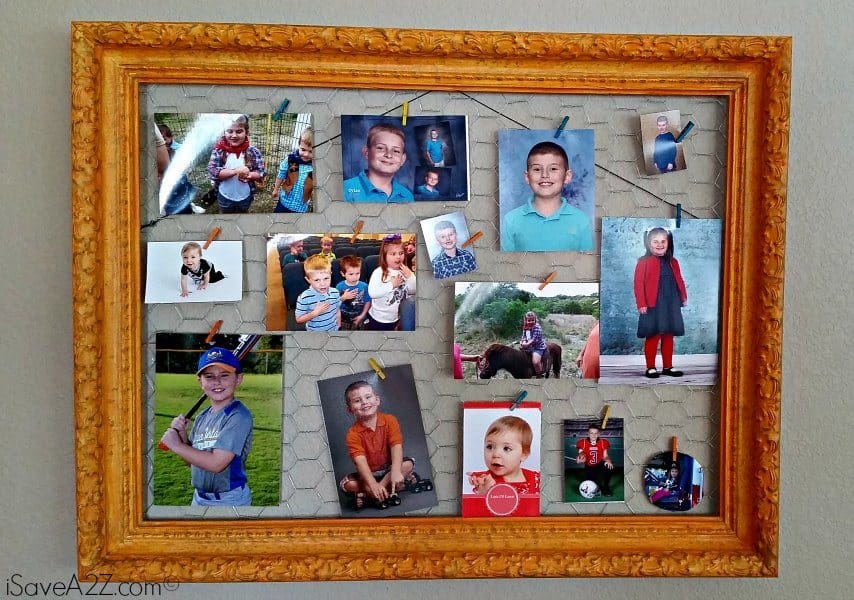
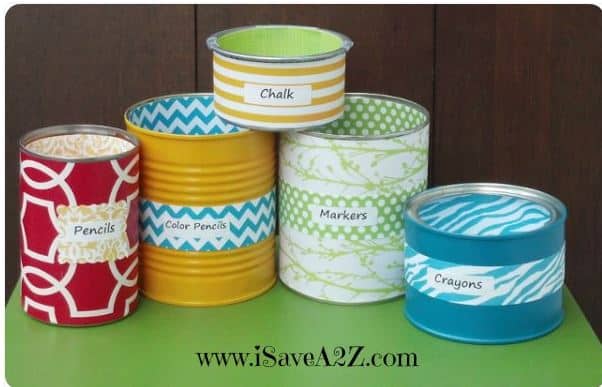
As time passes by and you get new pictures, just add and move the photos however you like! Which reminds me….I have Spring and baseball photos to add to mine! We also used old frames to make dry erase boards and chalk boards. Take a look at some of our other fun Picture Frame Crafts!
Happy Crafting!


Thanks for posting this! Attaching chicken wire to the back of a large frame seems like a genius idea to easily attach several pictures to one frame. One of the things that frustrates me about framing pictures is using several different frames for different smaller pictures. It seems like being able to simply clothespin pictures of all of my kids in one large frame would solve all of my framing frustrations.