
How to Decoupage on Seashells Using Mod Podge and Tissue Paper
I live in Texas so we visit the Texas coast at least once a year. Some years I get really, really lucky and find gigantic seashells. I have tons of them! Most of them I have placed in my front yard decorating my front porch area but today I did something a little more crafty with these beautiful seashells. I decoupaged them! DIY decoupage seashells!
You can get seashells almost anywhere. We get most of our shells from South Padre Island in Texas. We always take our 4×4 vehicle out where hardly anyone goes and we grab as many shells as we can when the tide is low. It’s so much fun!
If you don’t have a beach near you, you can purchase some beautiful seashells online on Amazon.com or you can get some locally at Hobby Lobby. The scallop seashells in this project are shells from Hobby Lobby.
Here’s how to make Decoupage Seashells DIY project:
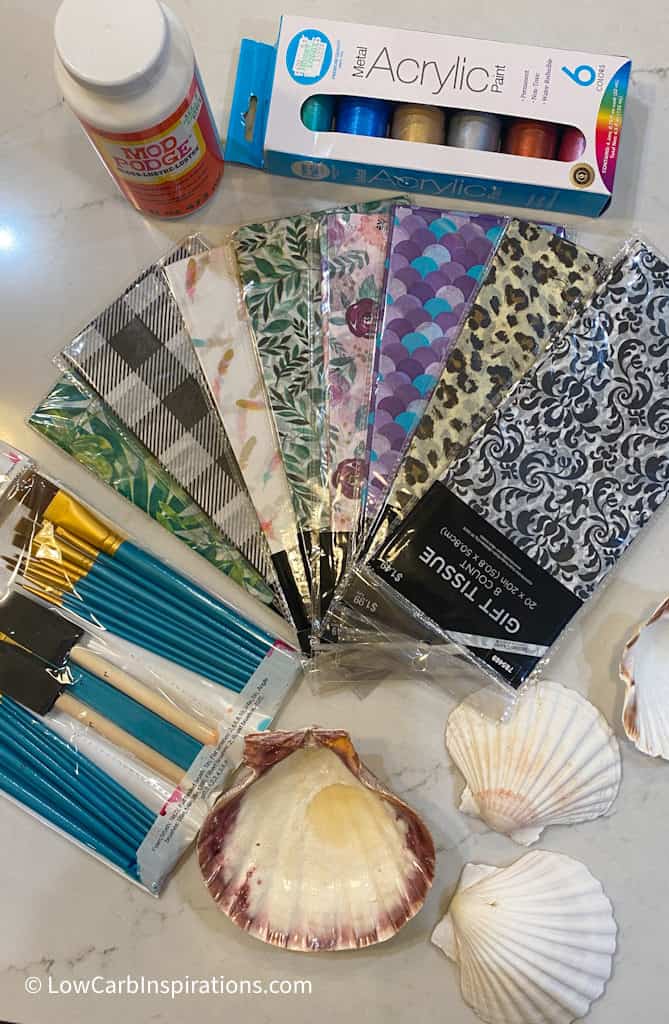
Decoupage Seashell DIY Project Supplies:
- Seashells
- Tissue paper
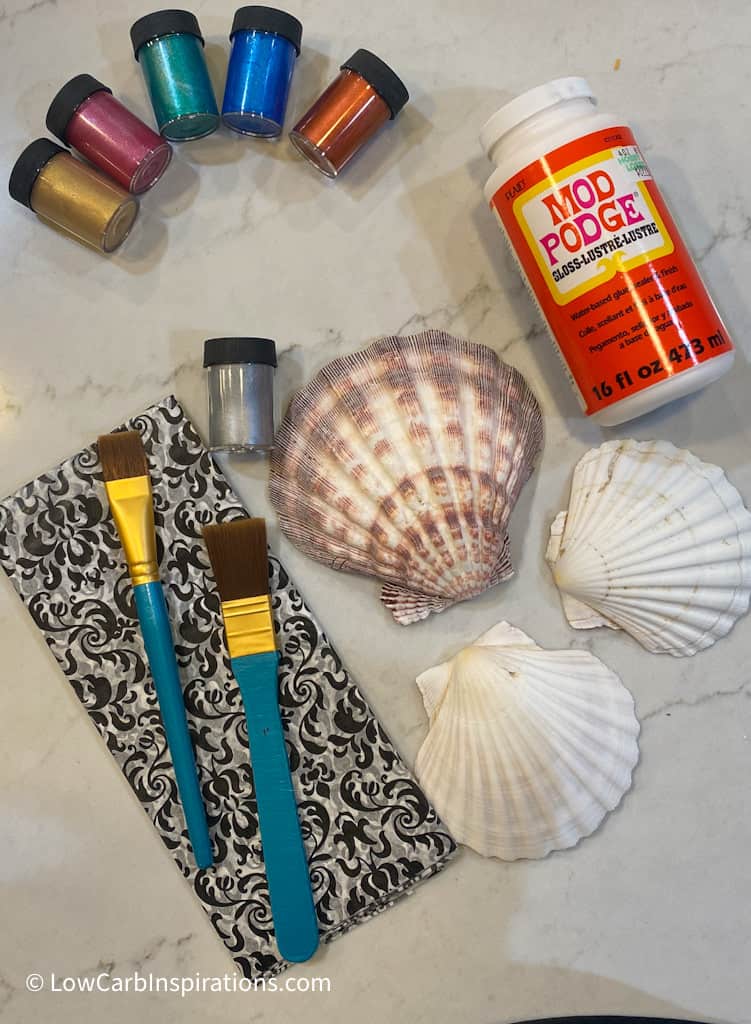
- Mod Podge (I used this kind)
- Medium Paint Brush
- Small Paint Brush
- Metallic Paints
Amazon supplies I’ve used for this DIY Decoupage Seashell project:
Decoupage Seashells Instructions:
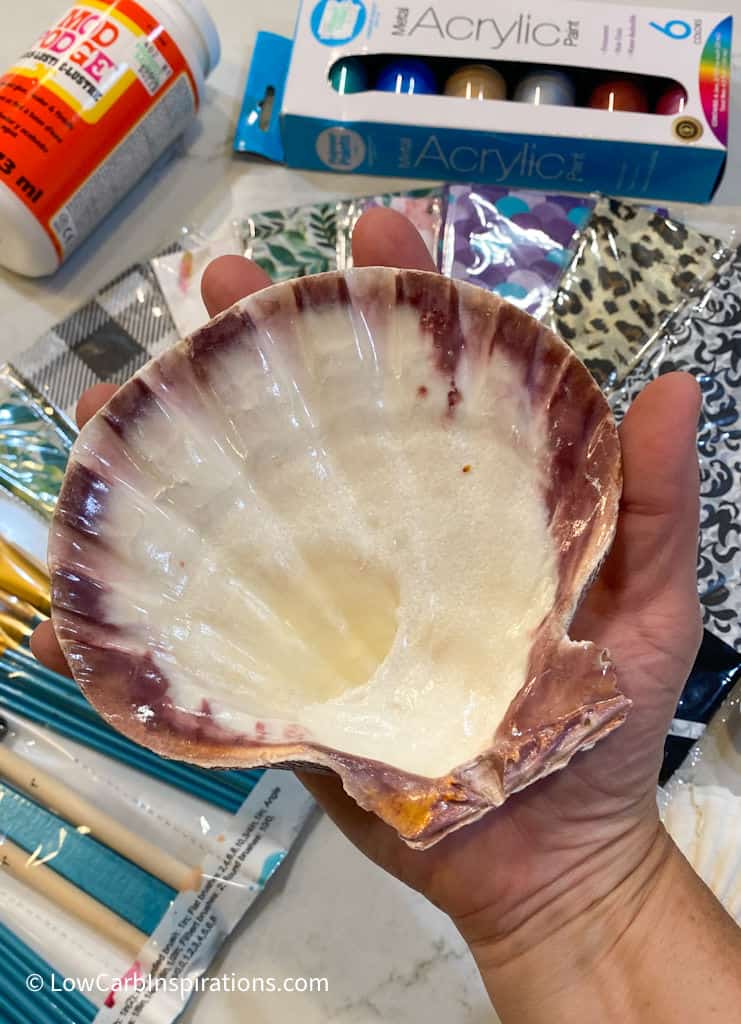
- Start by cleaning all of the seashells with soap and water. Then make sure they dry completely before starting your project.
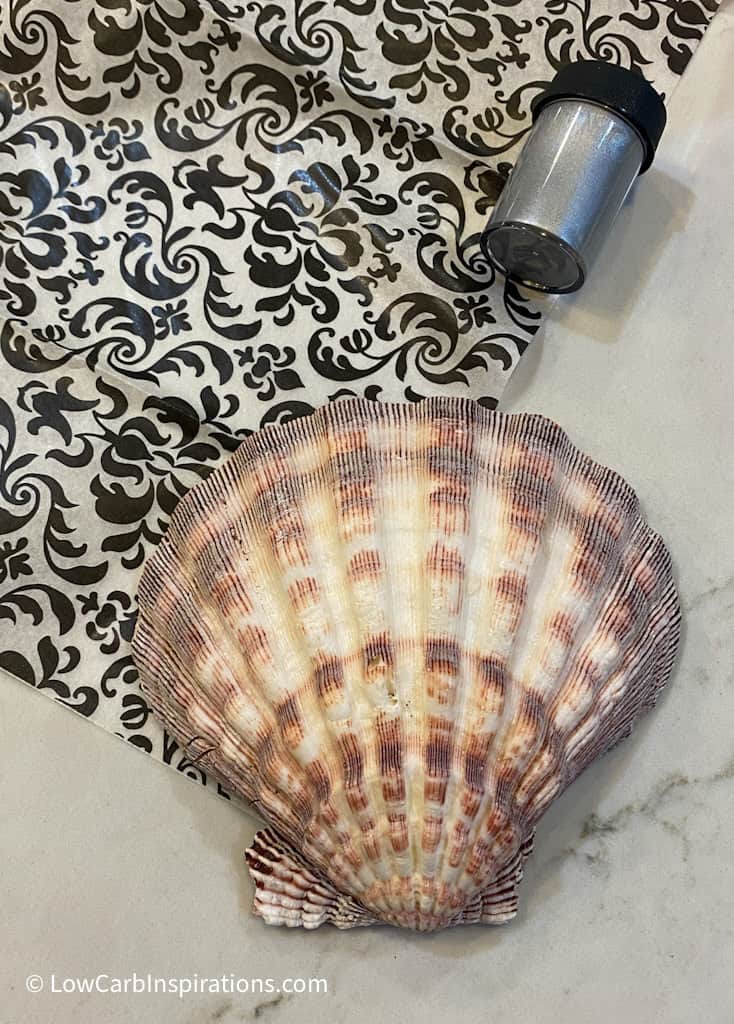
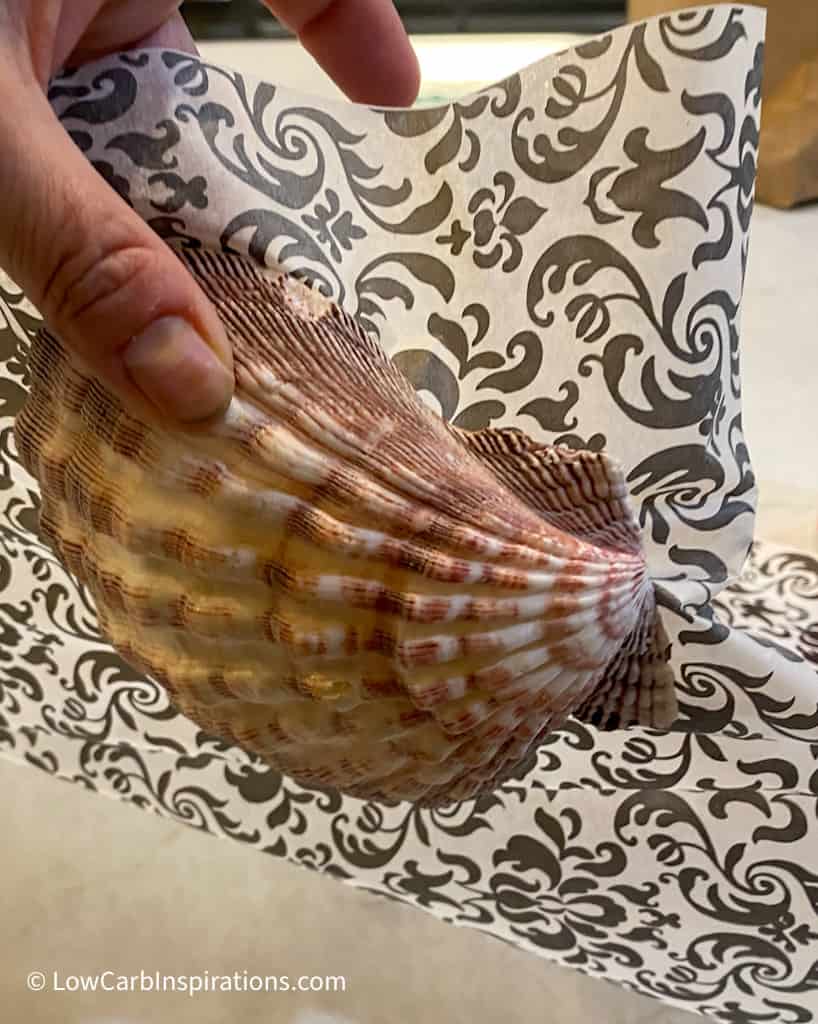
- Cut out a square of tissue paper about 1 inch bigger than the shell you plan to decorate. Set it aside.
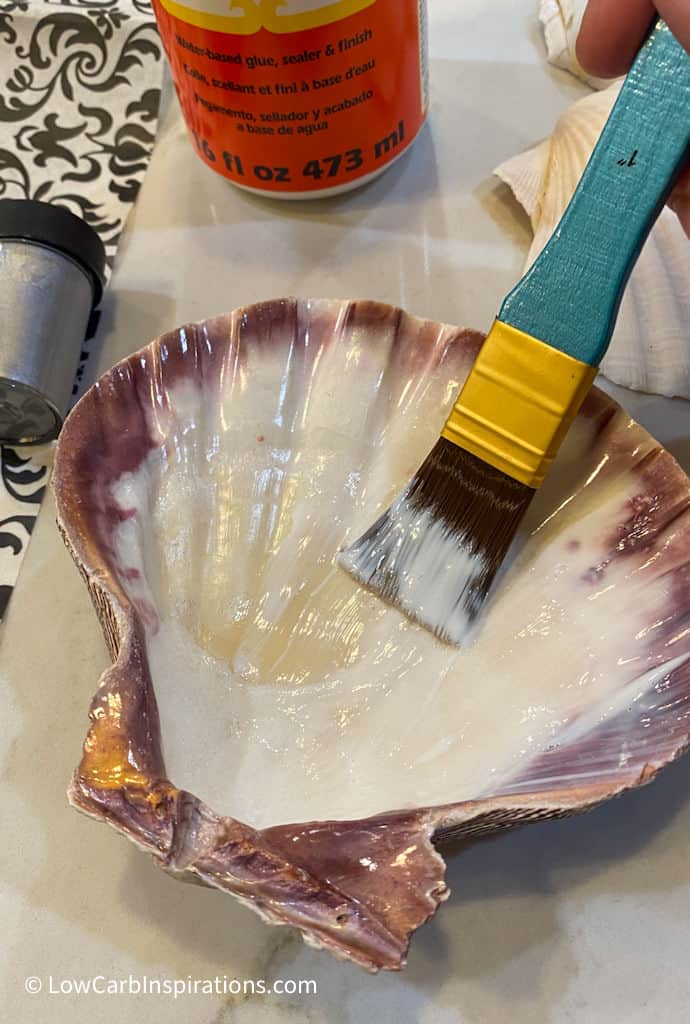
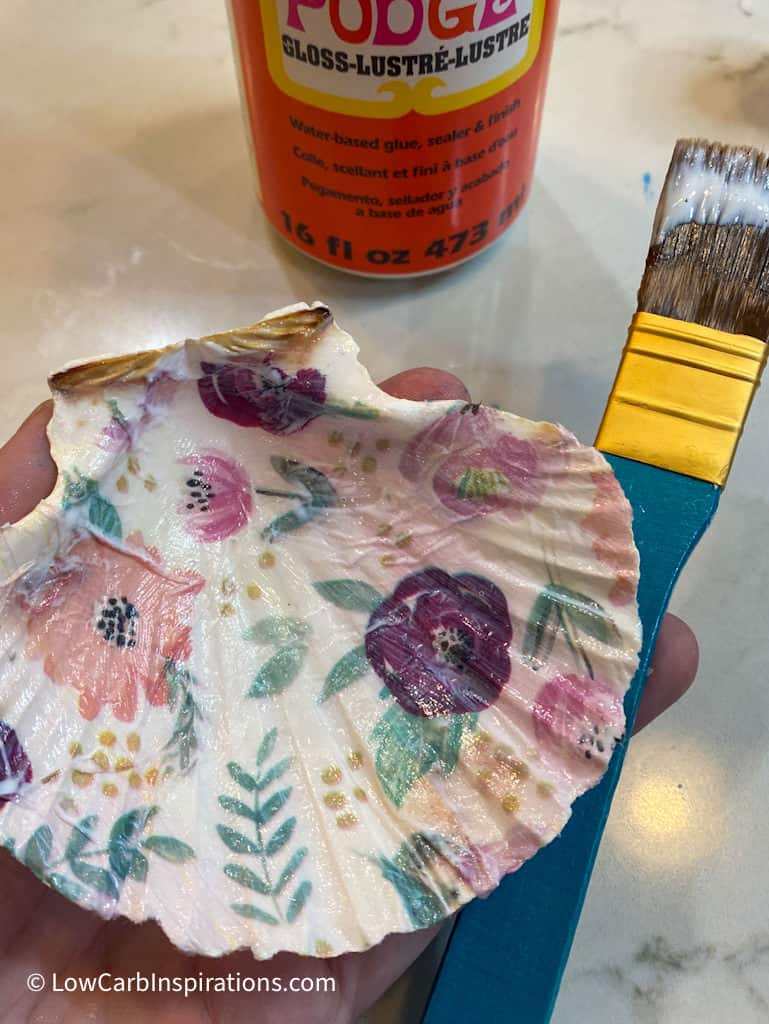
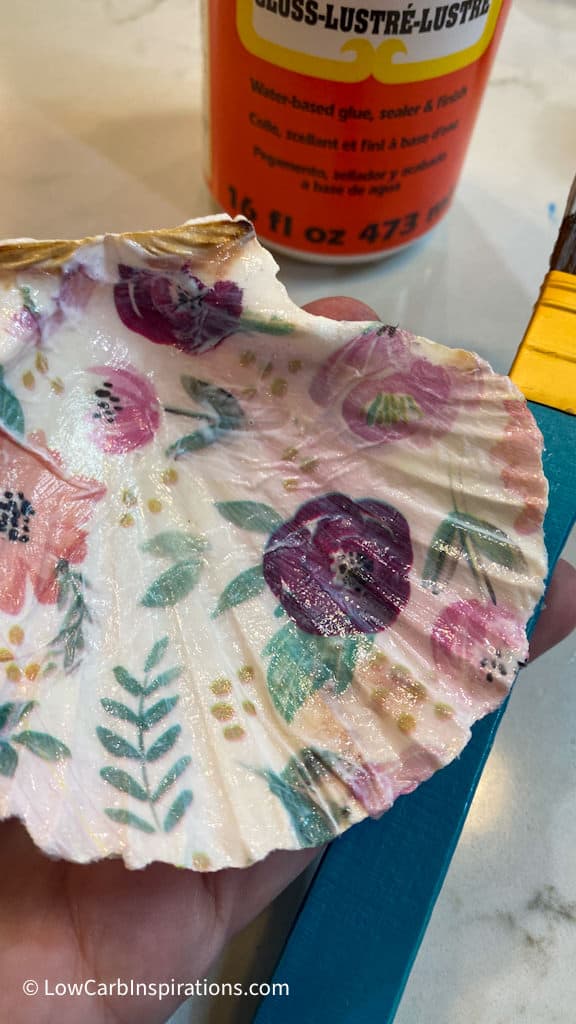
- Open the Mod Podge and dip the medium paint brush into the solution and paint a very thin layer on the inside of the seashell. Don’t use too much Mod Podge. You only need a thin enough layer to hold the tissue paper at this point.
- Decide how you want to place the tissue paper design on the shell.
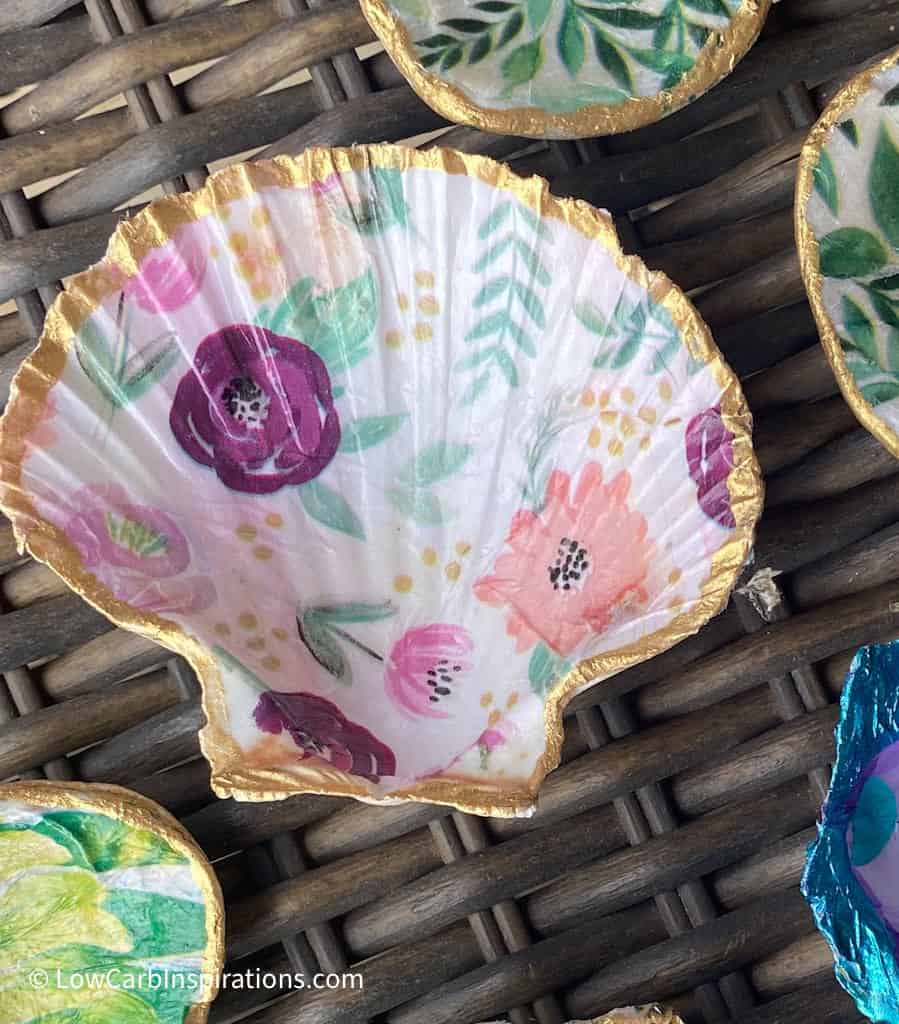
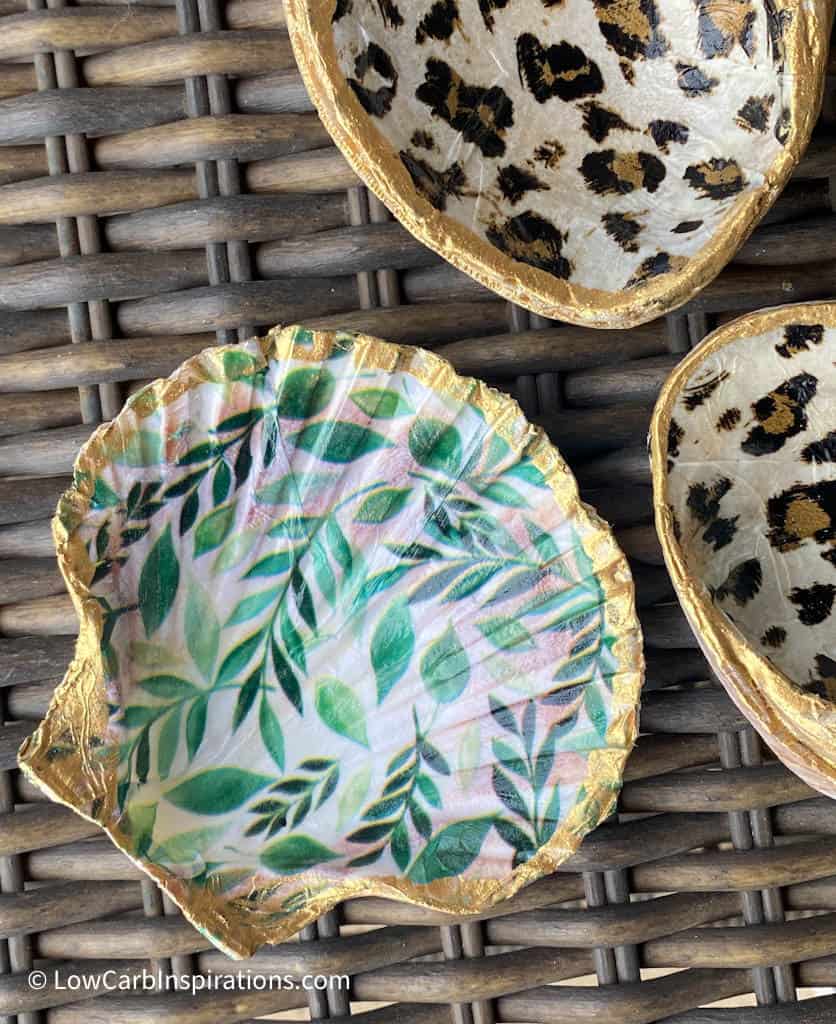
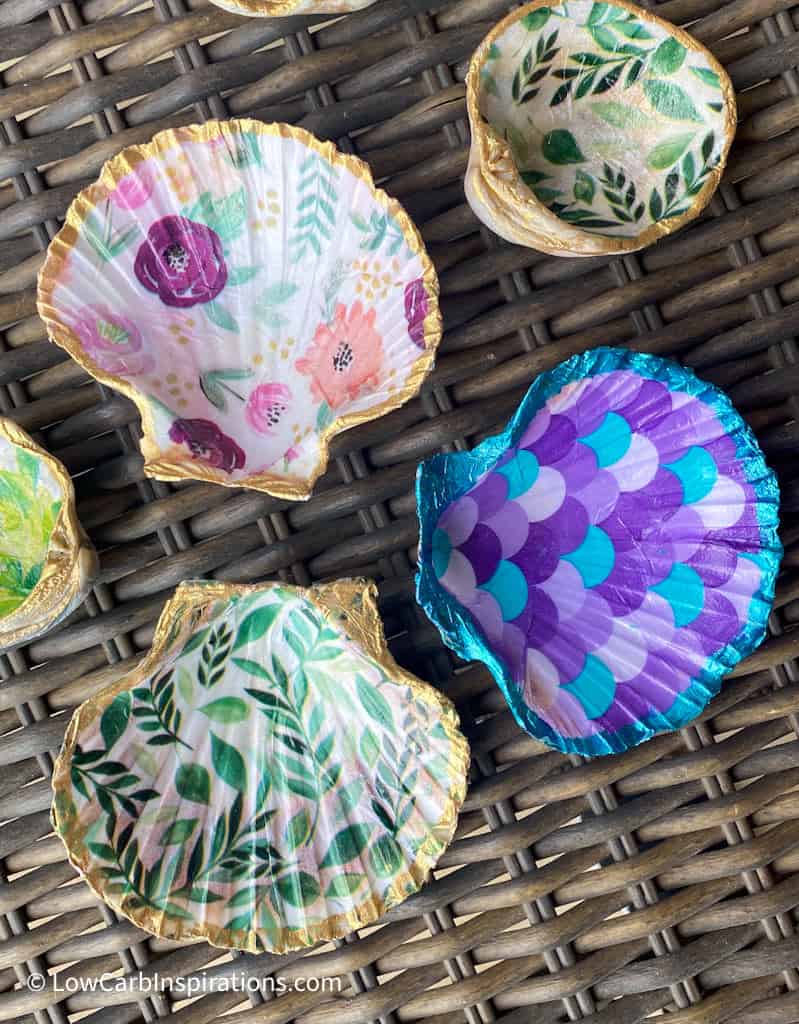
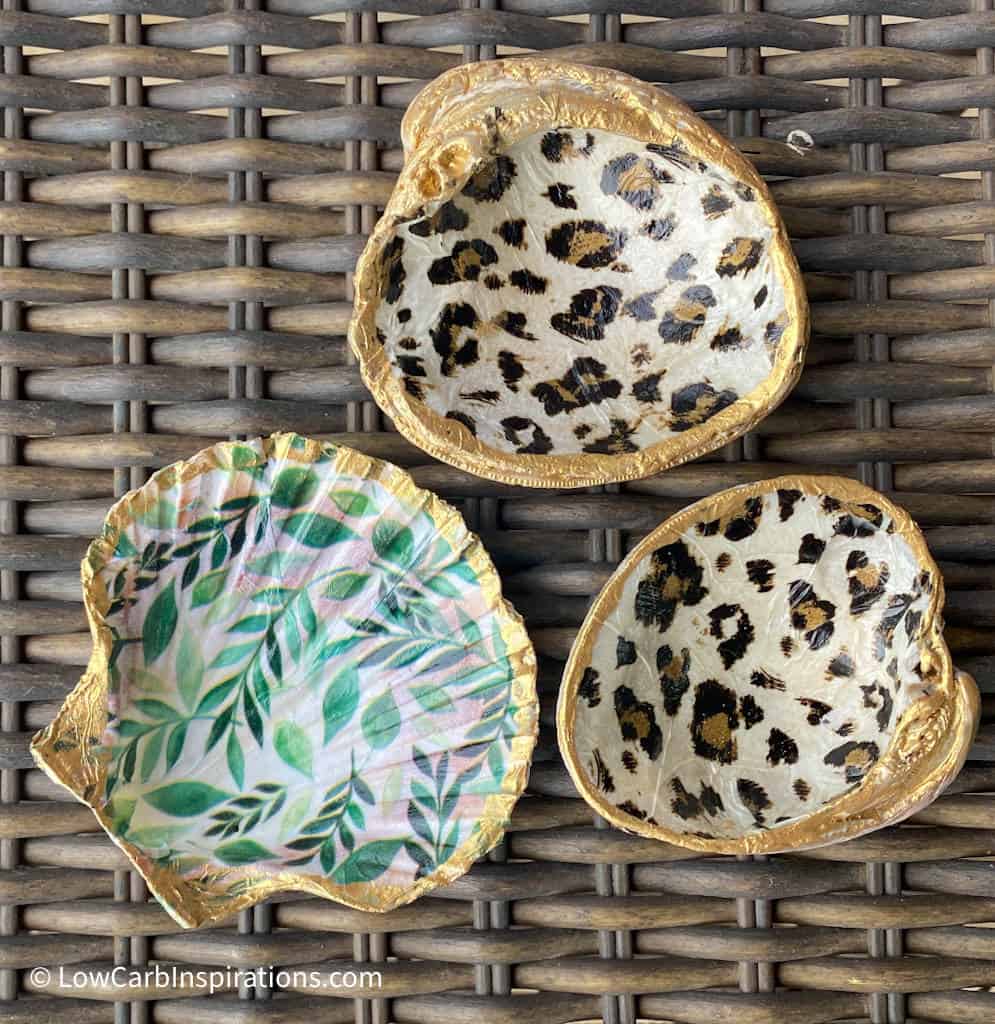
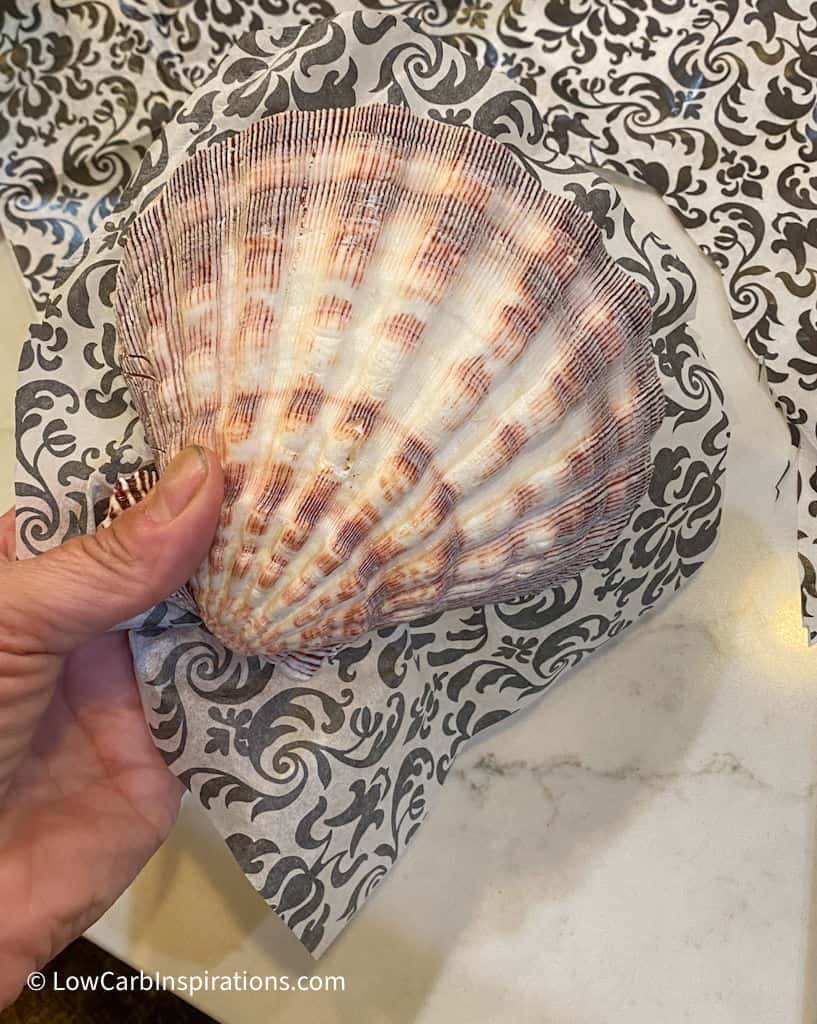
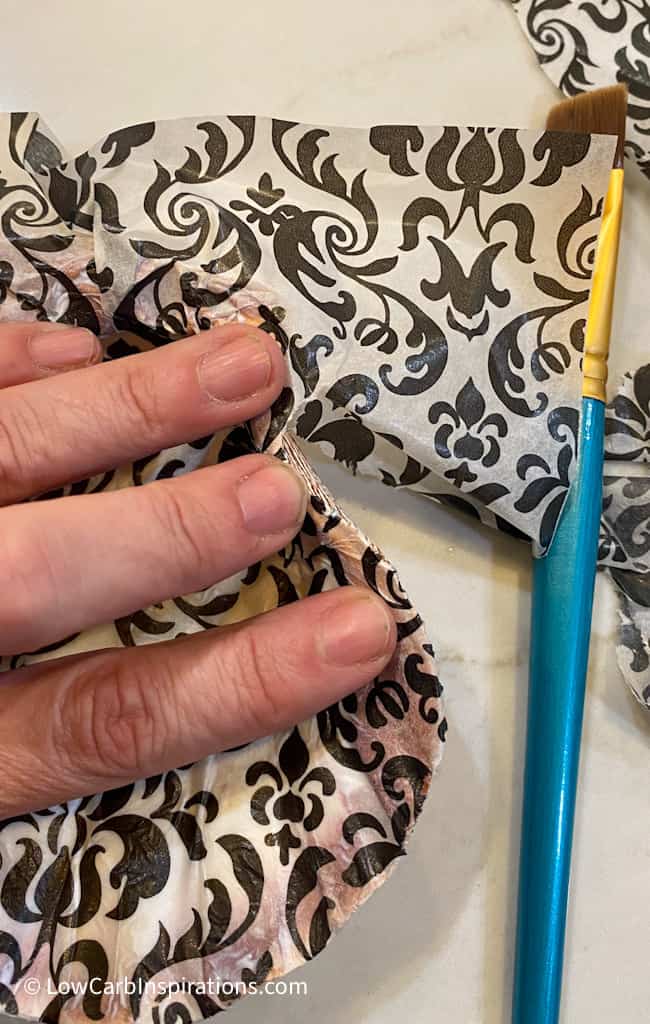
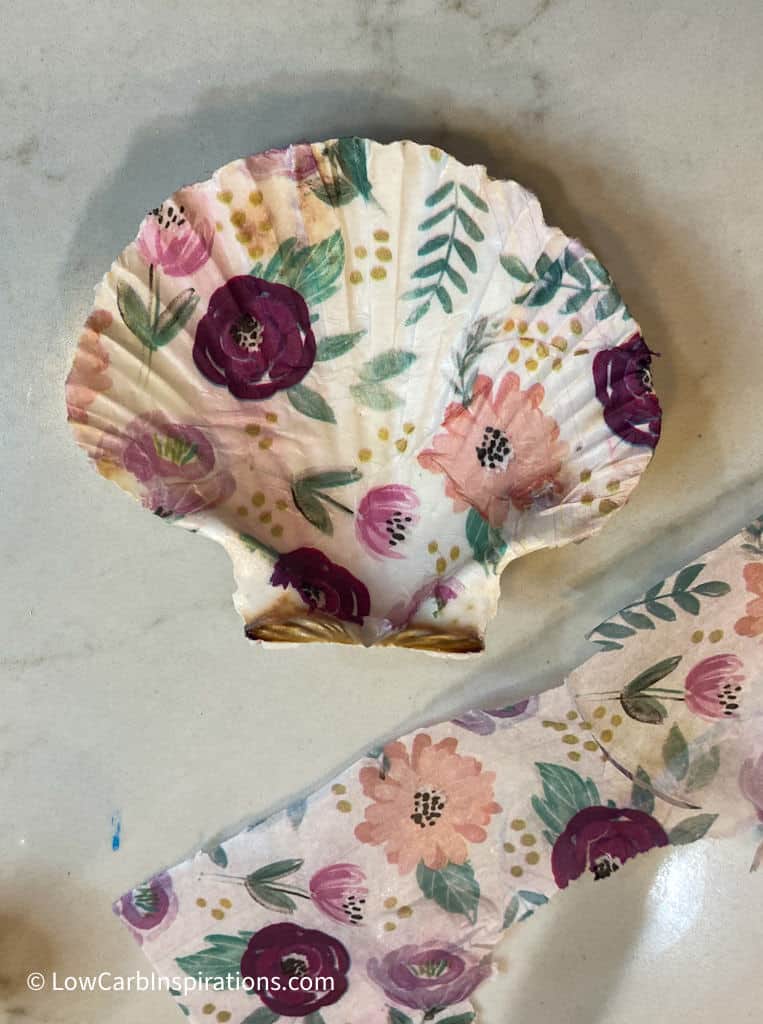
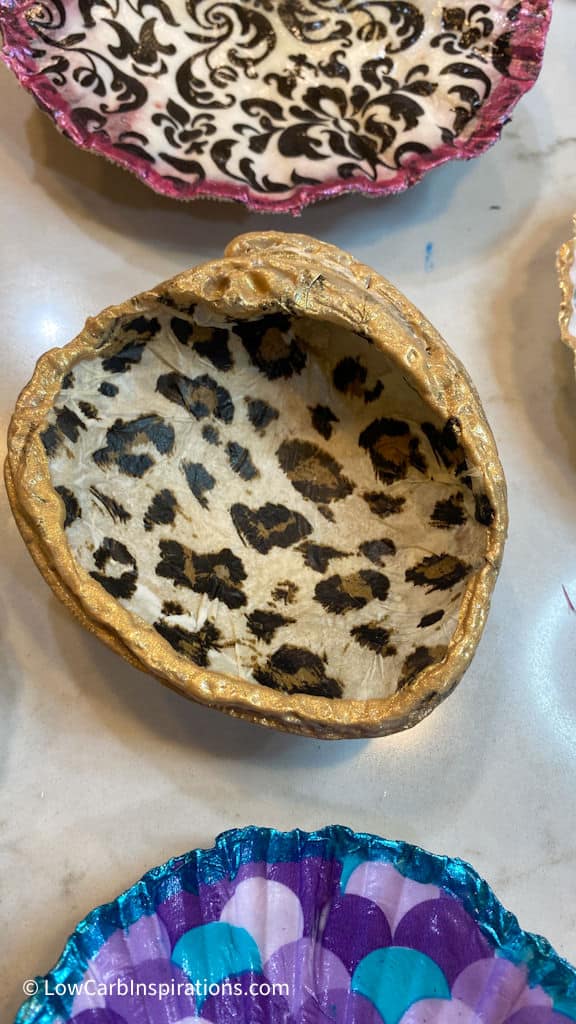
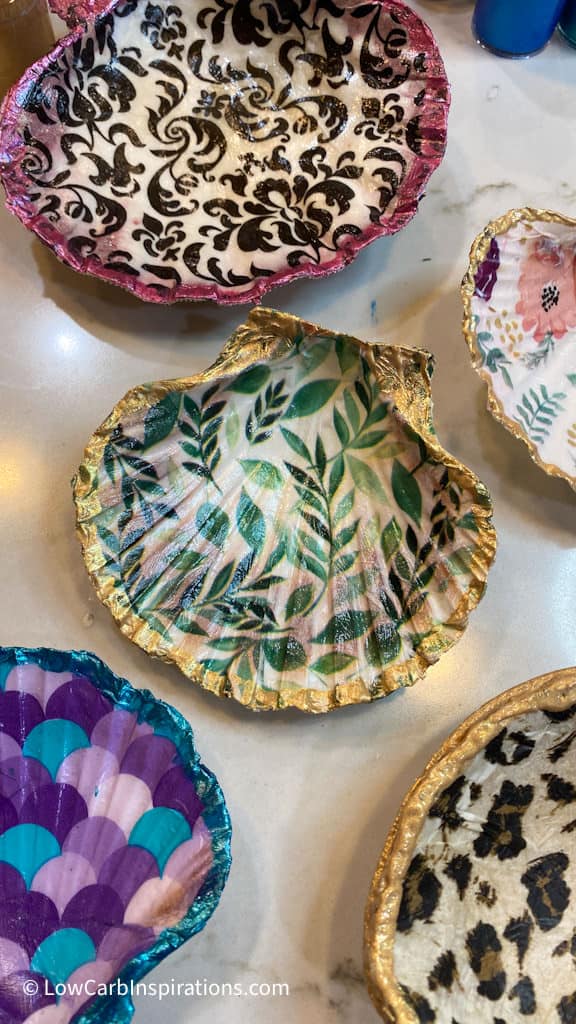
- Press the tissue paper in the center of the shell and start smoothing out from the center outwards making sure every part of the tissue paper sticks to the inside of the seashell. You can use a dry paint. brush or your fingers to smooth over all of the edges so there are no air bubbles between the layer.
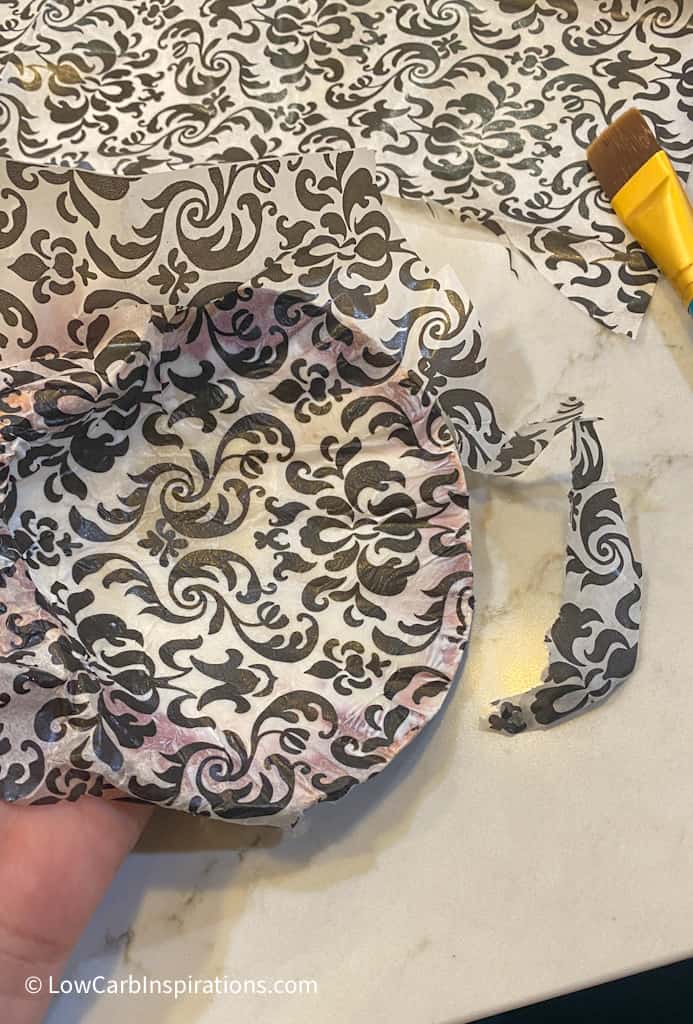
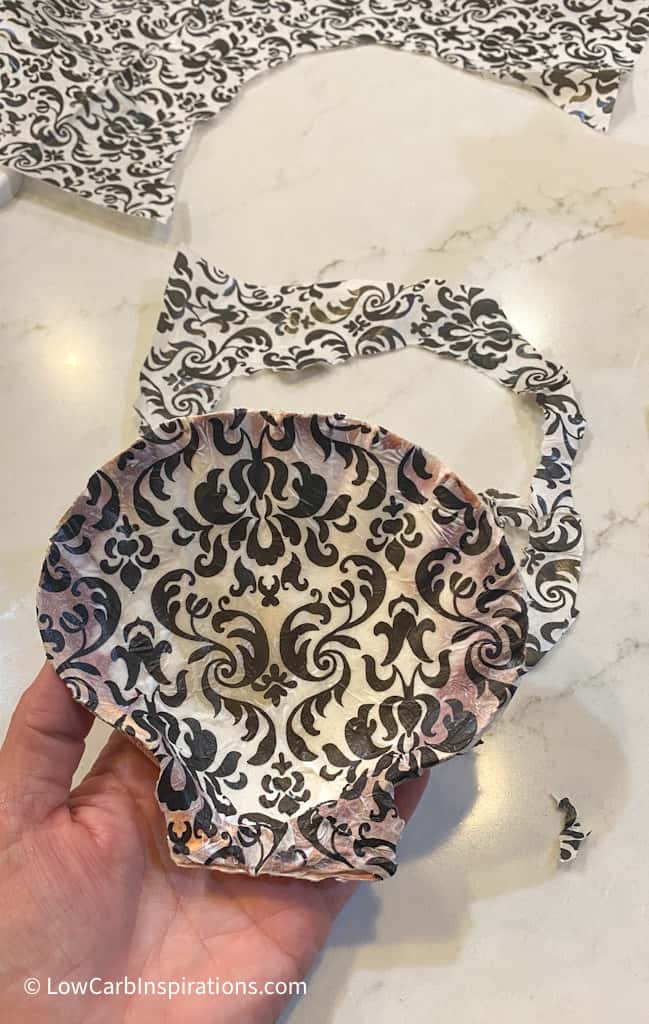
- Next you will want to tear the tissue paper off the hanging over the edge of the shell. You want to hold the paper on the inside of the shell with one hand and use the other hand to tear off the excess paper. It doesn’t have to be perfect because you are going to paint the edges to hide the tear.
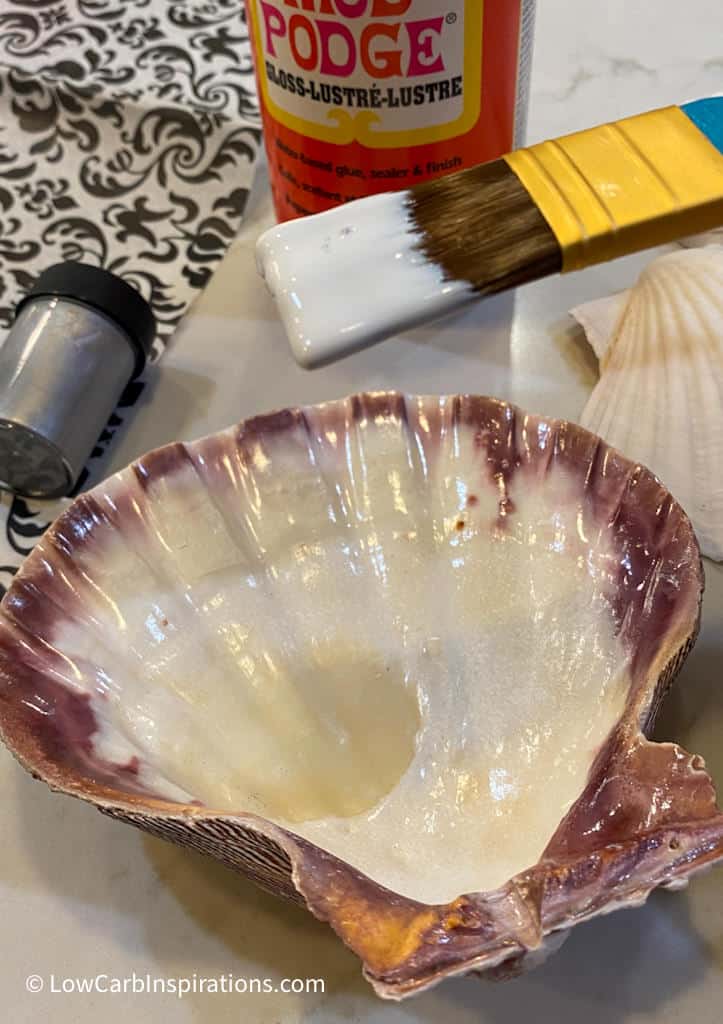
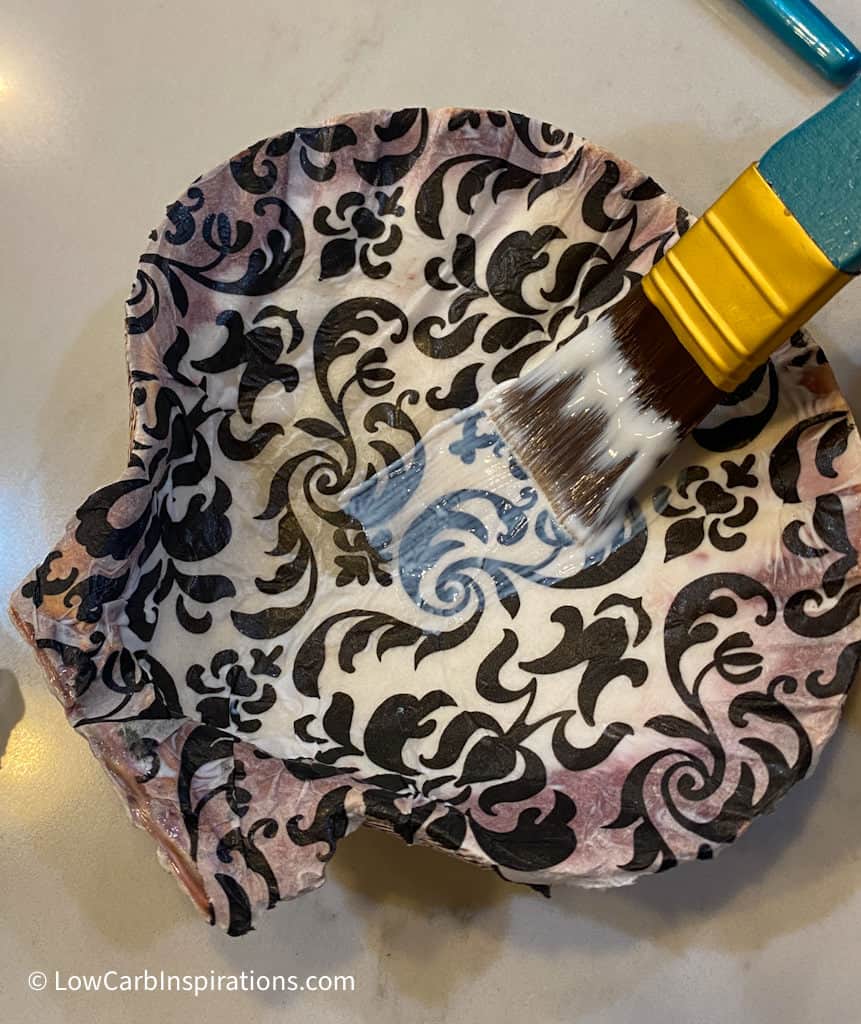
- Use the medium brush again and apply another very thin layer of Mod Podge over the top of the tissue paper to seal it. Make sure you paint all the way over the edges so the edges of the paper are sealed also.
- Allow it to completely dry.
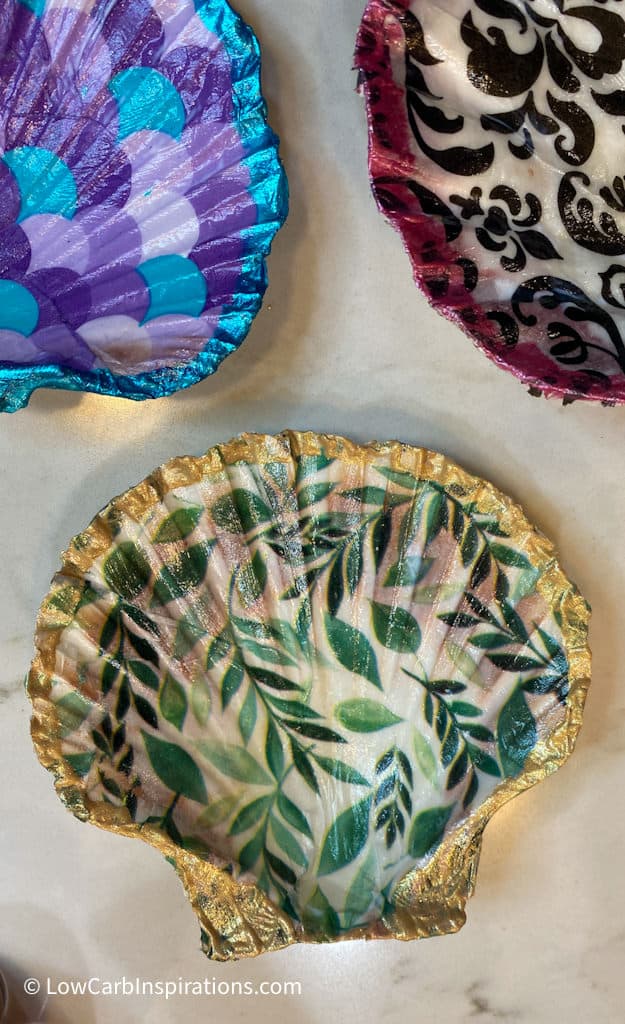
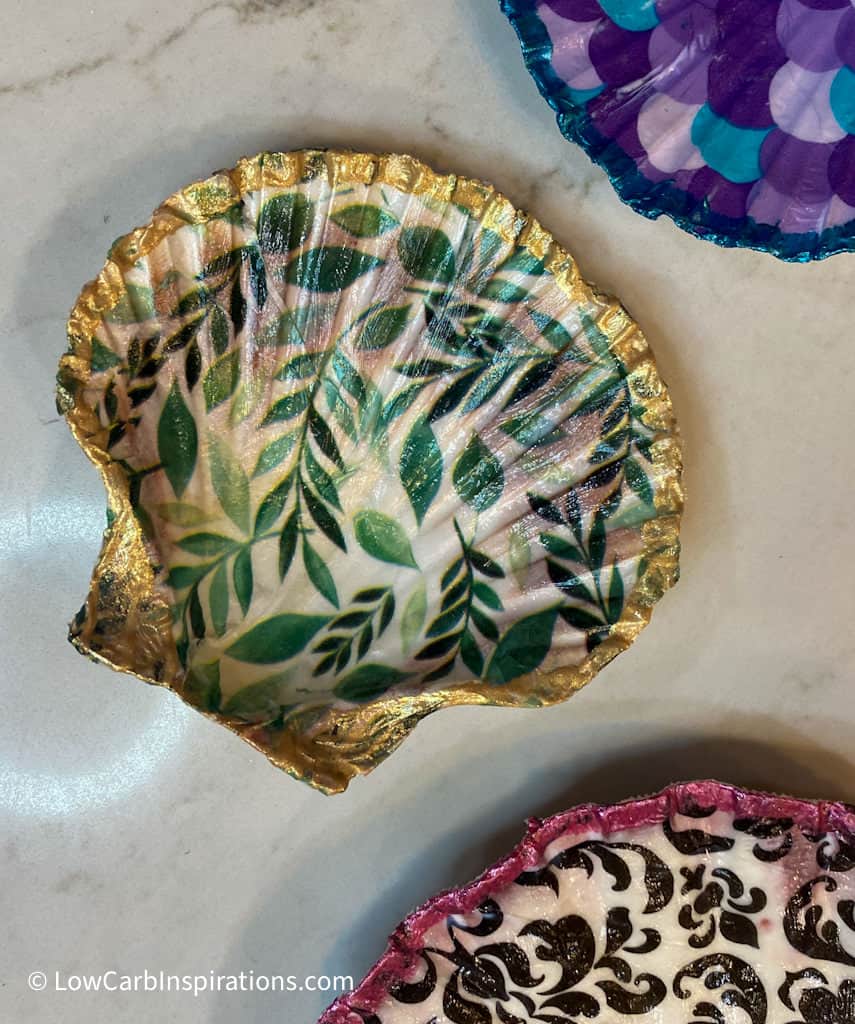
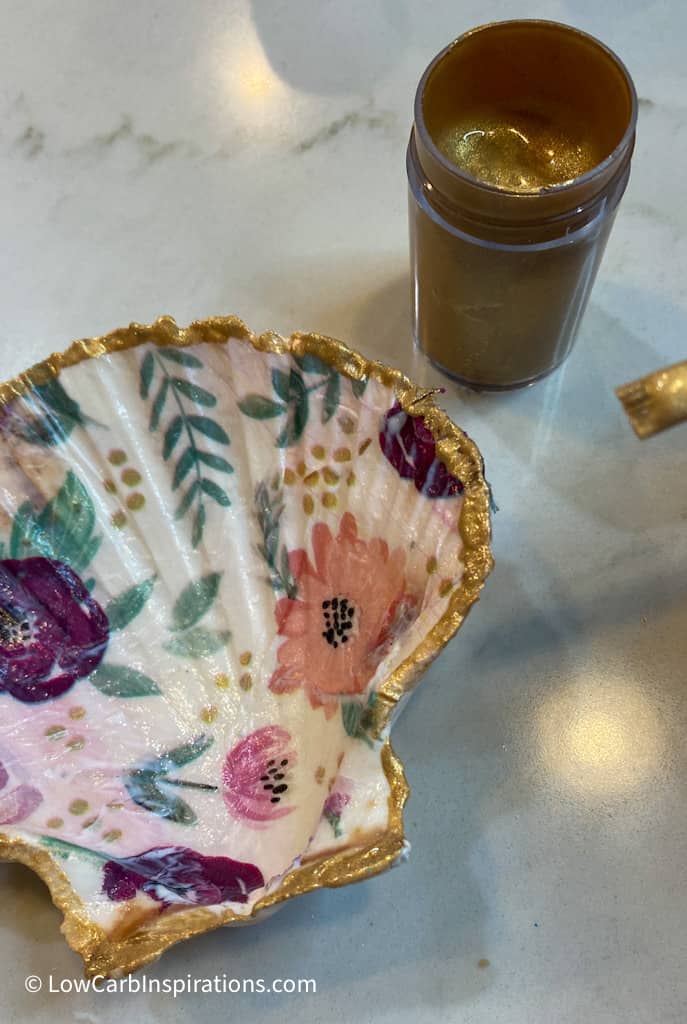
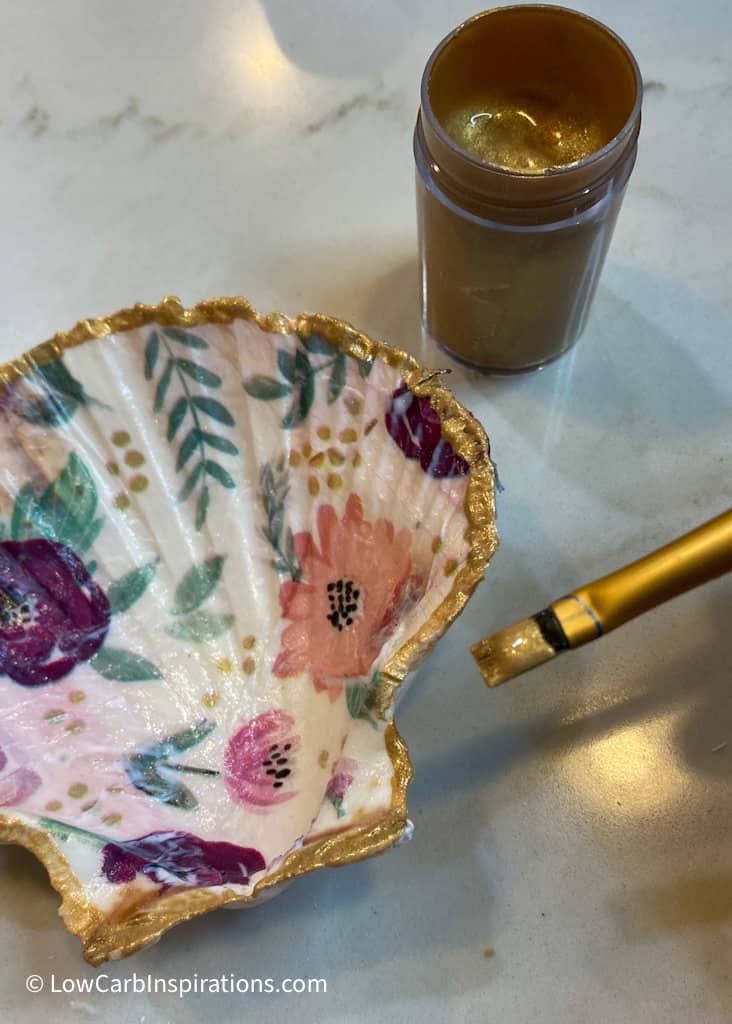
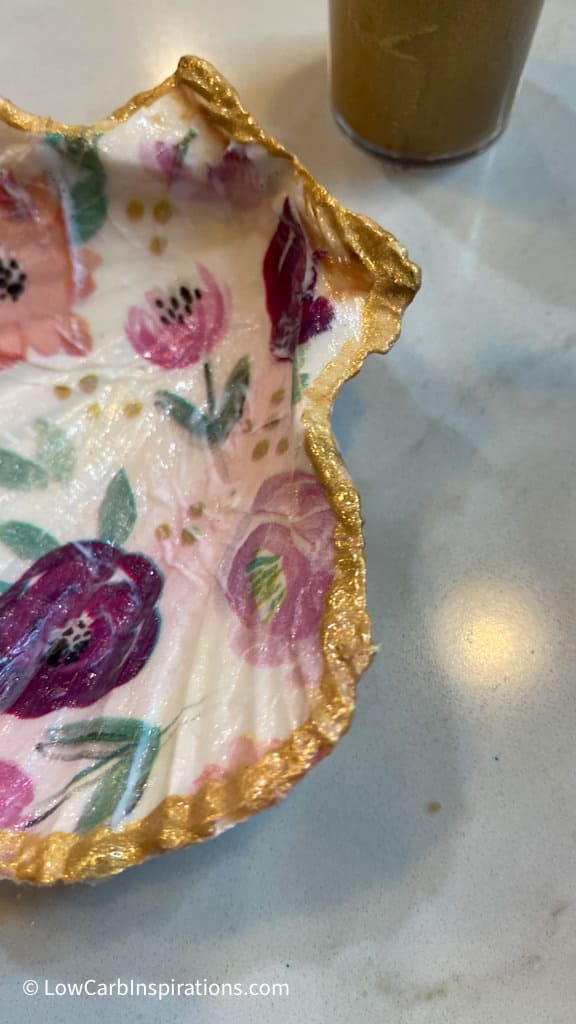
- After the seashell has completely dried then you can paint the outside of the edge with your favorite color of metallic paint. I usually choose a complimentary color to the design of the tissue paper. Gold and Silver are also good options too.
- Allow them to completely dry.
- Voila! They are done and ready to gift or place to decorate any space!
Here are a few photos we took while we made these cute little shells:


If you enjoy craft projects like this, here are a few more I bet you will also enjoy:
Paper Craft Idea: How to Make your stained glass window

Love your shells! They’re beautiful! Nice instructions too. I’ve made these before, but I always pick up tips from other crafters. Thanks.